Written by
Featured Video
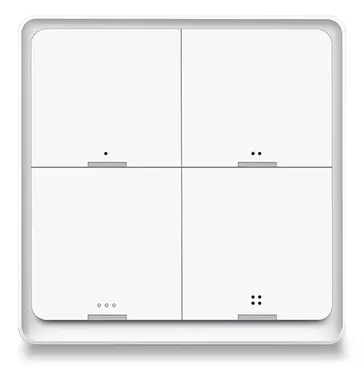
This article will explore how we can connect and automate the Tuya Zigbee 4 Button Smart Scene Switch with Home Assistant.
Table of Contents
- Requirements
- Connecting Zigbee Smart Scene Switch To Home Assistant Via ZHA
- Automate Zigbee Smart Scene Switch with Automation BluePrint for ZHA
- Connecting Zigbee Smart Scene Switch To Home Assistant Via Zigbee2MQTT
- Automate Zigbee Smart Scene Switch with Automation BluePrint for Zigbee2MQTT Integration
Requirements
- Home Assistant OS setup and running.
You can check this link to see how you can install it for the first time. - ZHA (Zigbee Home Automation) setup or Zigbee2MQTT setup.
If you have not set it up, then you can check this article to set up ZHA or this article to set up Zigbee2MQTT. - Tuya — 4 Button Smart Scene Switch
Connecting Zigbee Smart Scene Switch To Home Assistant Via ZHA
To connect the Tuya 4 Button Smart Scene Switch with Home Assistant via ZHA, follow these steps
Step 1: Go to Home Assistant Settings in the left panel.
Step 2: Click on Devices & Services, then click on ZHA (Zigbee Home Automation)
Step 3: Click on Add Device.
Step 4: Press and hold switch number 1 or button number 1 for about 10 seconds until all the lights start blinking rapidly. This will put the device in the pairing mode
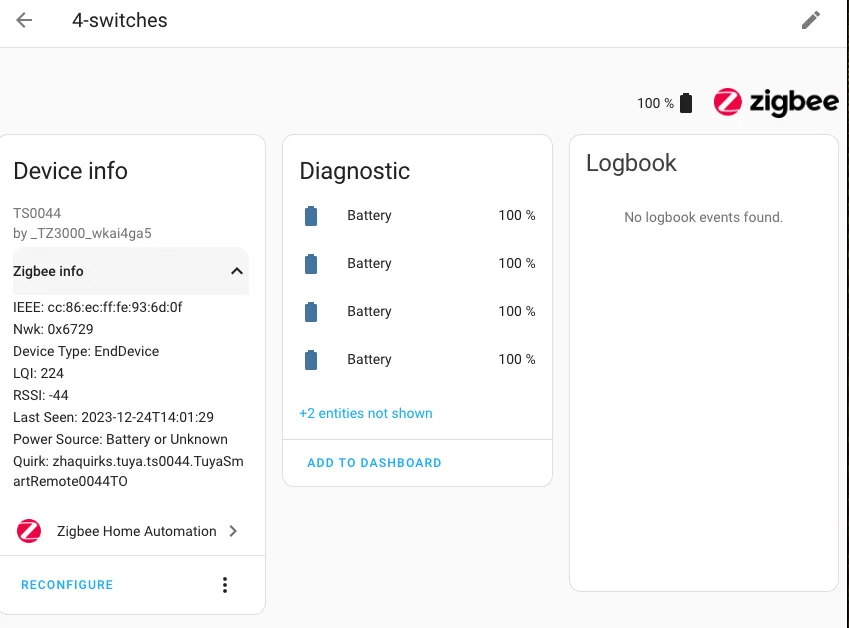
Step 5: The device will start getting discovered and you can now change the name of the device.
Automate Zigbee Smart Scene Switch with Automation BluePrint for ZHA
You can automate the Smart Scene Switch with simple automation by just selecting the device and then selecting the action.
But you can automate all four buttons with a single automation using an automation Blueprint.
Follow these steps to automate the Smart Scene Switch with an automation blueprint.
Step 1: Go to Home Assistant Settings in the left panel.
Step 2: Click on Automation & Scenes and click on the Blueprint tab.
Step 3: click on Import Blueprint in the bottom right-hand corner.
Step 4: Paste the following URL, click on Preview, and then Import.
https://gist.github.com/amrutprabhu/cb3ef5dbb1b72fb1f4a0b661cb3198c3
Step 5: Now click on the imported blueprint and you can select the Smart Scene Switch entity.
Step 6: Select the action you want for single click, double click, or press and hold.
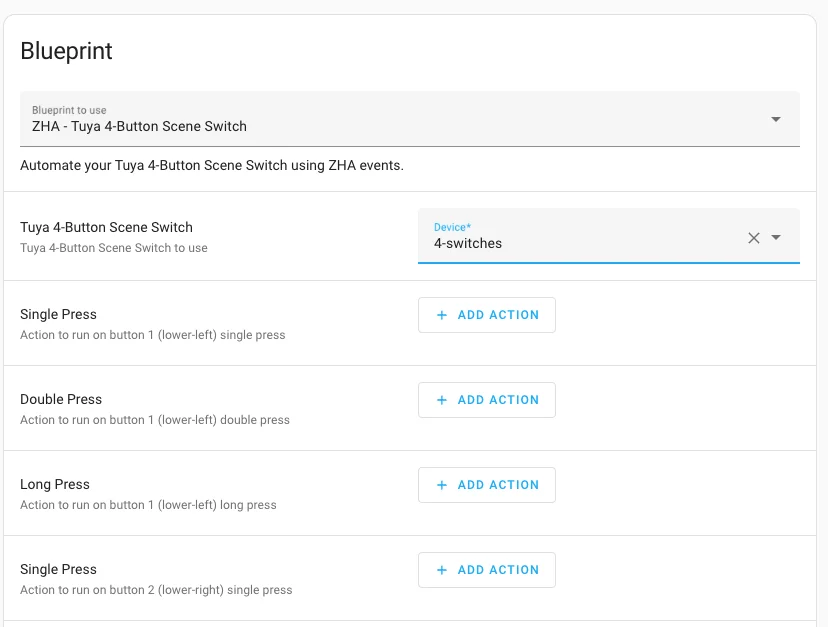
Step 7: Save the automation and Start using the device.
Connecting Zigbee Smart Scene Switch To Home Assistant Via Zigbee2MQTT
To connect the Tuya 4 Button Smart Scene Switch with Home Assistant via Zigbee2MQTT, follow these steps
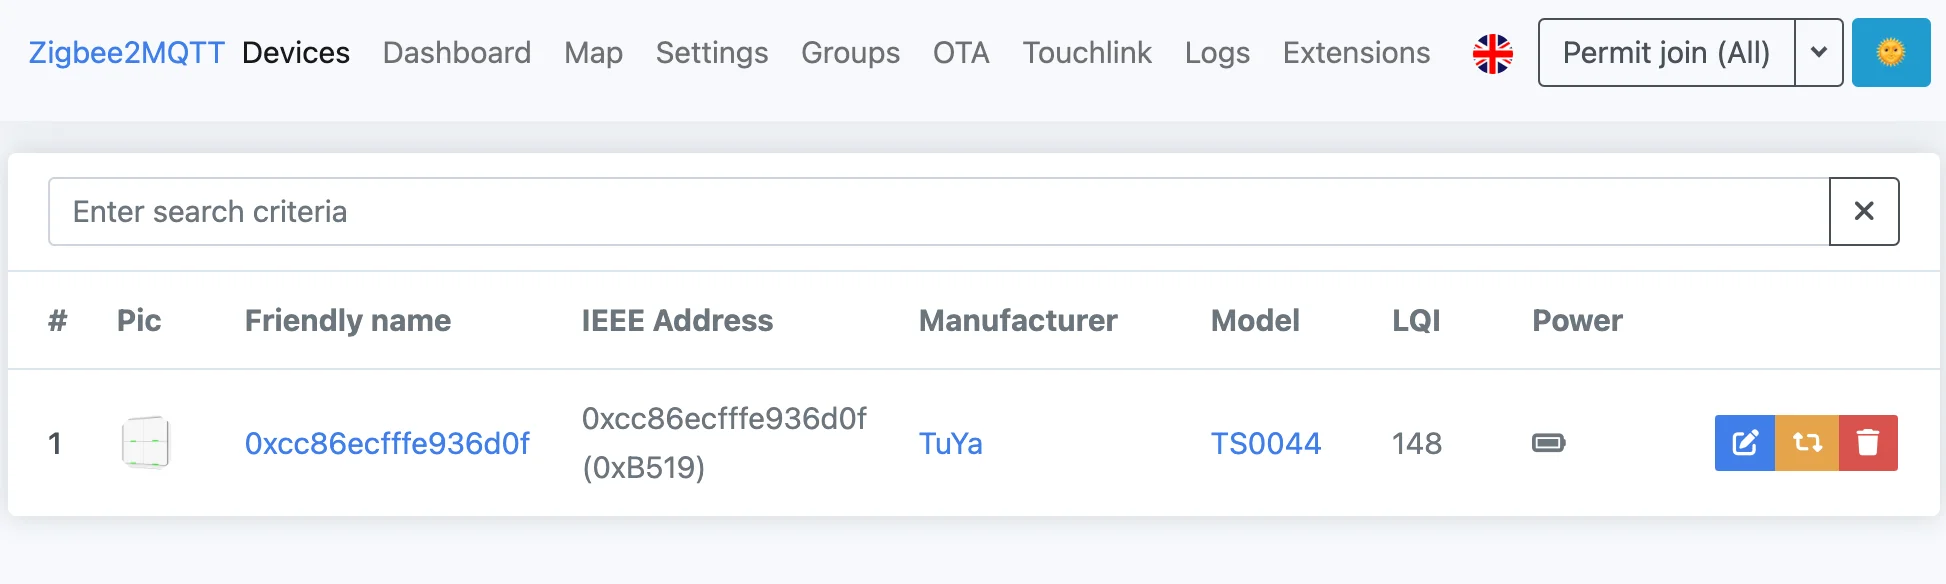
Step 1: Click on the Zigbee2MQTT link on the left panel in Home Assistant.
Step 2: Click on Permit Join on the top bar.
Step 4: Press and hold switch number 1 or button number 1 for about 10 seconds until all the lights start blinking rapidly. This will put the device in the pairing mode
Step 5: The device will start getting discovered.
Automate Zigbee Smart Scene Switch with Automation BluePrint for Zigbee2MQTT Integration
You can automate the Smart Scene Switch with simple automation by just selecting the device and then selecting the action.
For Zigbee2MQTT integration, you must trigger the device at least once for all the actions to be available in the automation.
But you can always automate all four buttons with a single automation using an automation Blueprint.
Follow these steps to automate the Smart Scene Switch with an automation blueprint.
Step 1: Go to Home Assistant Settings in the left panel.
Step 2: Click on Automation & Scenes and click on the Blueprint tab.
Step 3: click on Import Blueprint in the bottom right-hand corner.
Step 4: Paste the following URL, click on Preview, and then Import.
https://community.home-assistant.io/t/zigbee2mqtt-tuya-4-button-scene-switch-ts0044/274735
Step 5: Now click on the imported blueprint and you can select the Smart Scene Switch entity.
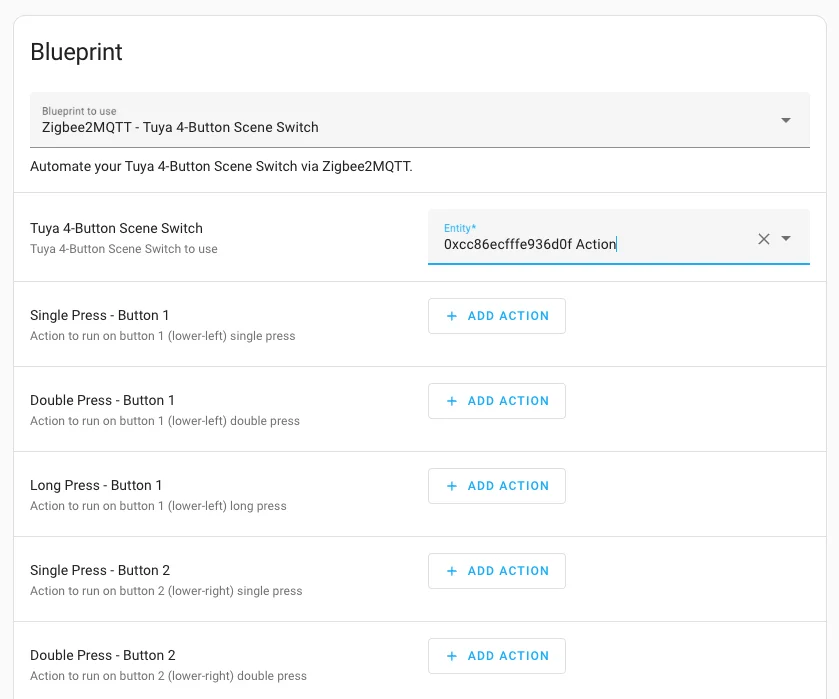
Step 6: Select the action you want for a single click, double click, or press and hold.
Step 7: Save the automation and start using the device.
If you are interested in exploring more of such easy to follow step by step guides about Home Assistant, then here are a few suggestions
- Create Custom Wake Word For Your Voice Assistant
- Create Your Voice Assistant Device With Wake Word
- Share Files With Home Assistant OS with Samba Share