
Written by
Featured Video
In this article, we will look at how you can set up a Zigbee2Mqtt with Home Assistant
Table of Contents
Requirements
- Home Assistant up and running.
You can check this link to see how you can install it for the first time - MQTT Broker setup
You can check this link to set it up. - A Zigbee Adapter Coordinator
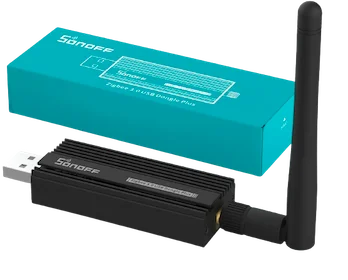
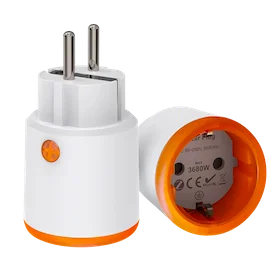
- A Zigbee device.
In our case, we will use a Zigbee plug.
There are two ways to set up Zigbee2Mqtt.
As a Home Assistant add-on or run it as a Docker container.
Setting Up Zigbee2Mqtt as a Home Assistant Add-On
To install Zigbee2Mqtt as a Home Assistant add-on, navigate to the “Add-ons” in Home Assistant settings, then click on “Add-on Store” in the bottom right-hand corner, then click on the 3 dots in the top right-hand corner and click “Repositories”
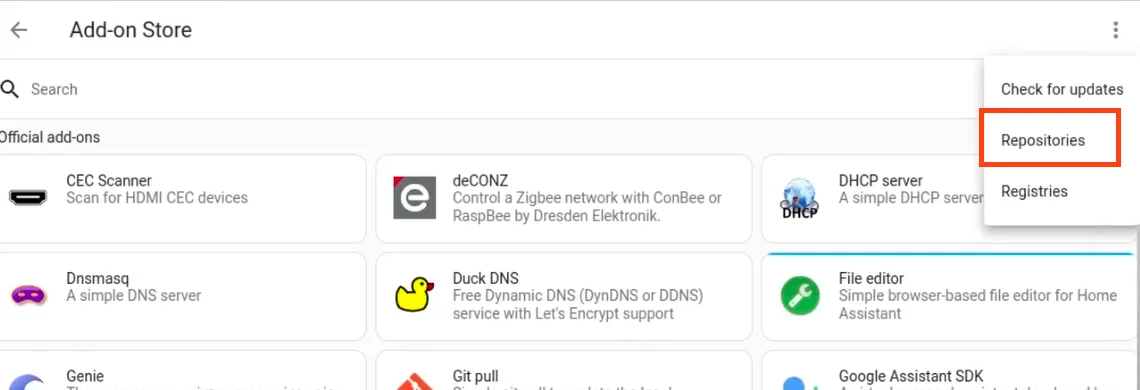
Now add the following repository URL and click “Add”
https://github.com/zigbee2mqtt/hassio-zigbee2mqtt
Now, refresh the UI and you should be able to see Zigbee2Mqtt
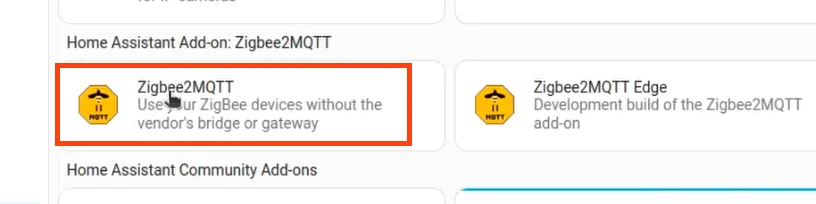
Click on this, and then click on “Install”.
After it is installed, we will have to provide it with some configuration.
So now click on the configuration tab, and provide two configs: Your MQTT broker URL and Your Zigbee adapter
You will have to provide the MQTT URL as below
url: mqtt:// <IP address of your MQTT broker> : 1883
If you are using the Home Assistant MQTT broker, provide your Home Assistant URL.
Now to find this serial port value of our Zigbee USB Dongle, you must have SSH access to your Home Assistant.
Once you SSH into Home Assistant, run the following command.
ls -l /dev/serial/by-id
Since I am using the Sonoff Zigbee Dongle E version, It shows me this.

Now copy value ttyACM0 from this output and paste it into the serial section like this.
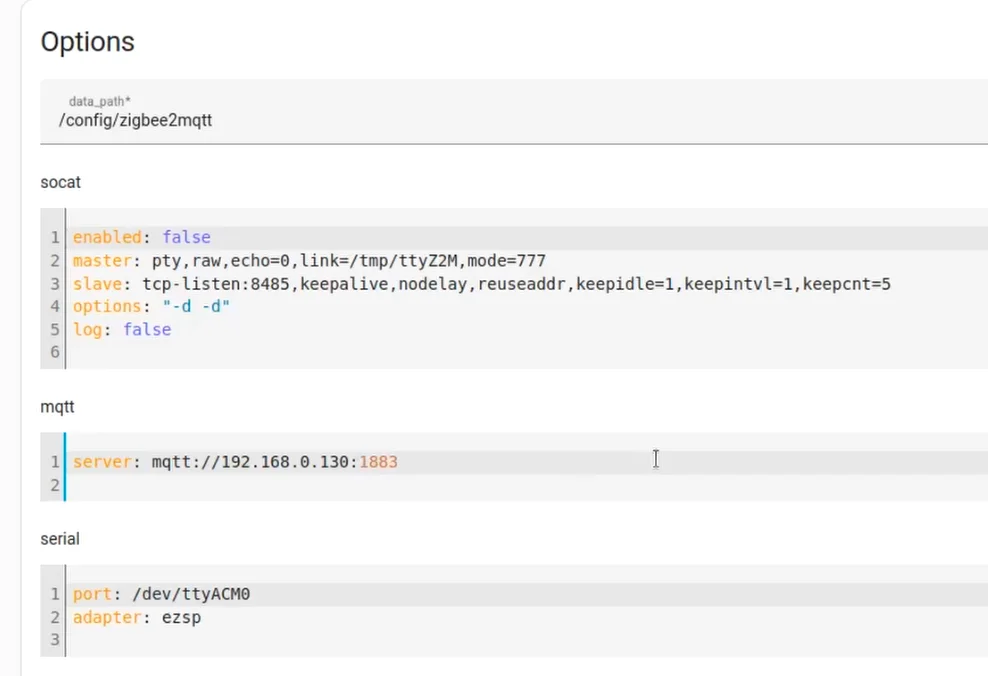
Because I am using the Sonoff Dongle E version I have to specify the adapter ezsp .
You can find the option for your adapter here.
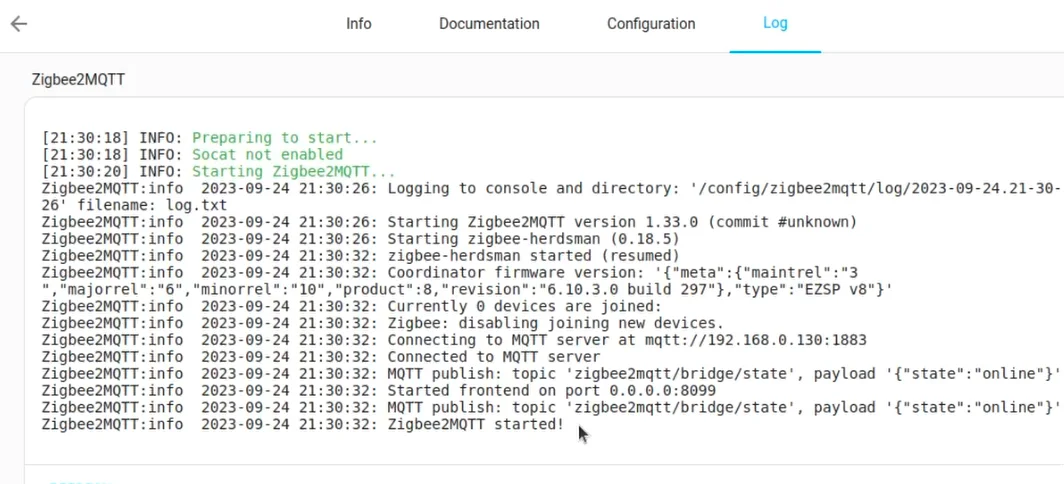
Next, with this, go to the info tab and click on “Start”
And with this, your Zigbee2Mqtt is now up and running. If you check the logs tab, you should be able to see that Zigbee2Mqtt has started
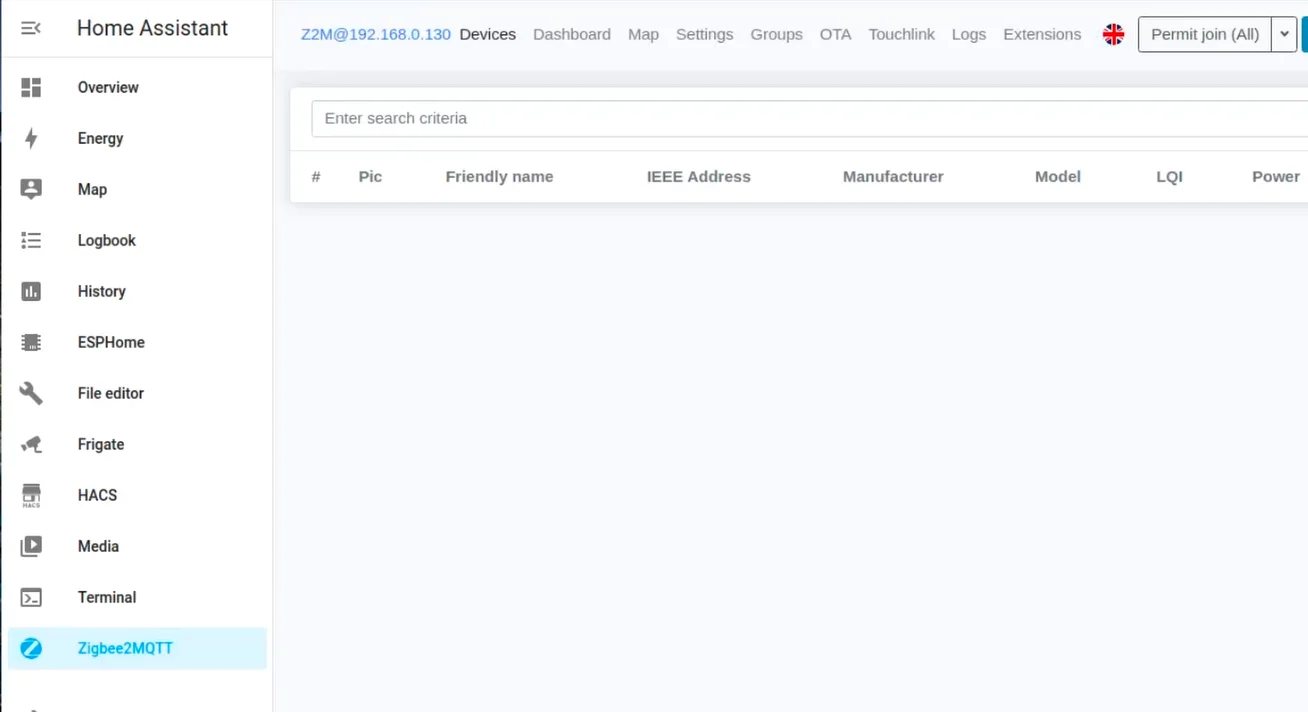
You can access the Zigbee2Mqtt view using the option on the left panel.
Running Zigbee2Mqtt As A Docker Container.
To run the Zigbee2Mqtt as a docker container you can start it with docker compose.
For this create a file called docker-compose.yaml and add the following content
version: '3'
services:
  zigbee2mqtt:
    container_name: zigbee2mqtt
    restart: unless-stopped
    devices:
      - /dev/ttyACM0:/dev/ttyACM0
    ports:
      - "8080:8080"
    volumes:
      - ./data:/app/data
      - /run/udev:/run/udev:ro
    environment:
      - TZ=Europe/Amsterdam
    image: koenkk/zigbee2mqtt
Here you have to specify the location of the Zigbee dongle in the devices property.
To find the location of your Zigbee dongle, make sure you have connected the dongle to your machine, create a file called find-usb.sh and paste the following content
for sysdevpath in $(find /sys/bus/usb/devices/usb*/ -name dev); do
    (
        syspath="${sysdevpath%/dev}"
        devname="$(udevadm info -q name -p $syspath)"
        [[ "$devname" == "bus/"* ]] && exit
        eval "$(udevadm info -q property --export -p $syspath)"
        [[ -z "$ID_SERIAL" ]] && exit
        echo "/dev/$devname - $ID_SERIAL"
    )
done
Next, make this as an executable file using the following command
chmod +x find-usb.sh
Next, run this file using the ./ command as below
./find-usb.sh
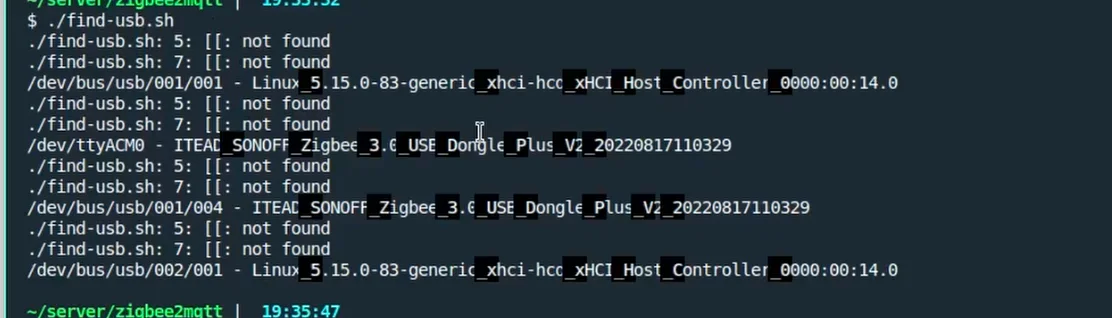
As you can see in the image above, the dongle location is /dev/ttyACM0 and we will use this value in the docker-compose.yaml file from above.
Next, we will create the configuration file for Zigbee2Mqtt
For this create the a datafolder in the same directory where your docker-compose.yaml file is present and then create a configuration.yaml file inside the data folder with the following content
permit_join: true
mqtt:
  server: mqtt://192.168.0.43:1883
  serial:
    port: /dev/ttyACM0
frontend: true
advanced:
  homeassistant_legacy_entity_attributes: false
  legacy_api: false
  legacy_availability_payload: false
device_options:
  legacy: false
devices: {}
homeassistant:
  legacy_entity_attributes: true
  legacy_triggers: true
Here, specify the IP address of the MQTT server. In my case, it was 192.168.0.43:1883
Now with this, you are ready to start the Zigbee2Mqtt server.
Now, from the location where the docker-compose.yaml is located, run the command docker compose up
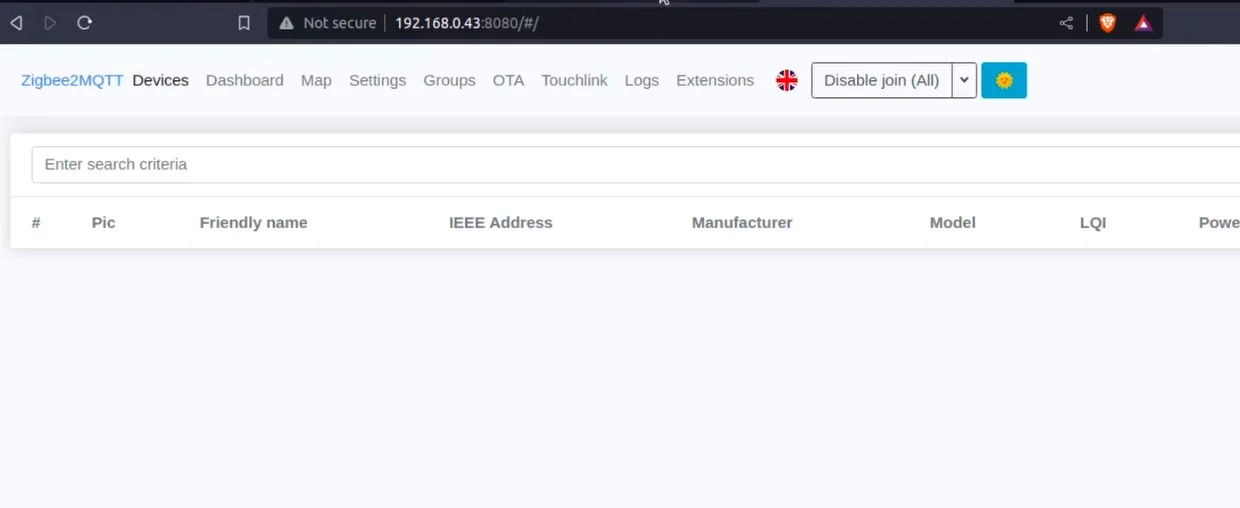
With this, you can now access the Zigbee2Mqtt interface using the IP address of your machine and port 8080 as shown.
Connecting Zigbee Device with Zigbee2Mqtt And Home Assistant
With the Zigbee2Mqtt up and running, we will now connect a Zigbee device.
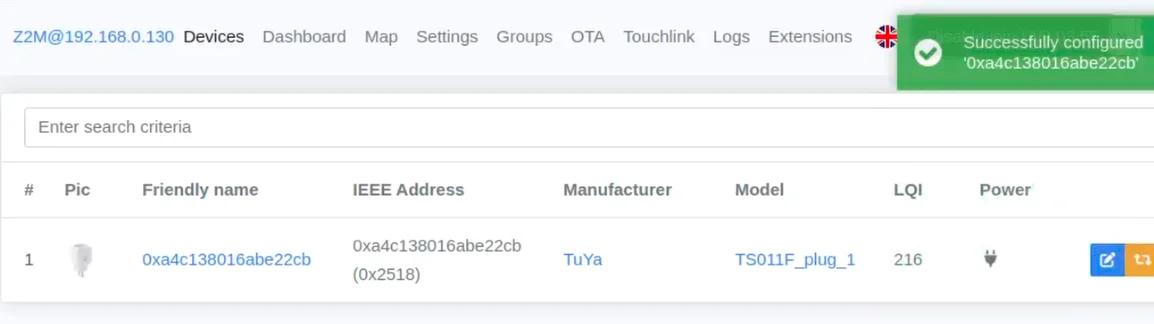
For this, put the device in Pairing mode and then click on the “Permit Join (All)” button in the zigbee2Mqtt Interface.
The Zigbee2Mqtt should automatically be able to detect and configure your device.
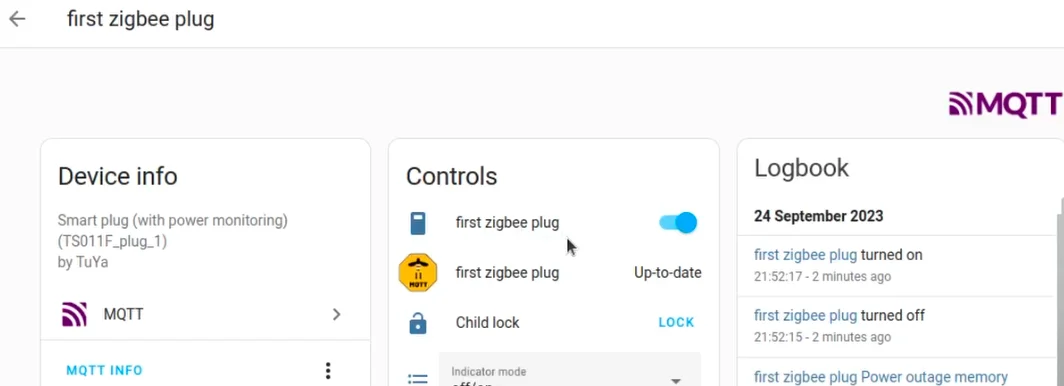
Now, go to Home Assistant Settings, click on “Devices & Services”, then search for your MQTT integration and you will be able to see your Zigbee device configured in Home Assistant
Now if you are interested in exploring more of such easy to follow step by step guides about Home Assistant, then here are a few suggestions
- Connect Zigbee Plug Using Sonoff Zigbee 3.0 USB Dongle Plus
- Setup ESP32 Cam with Frigate And Home Assistant To Detect Objects
- How I Added a Matter Device to Home Assistant