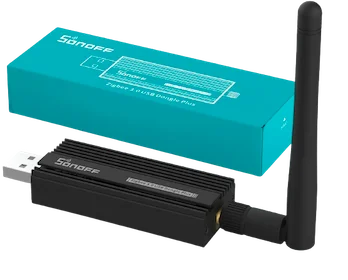
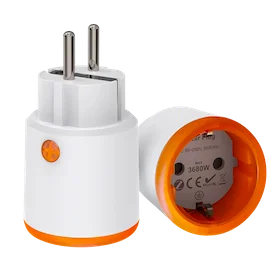
Connect Zigbee Plug Using Sonoff Zigbee 3.0 USB Dongle Plus To Home Assistant - Step By Step Guide

Written by
Featured Video
In this article, we will be looking at how we can connect Zigbee Devices using Sonoff Zigbee 3.0 USB Dongle Plus to Home Assistant.
Table of Contents
Pre-Requisites
- You have Home Assistant OS or Home Assistant Container setup.
You can check this article if you setting up Home Assistant OS for the first time or this article if you want to set up Home Assistant Container.
- A Zigbee device and Sonoff Zigbee 3.0 USB Dongle Plus
You can buy these from these links:
Connecting Sonoff Zigbee 3.0 USB Dongle Plus To Home Assistant OS
Connect the Sonoff Zigbee dongle to the machine's USB port running Home Assistant OS.
Next, in Home Assistant UI, click on “Settings” in the left panel and then click on “Devices & Services”, then click on “Add integration” on the bottom right-hand corner.
Next, search for “Zigbee Home Automation” and click on it.
Now it will show you the Zigbee dongle you just connected and then select to create a new network.
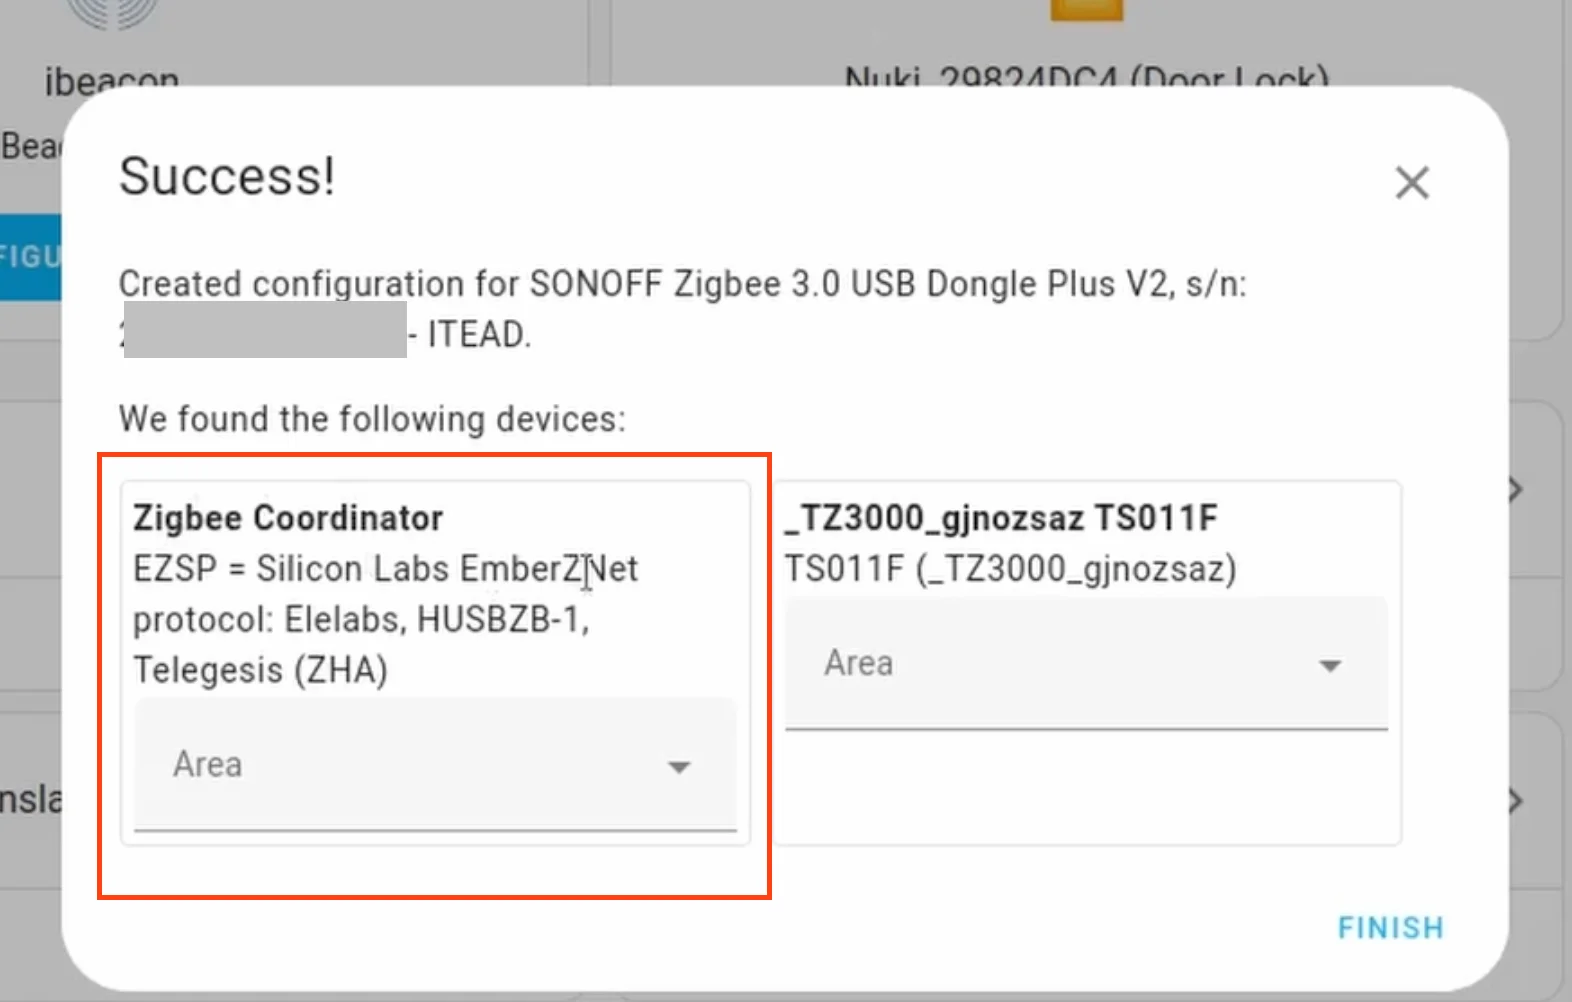
With this, you should be able to set up the Zigbee Dongle Plus.
Adding A ZigBee Device
To add a Zigbee device, click on “Zigbee Home Automation” and then click on configure and then finally click on “Add Device” in the bottom right-hand corner.
Now, put your Zigbee device in the pairing mode.
You can achieve this by pressing and holding the Zigbee plug button for some time until it starts blinking.
Now the device will be automatically detected and configured.
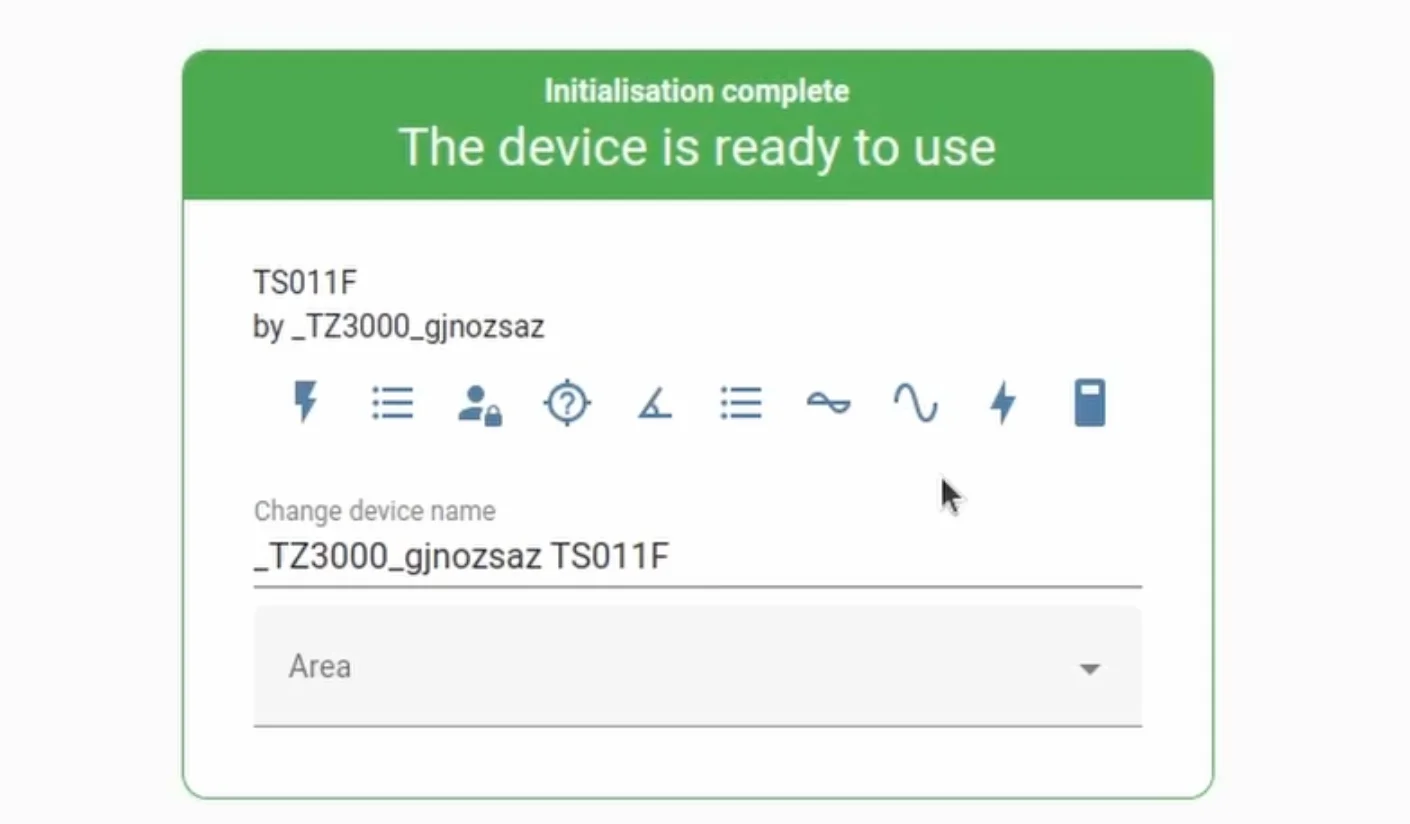
With this, you just set up a Zigbee Plug with Home Assistant using the Sonoff Zigbee 3.0 USB Dongle Plus.
Connecting Sonoff Zigbee 3.0 USB Dongle Plus To Home Assistant Docker Container
First, we need to connect the Sonoff Zigbee Dongle to the machine running the Home Assistant Docker Container.
Next, we need to find the path which we need to mount as a device to the Home Assistant Container.
For this I have this script you can use to find out the path.
for sysdevpath in $(find /sys/bus/usb/devices/usb*/ -name dev); do
    (
        syspath="${sysdevpath%/dev}"
        devname="$(udevadm info -q name -p $syspath)"
        [[ "$devname" == "bus/"* ]] && exit
        eval "$(udevadm info -q property --export -p $syspath)"
        [[ -z "$ID_SERIAL" ]] && exit
        echo "/dev/$devname - $ID_SERIAL"
    )
done
You need to copy this script to a file called “find-usb.sh”.
Make this file executable using the command chmod +x find-usb.sh
Next, run this script and you should get an output like this.

Now copy the path and add it to your Home Assistant Docker Compose file as a device as shown bellow
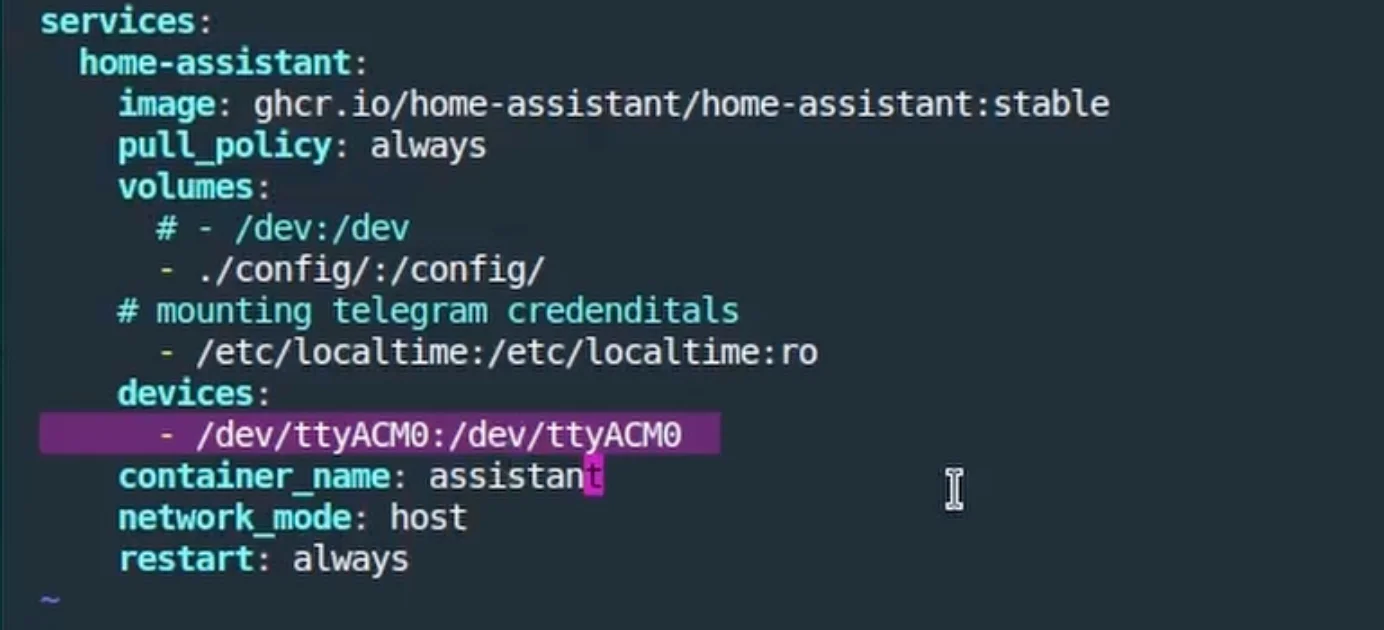
You can find the docker-compose.yaml file content in the link here.
With this, now save the file and restart the Home Assistant Docker Container using the command docker compose down and then docker compose up -d
Next, as shown above, head towards the “Services & devices” section in settings and add “Zigbee Home Automation”
You should be able to see the mounted device.
If you are interested in more such Home Automation Setups and Ideas, you can read the following three articles
- Setup ESP32 CAM With ESP Home and Home Assistant
- Adding a Matter Device to Home Assistant
- Build Air Quality Monitor With Light Sensor For Home Assistant
