Written by
Featured Video
In this article, we will be looking at how we can connect Matter-enabled devices to Home Assistant.
Table of Contents
Pre-Requisites
- You have Home Assistant OS or Home Assistant Container setup.
You can refer to this article if you want to set up Home Assistant OS or this article if you want to set up Home Assistant Container.
- A Matter-enabled device.
In this article, we will set up a Smart Plug. You can buy this Smart Plug here
Setting Up Matter Server In Home Assistant OS
In the Home Assistant, click on settings in the left panel, then click on Add-ons, then click on “ADD-ON Store” in the bottom right-hand corner.
Finally, search for “Matter server”.
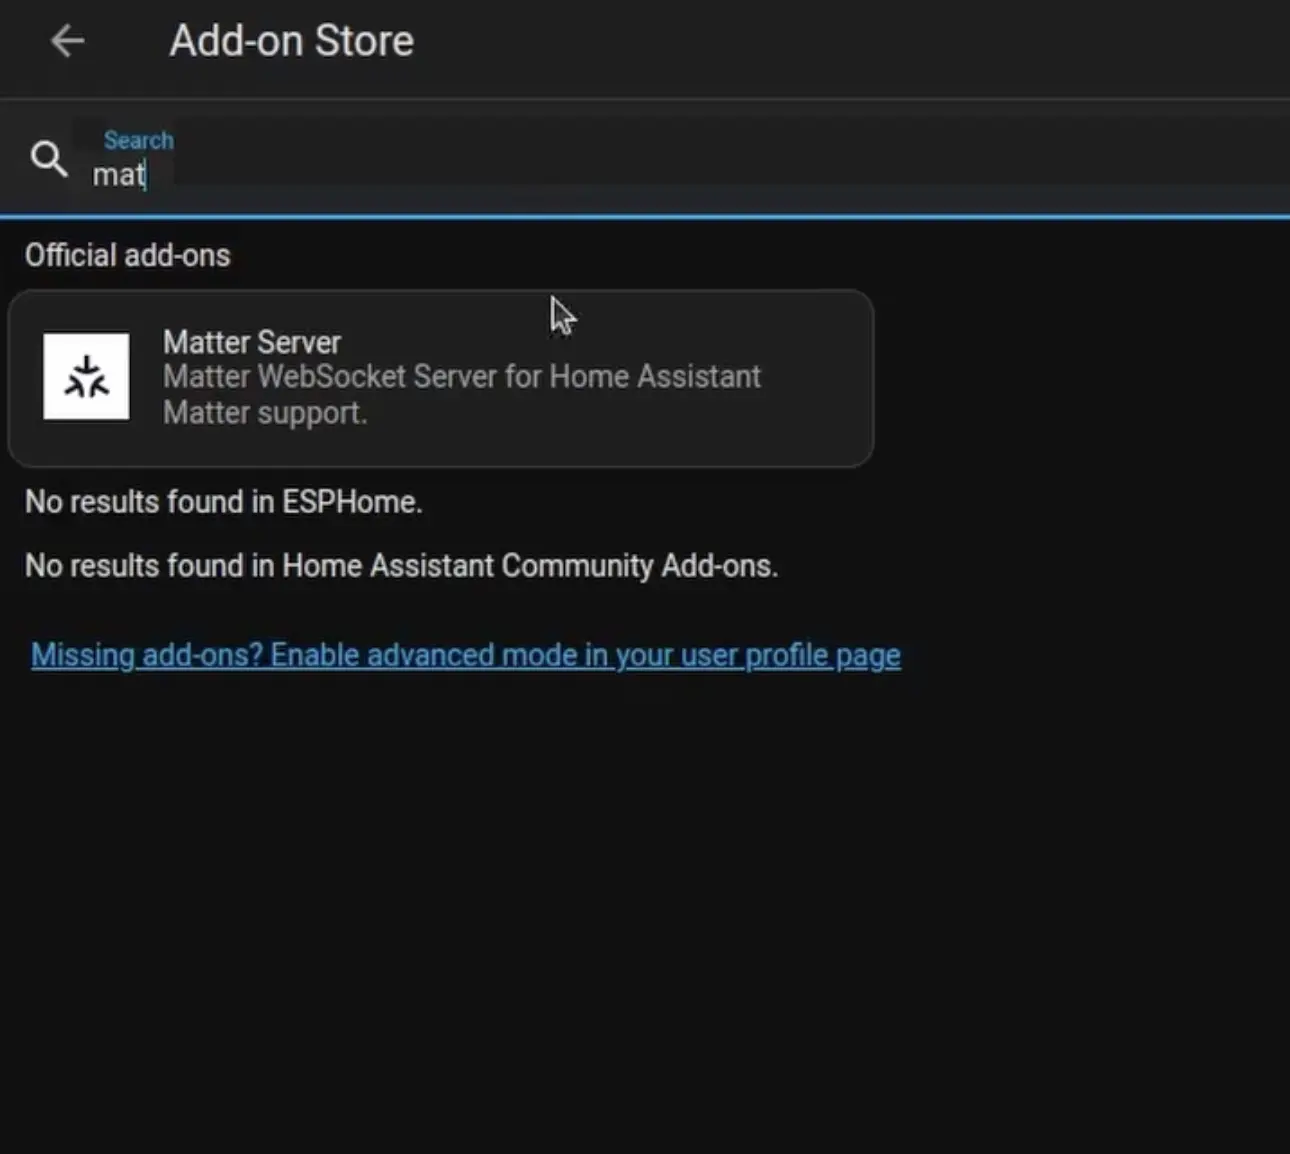
Click on Install and after installation completes, click on Start.
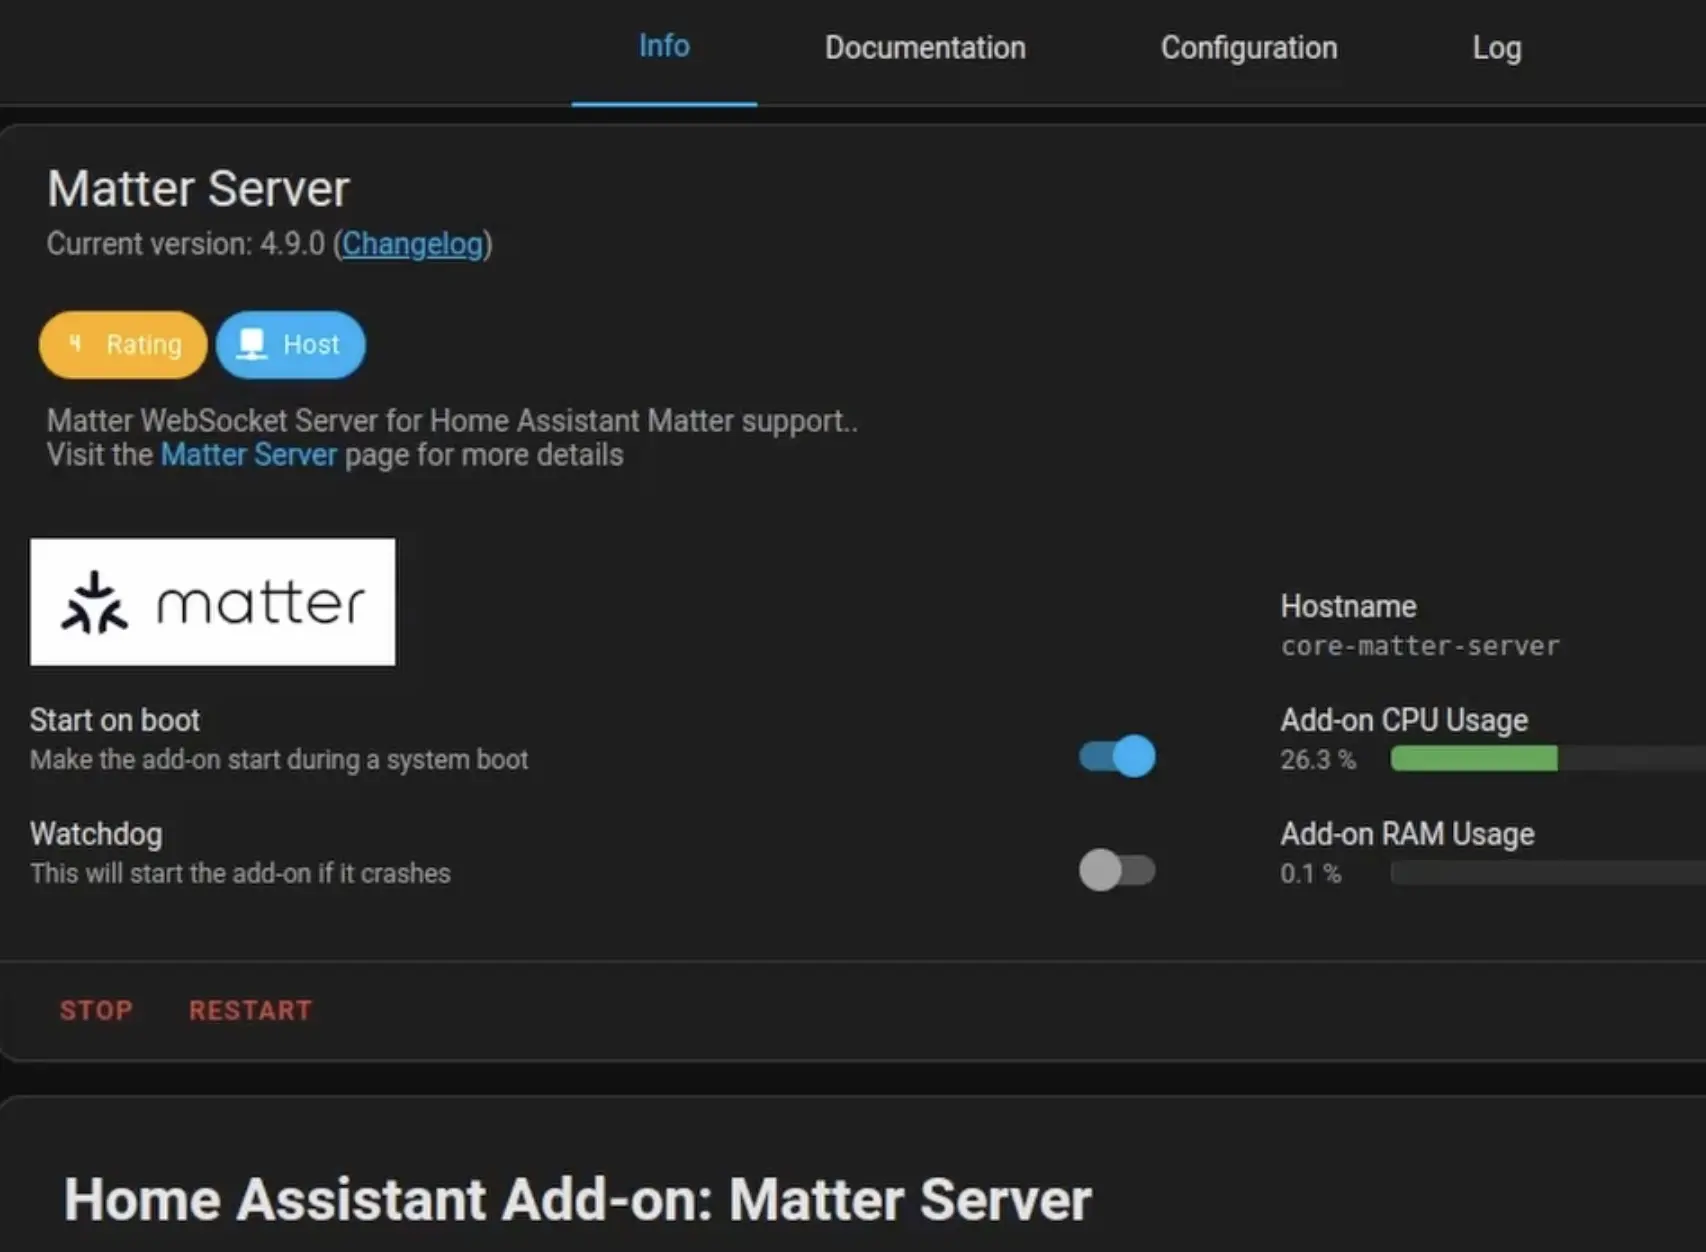
With this, your Matter Server is up and running.
Now we need to connect it to Home Assistant.
So now click on settings in the left panel and then click on “Devices & Services”
Then click on “Add Integration” from the bottom right-hand corner and search for Matter and click on “Matter”
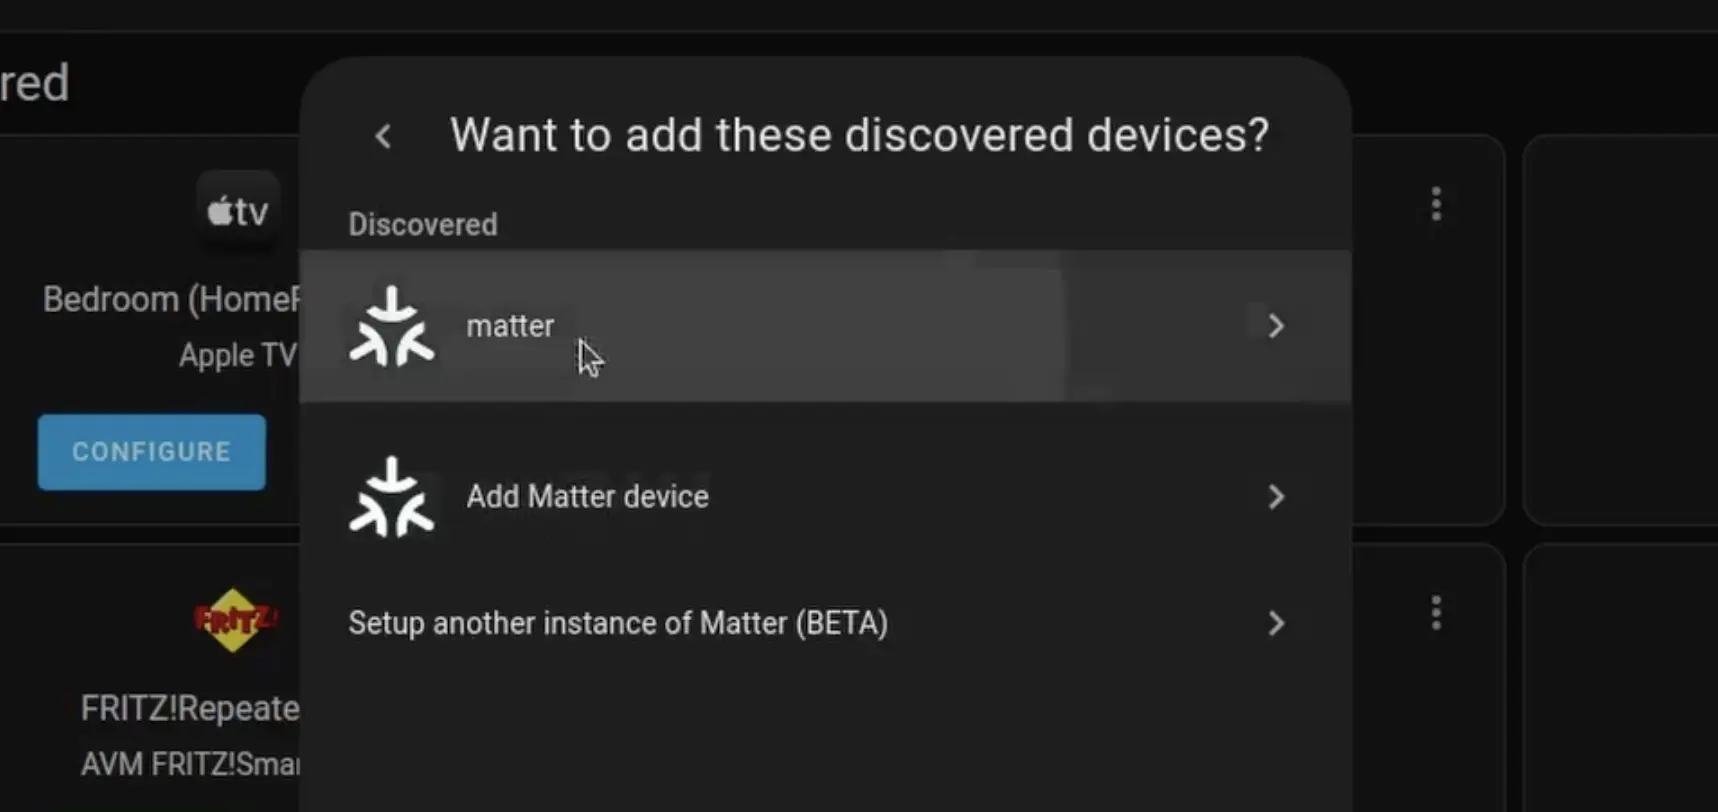
It will ask you to set up integration with the Matter add-on, so click on submit.
That’s it you have set up the Matter Server Integration with Home Assistant on Home Assistant OS.
You can check the next heading below to see how to add a Matter device to Home Assistant.
Setting Up Matter Server in Home Assistant Container
To use Matter with Home Assistant OS, you will have to start the Matter Server using Docker.
For this, create a docker compose file with the following content.
version: '3'
services:
  matter-server:
    container_name: matter-server
    image: ghcr.io/home-assistant-libs/python-matter-server:stable
    restart: unless-stopped
    security_opt:
      - apparmor=unconfined
    volumes:
      - ./data:/data
      - /run/dbus:/run/dbus:ro
    network_mode: host
Once you create this file, start the Matter Server docker container by running the following command in the same directory where the docker-compose file is present.
docker compose up -d
The -d option will help you start the container in the background.
Next, we will have to set up the connection in Home Assistant.
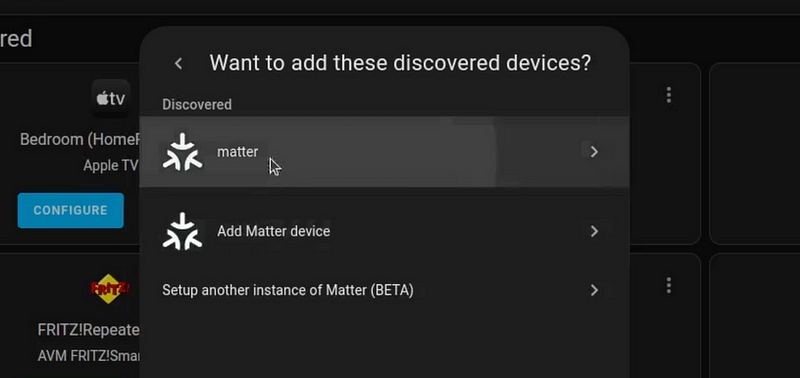
For this in your Home Assistant UI, click on “Settings” in the left-hand panel, then “Devices & services”, then click on “Add Integration” in the right bottom corner and search for Matter.
Here select Matter as shown in the image.
Now, it will ask you for the URL to the Matter server.
For this, you will have to add the IP address of the machine you are currently running the Matter Server.
ws://<your matter server machine IP address>:5580/ws
Keep the rest the same including the port the same i.e. 5580.
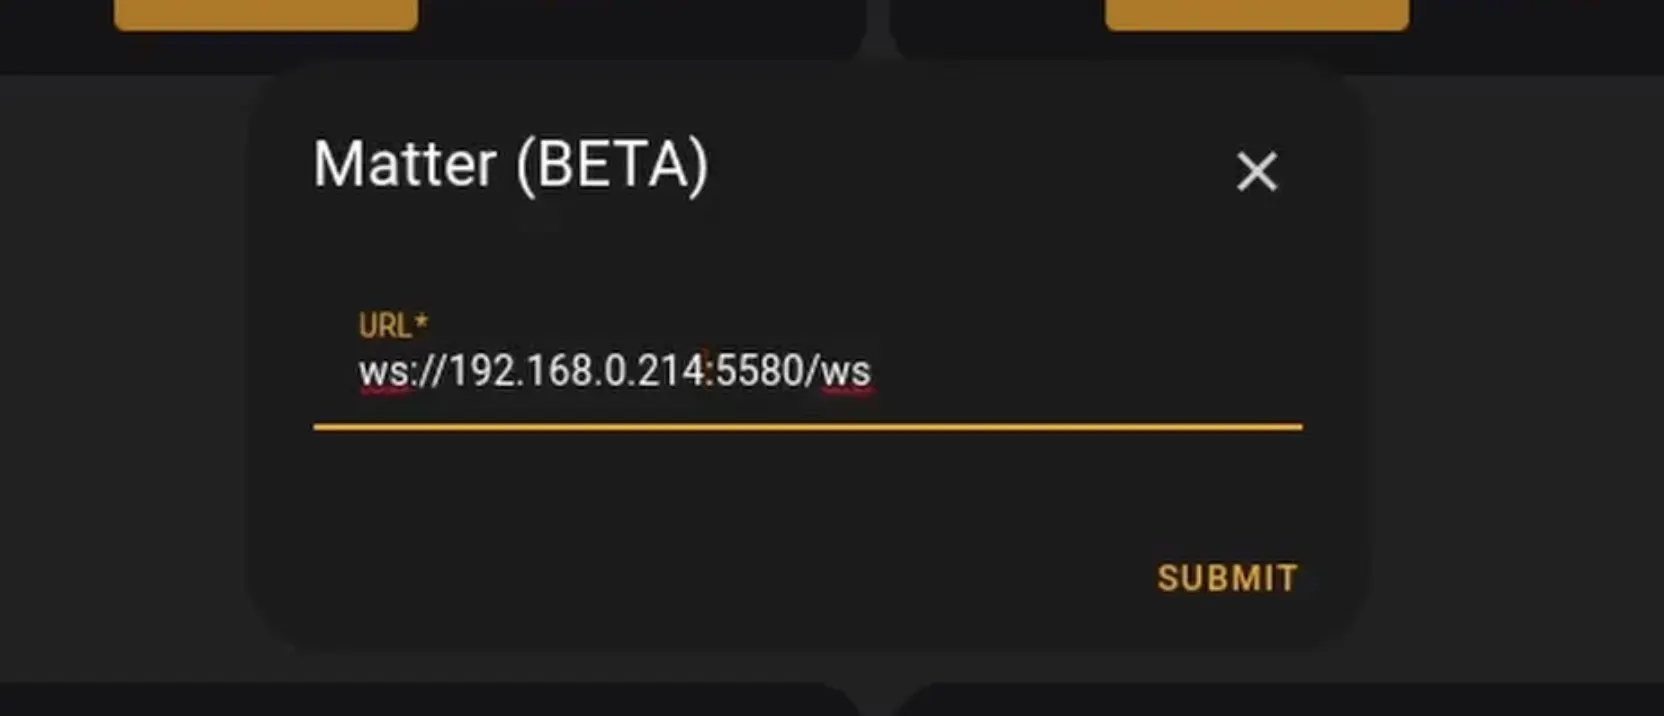
With this, you should now have the Integration of Matter Server in Home Assistant Container.
Now let’s look at how to add Matter Enabled Devices
Adding A Matter-enabled Device to Home Assistant
Now to add the Matter device, you will have to use the Home Assistant App for Android or IOS
Once you have the app and you open it, go to the “Device & Services” settings page, click on “Add Integration” in the bottom right-hand corner and search for Matter.
Now click on “Add Matter Device”
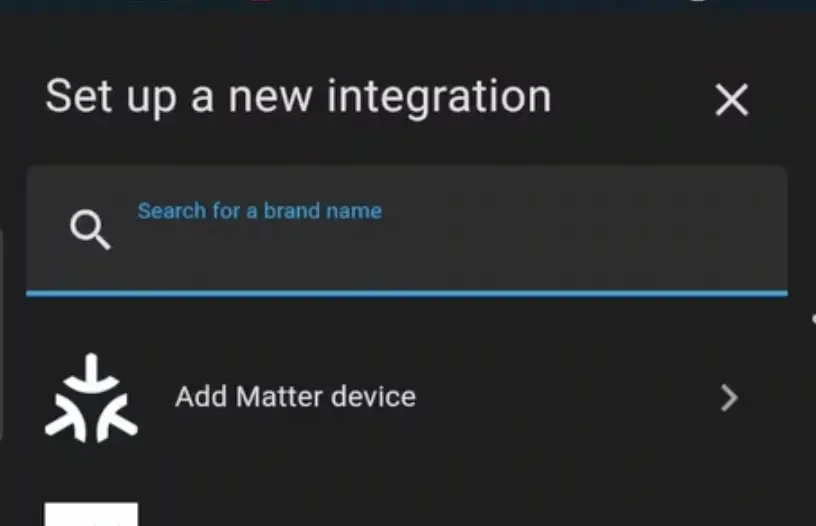
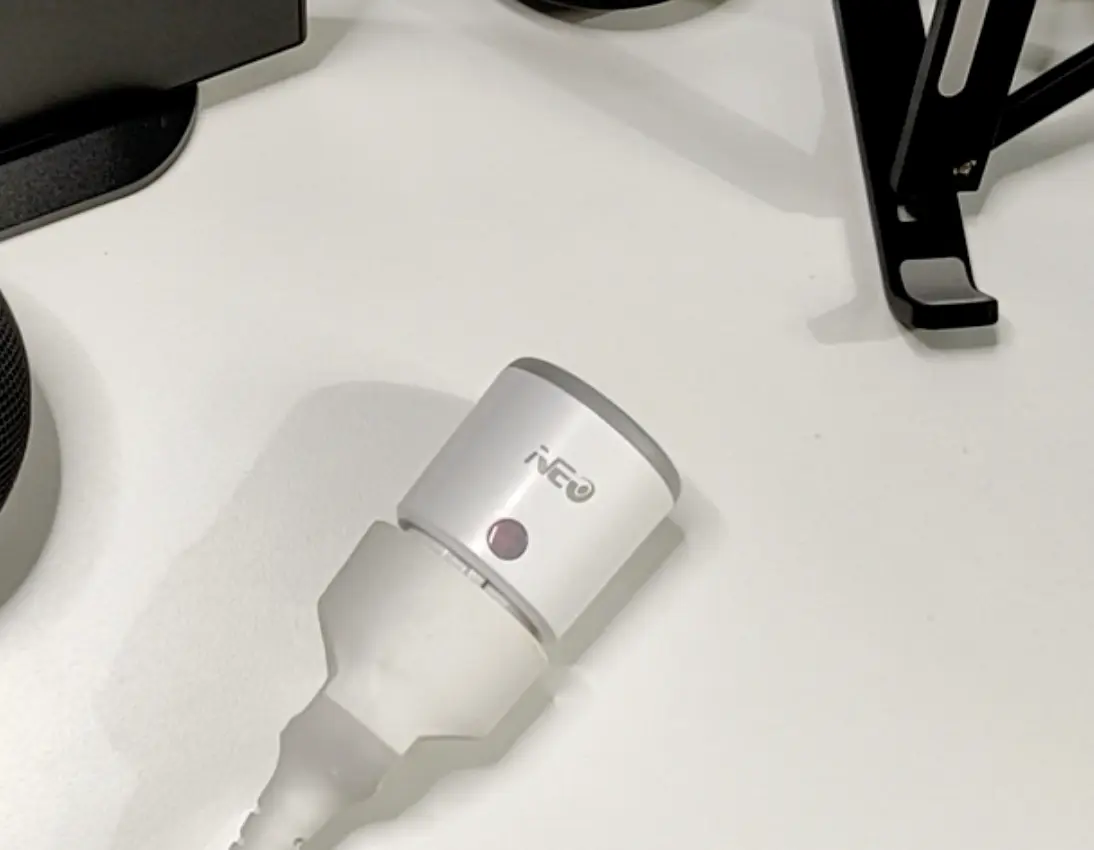
Once you do that, put your Matter-enabled device in Pairing mode.
In my case, it's a smart plug, so I pressed and held it for some time till the light started to flash rapidly.
Now, on the Home Assistant app, it will ask you to scan the QR code of the device.
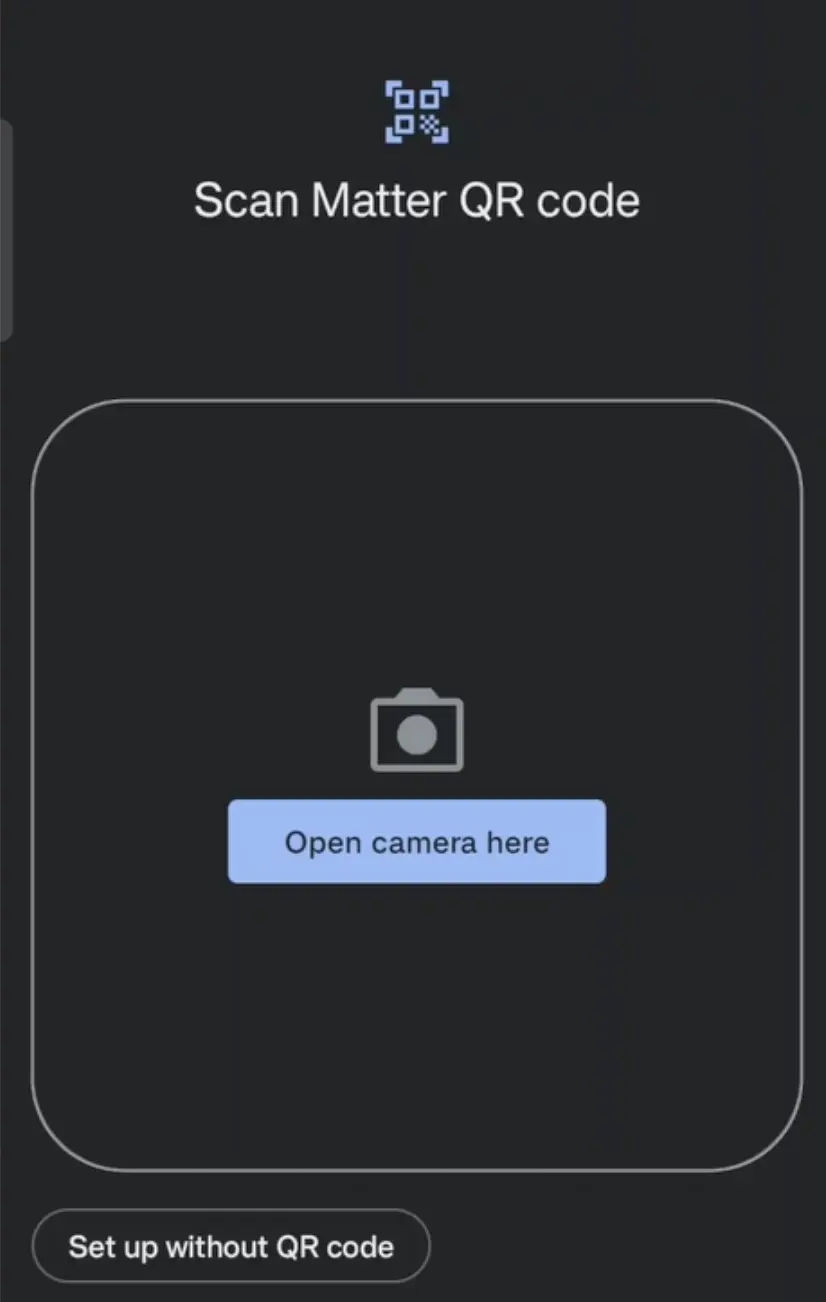
So, open the camera and scan the QR code.
Now we have to wait till it finishes.
This will take some time about 5–10 mins, so you need to be very patient.
On the app, you will first see “Generating Matter Credentials”, Then “Checking network connectivity”, then “connecting device to Home Assistant”
Finally, you will see “Device connected”.
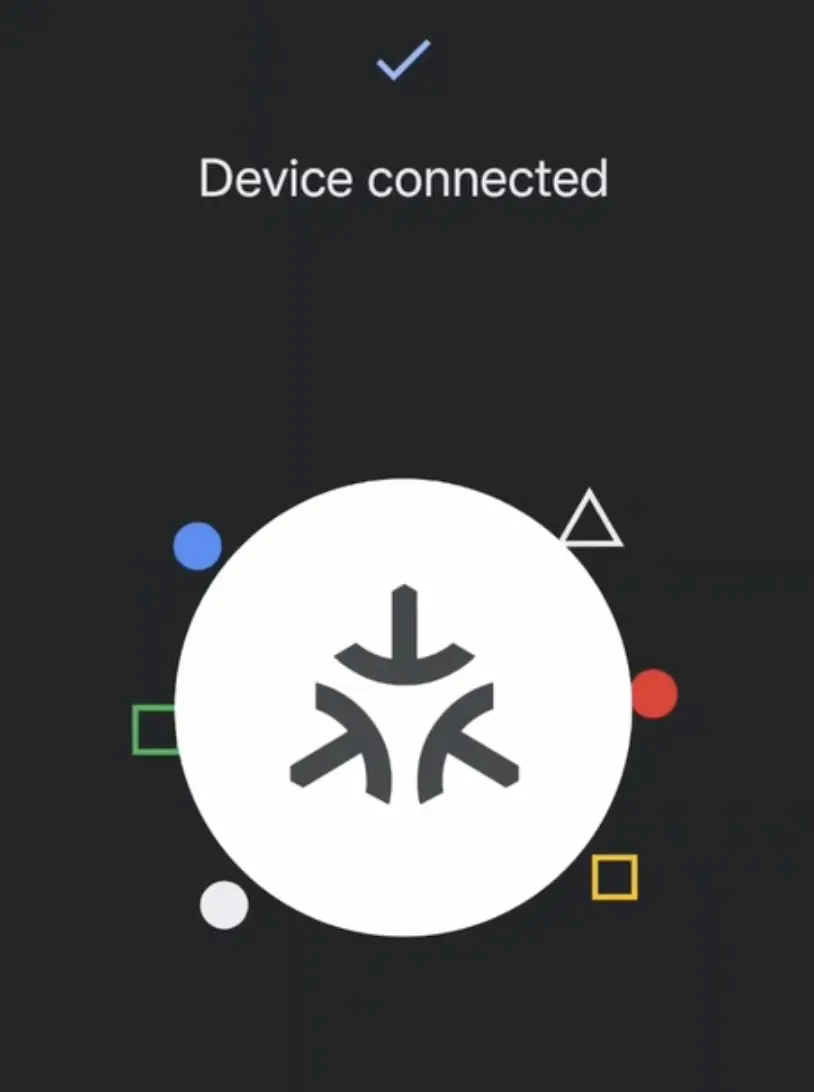
With this, you can now see the device in the Home Assistant UI in the Matter Integration.
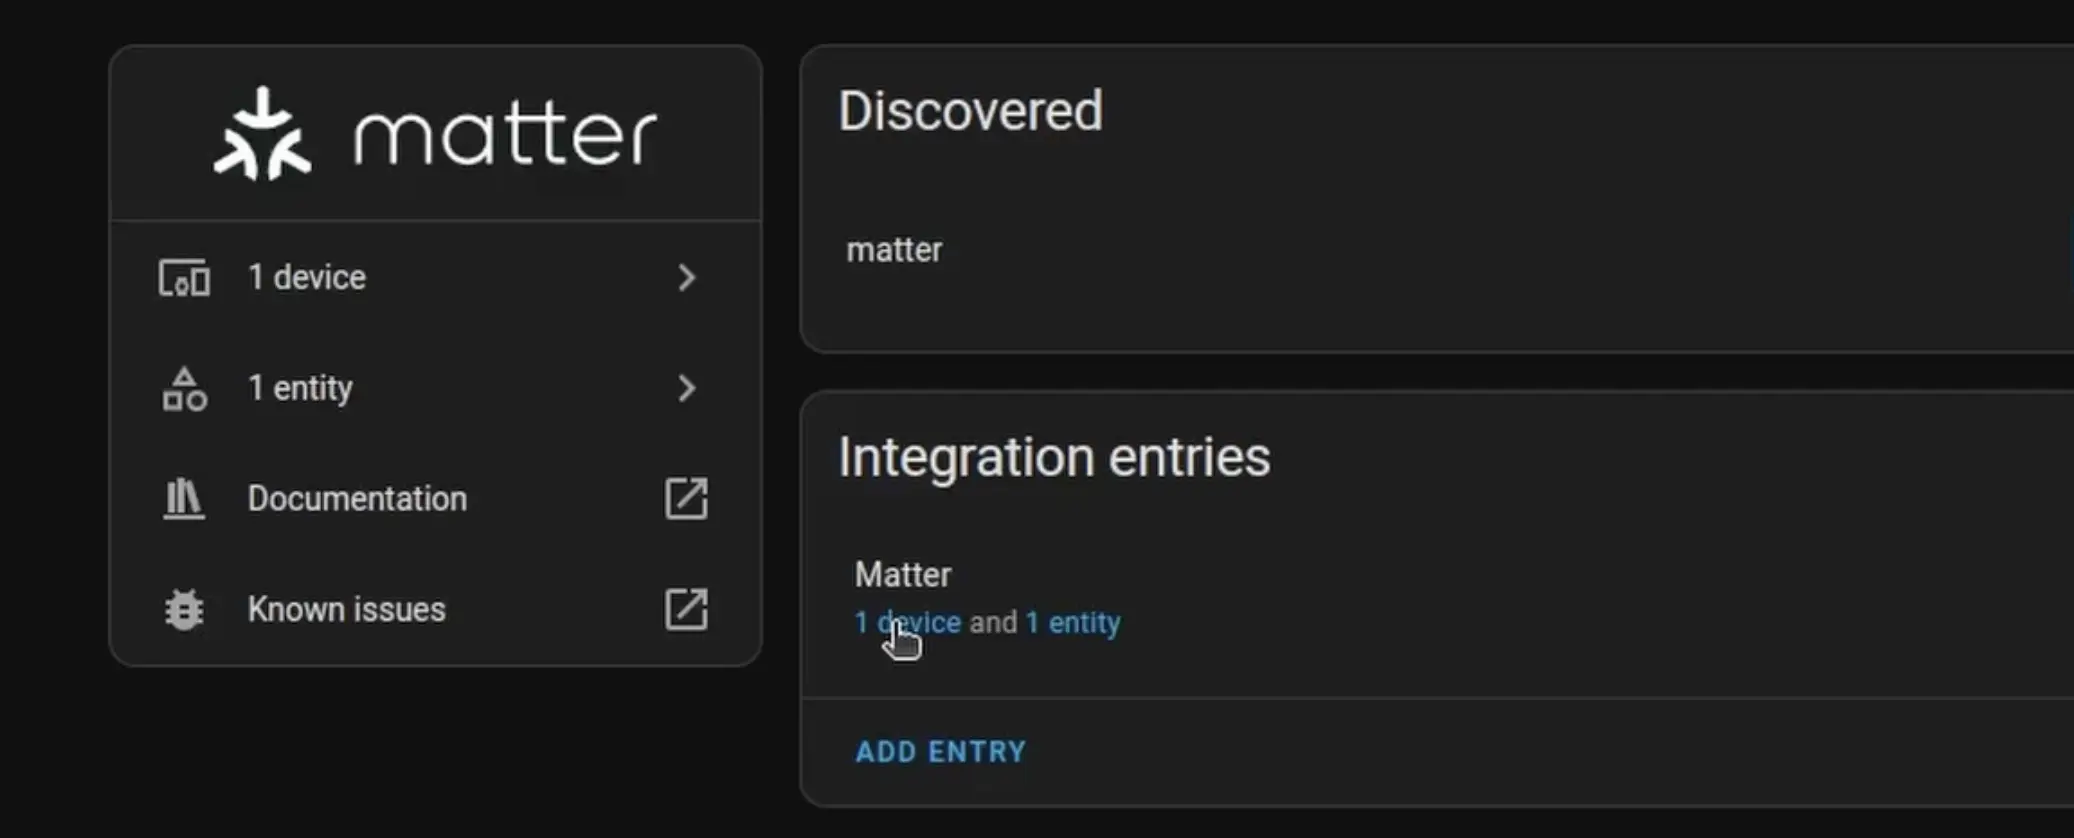
In my case, It was showing the Smart Socket.

Fixing Failure While Connecting to Home Assistant
In case you are facing issues while connecting the device to Home Assistant, you will have to make sure you have IPv6 enabled in the network settings.
For this click on "Settings", then "System", then click on "Network". Here you must have IPv6 set to "Automatic".
