Written by
Featured Video
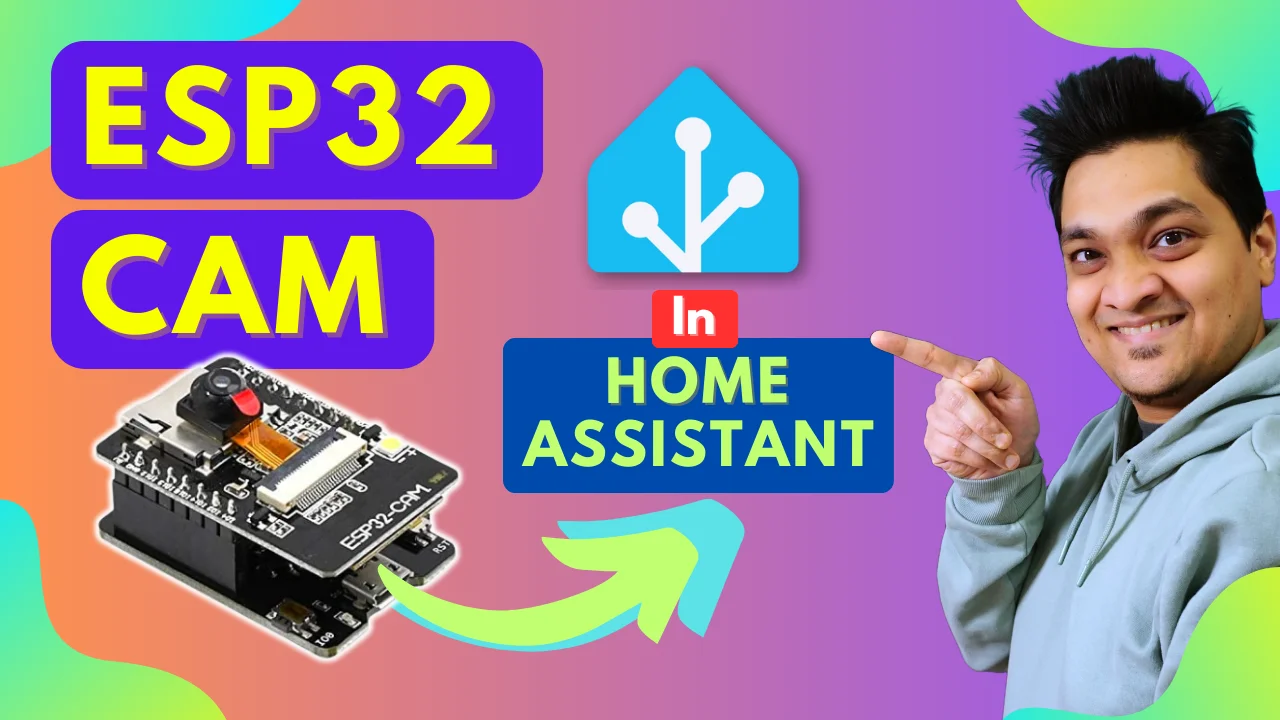
In this article, we will be looking at how we can actually connect ESP32 CAM with Home Assistant.
Table of Contents
ESP32 CAM Configuration
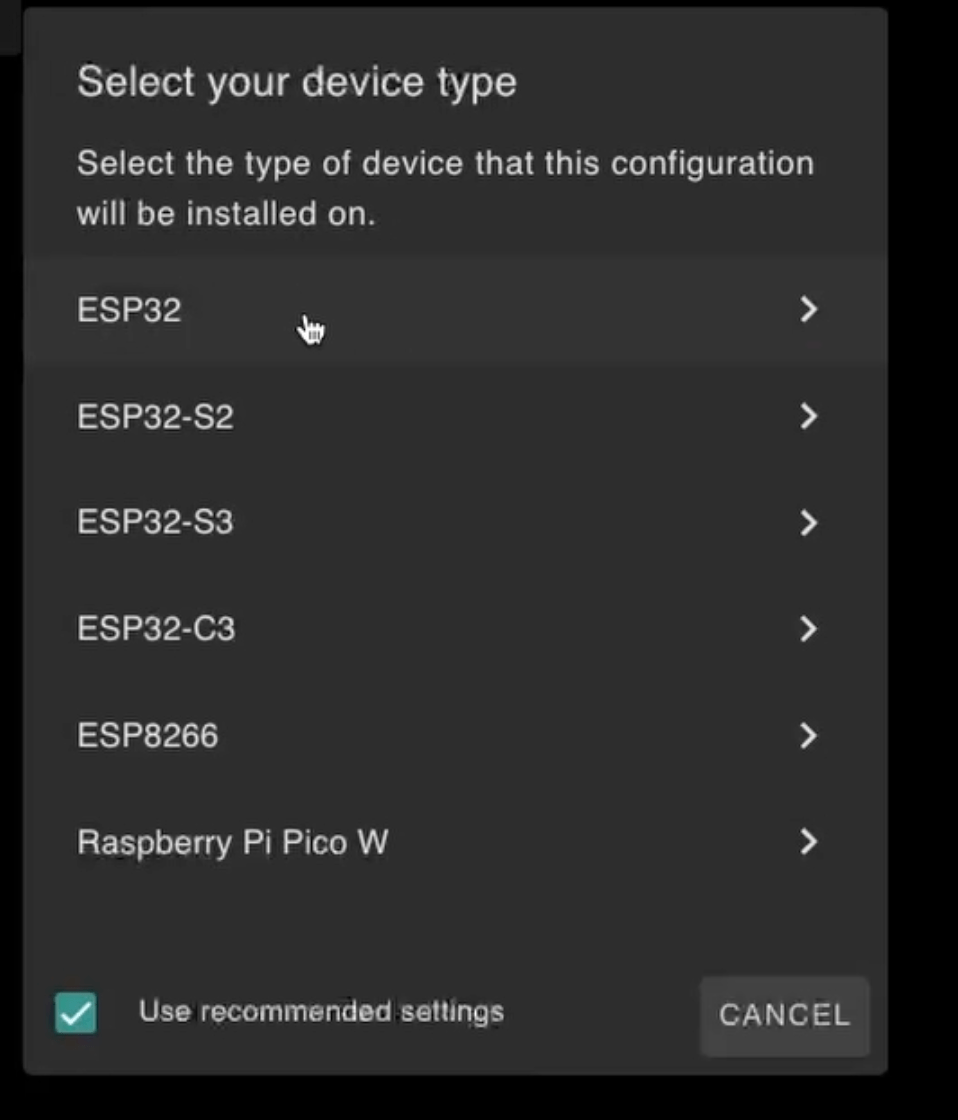
Open ESP Home, then click on “New device”, give it a name, and then select “ESP32".
Now open the configuration and add this particular configuration
esphome:
  name: esp32-cam
  friendly_name: ESP32-CAM

esp32:
  board: esp32dev
  framework:
    type: arduino

# Enable logging
logger:

# Enable Home Assistant API
api:
  encryption:
    key: "2ZJGNNGkD7DnNJrIPFRizQlsrlPyOVq9+oPL51BmHkc="

ota:
  - platform: esphome
    password: "fac07b301e8b4d45c8aedc34cd64c9de"

wifi:
  ssid: !secret wifi_ssid
  password: !secret wifi_password

  # Enable fallback hotspot (captive portal) in case wifi connection fails
  ap:
    ssid: "Esp32-Cam Fallback Hotspot"
    password: "OLuWr1GL3yCT"

web_server:
  port: 80

captive_portal:

esp32_camera:
  external_clock:
    pin: GPIO0
    frequency: 20MHz
  i2c_pins:
    sda: GPIO26
    scl: GPIO27
  data_pins: [GPIO5, GPIO18, GPIO19, GPIO21, GPIO36, GPIO39, GPIO34, GPIO35]
  vsync_pin: GPIO25
  href_pin: GPIO23
  pixel_clock_pin: GPIO22
  power_down_pin: GPIO32
  vertical_flip: False
  horizontal_mirror: False


  # Image settings
  name: ESP CAM
  resolution: 800X600

sensor:
  - platform: wifi_signal
    name: "WiFi Signal Sensor"
    update_interval: 2s
  - platform: uptime
    name: Uptime Sensor


esp32_camera_web_server:
  - port: 8080
    mode: stream
  - port: 8081
    mode: snapshot
  # ...
# Flashlight
output:
  - platform: gpio
    pin: GPIO4
    id: gpio_4

## GPIO_4 is the flash light pin
light:
  - platform: binary
    output: gpio_4
    name: flashlight
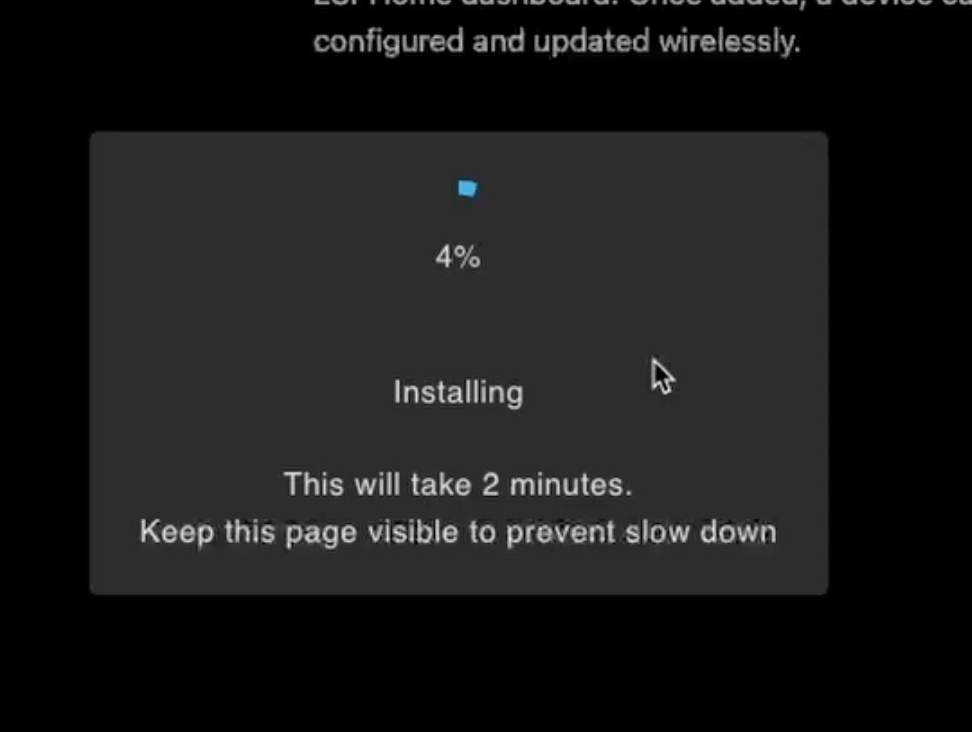
Click on save and then click on install, click on manual download, and then click on Modern format.
Now download the binary file.
Flashing ESP32 CAM with ESPHome
Go to https://web.esphome.io and now before you connect it via USB press and hold the IO0button on the ESP flasher.
If you don’t have the IO0 button, then connect the GND and IO0 pin and connect the board using the USB to the computer.
Now click on connect, select the USB, click on install, select the file, and then finally click install.
So with this, we have now flashed the binary on the ESP32 CAM board.
Connecting ESP32 CAM to Home Assistant
First, find the IP address of the ESP32 CAM board and then head over to Home Assistant.
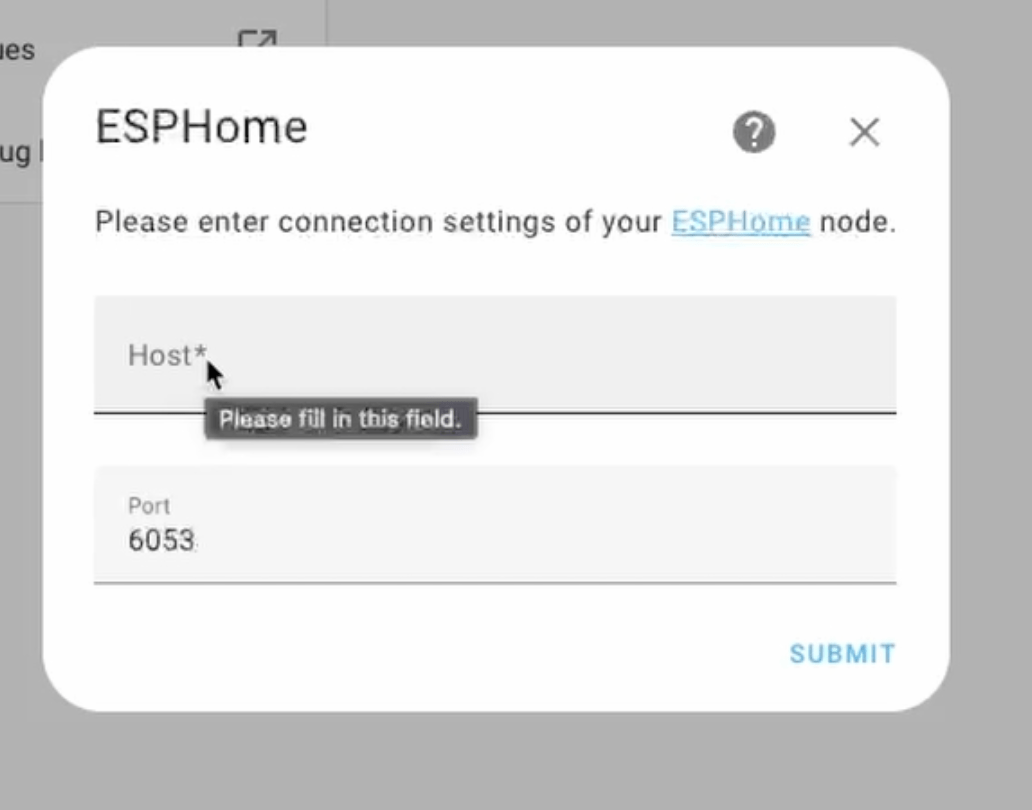
Now in Home Assistant click on settings then click on devices and integrations and now you will see ESP Home.
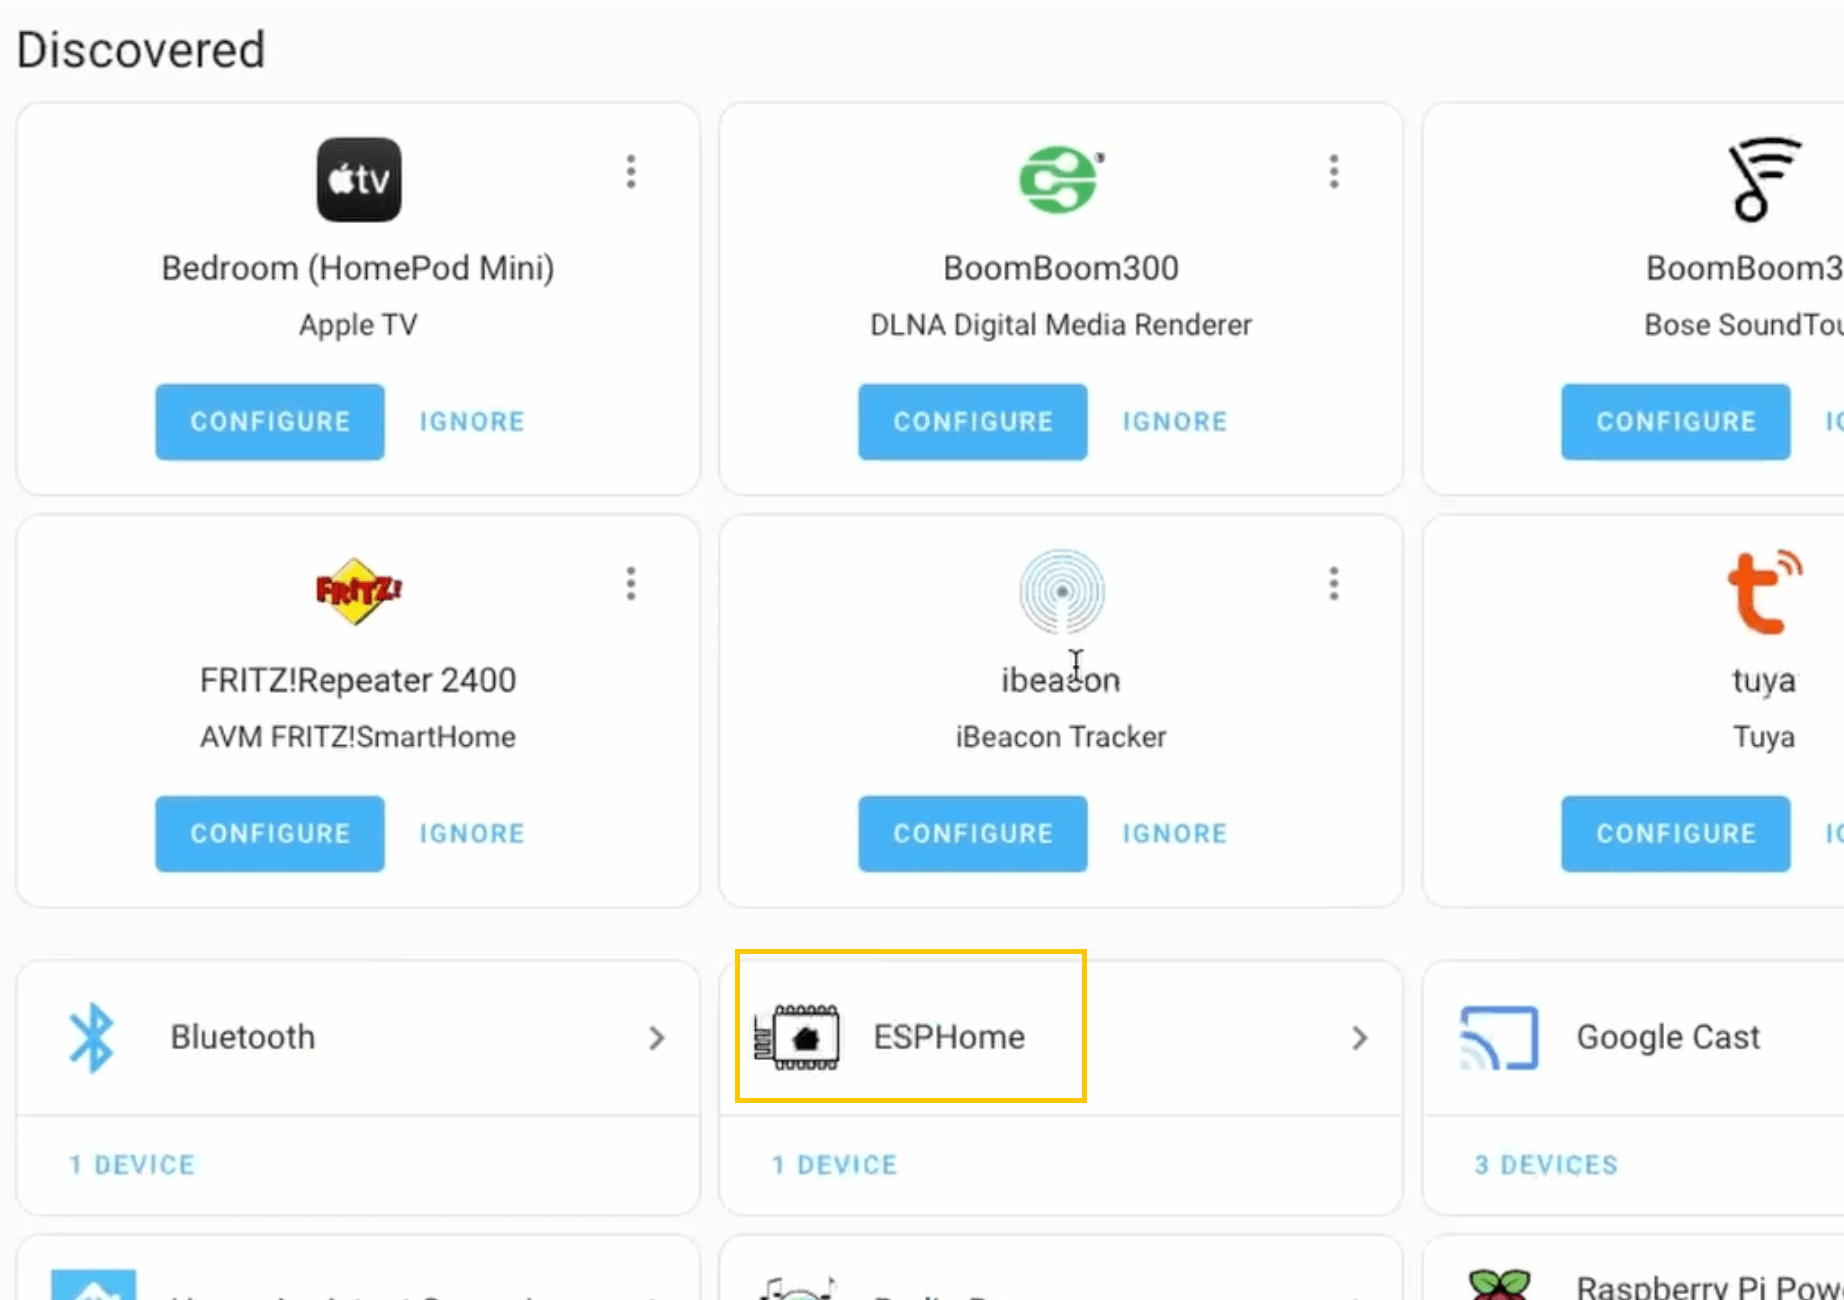
Click on ESP Home and click Add Device
Now here you will have to fill in the IP address of the ESP32 CAM board.
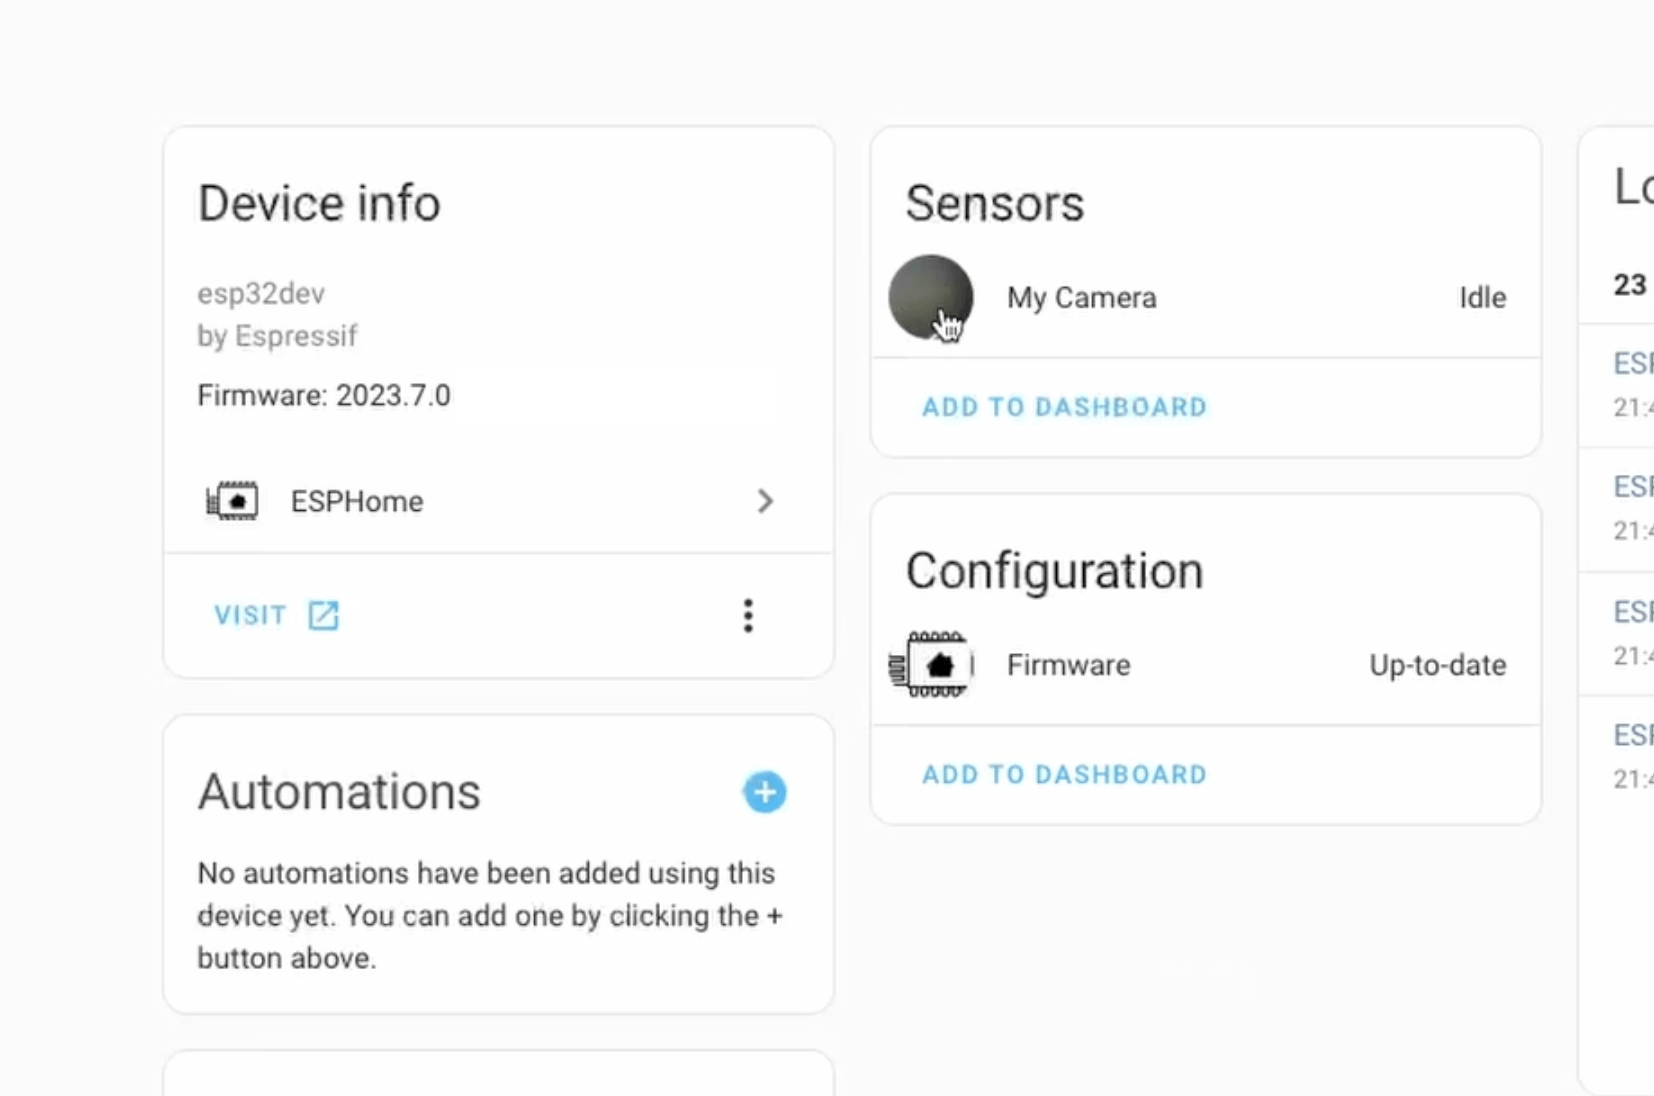
Once it's done you will see the device in Home Assistant.
Adding Live View In Home Assistant Dashboard
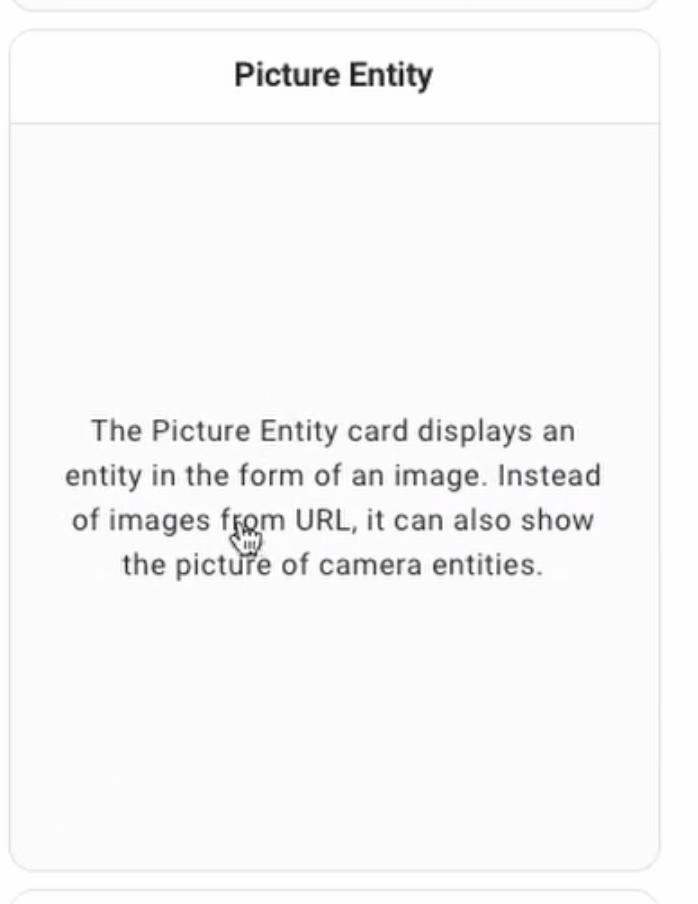
Click on Edit Dashboard, then add a “Picture Entity” card.
Now, here select the camera and select the live option.
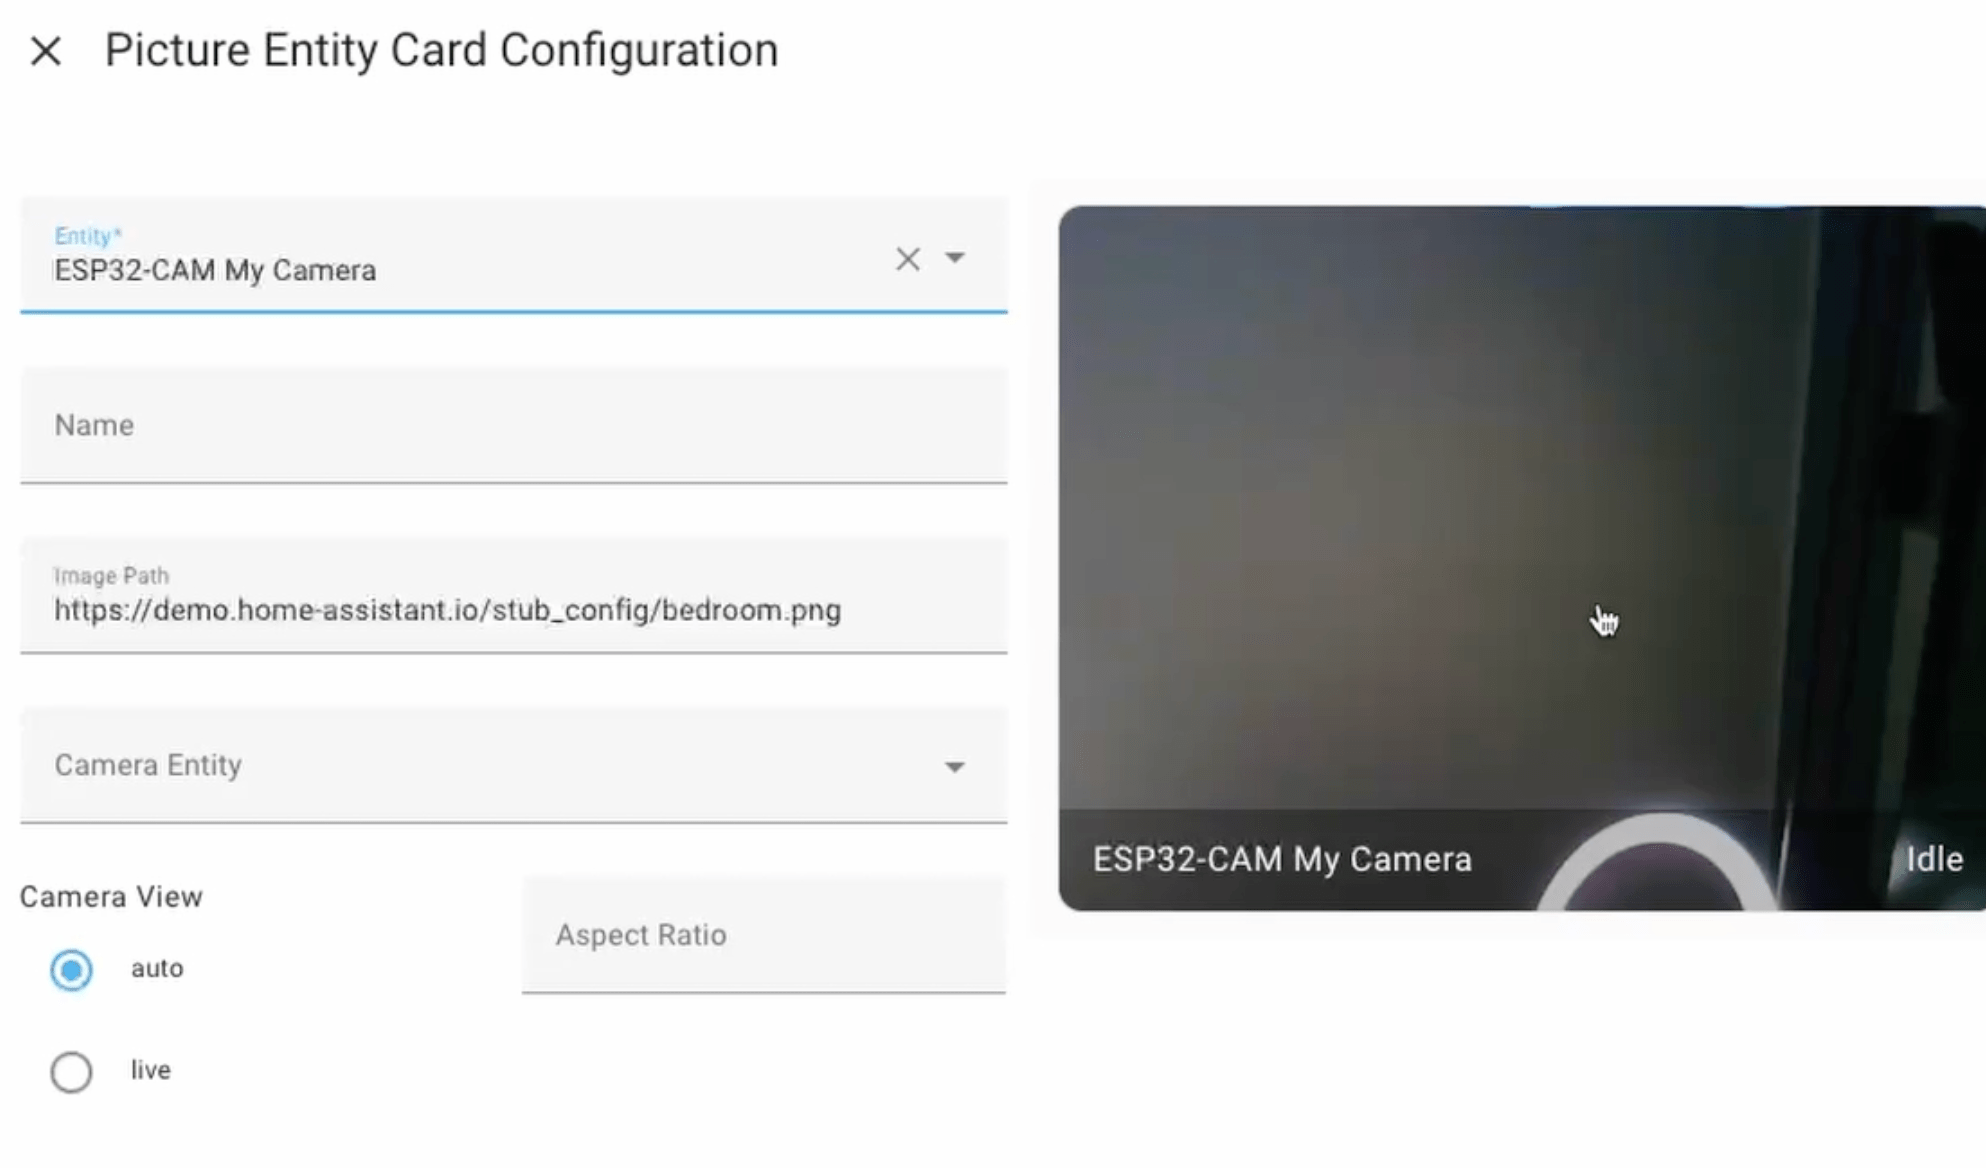
Save it and you will see the live view on the dashboard.