
Written by
Featured Video
This article is a step-by-step guide on installing Home Assistant on a Raspberry PI and connecting to WIFI on boot up.
Table of Contents
Installing Home Assistant On Raspberry PI.
To install this Home Assistant OS on your SD card, you will need to follow the following steps
- Download the Raspberry Pi Imager from https://www.raspberrypi.com/software/
- After installing the imager on your system open it.
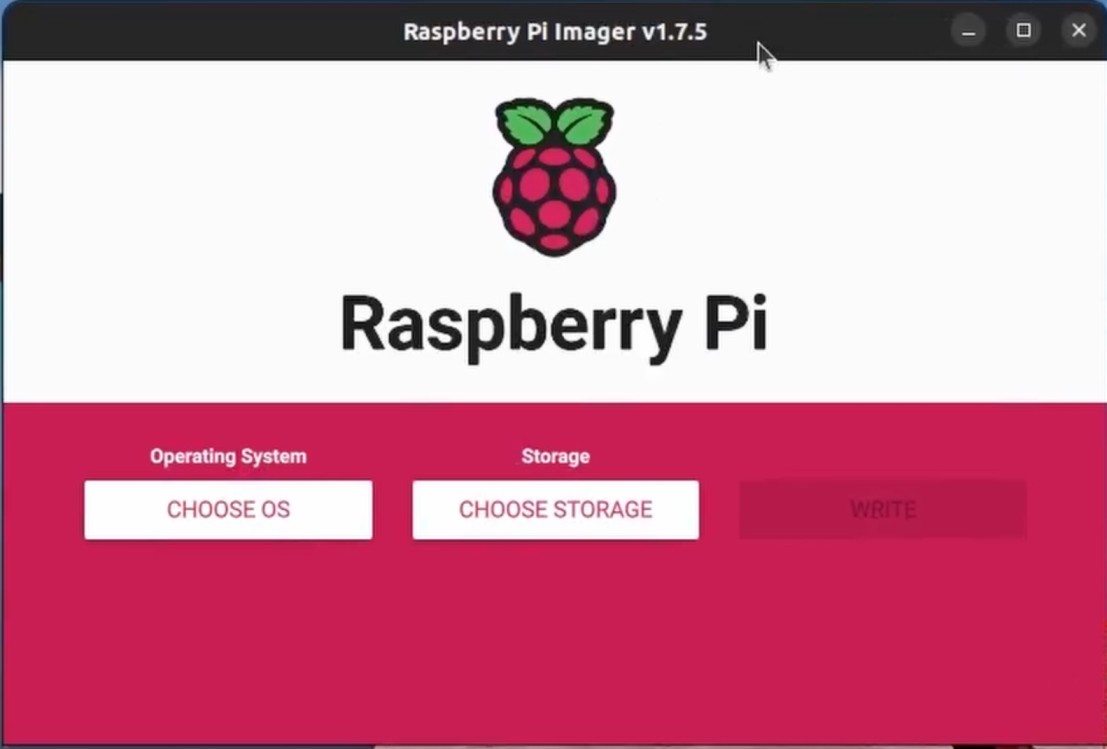
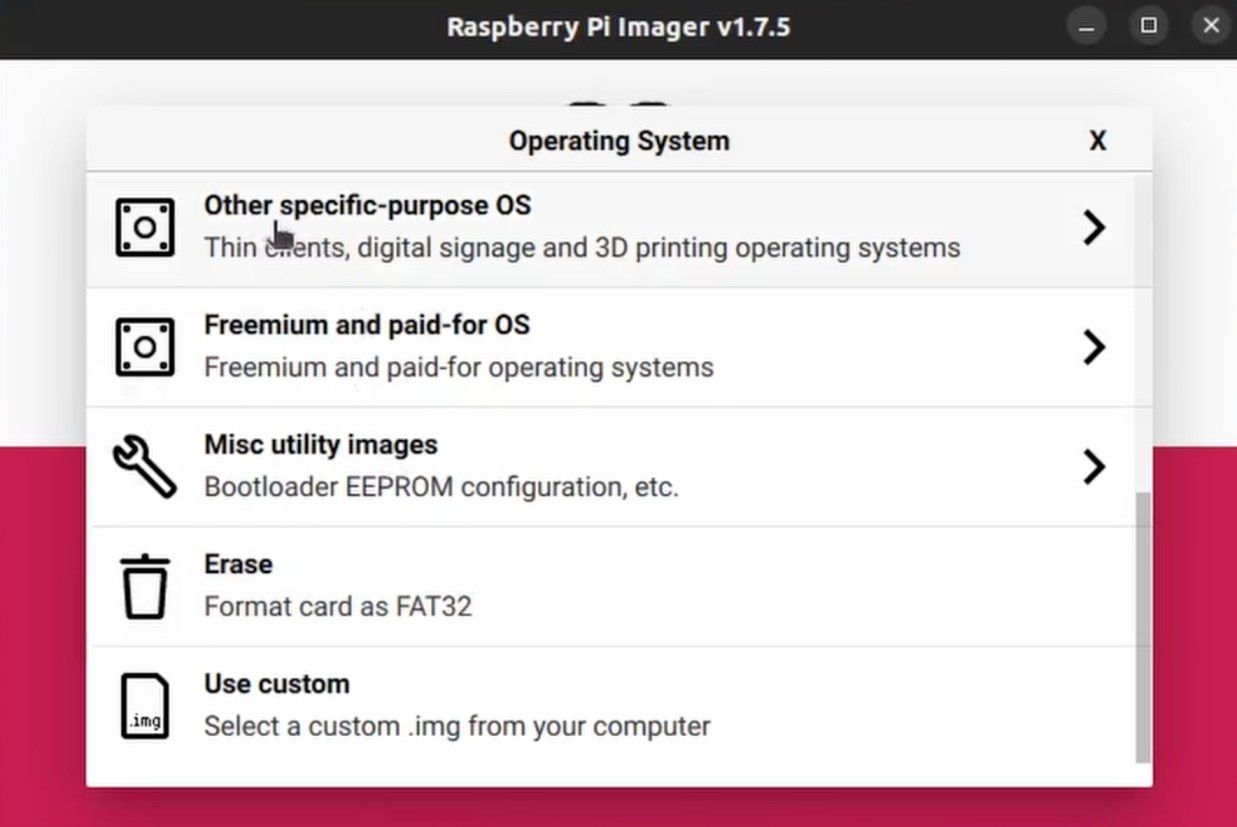
- click on Choose OS and select “Other specific-purpose OS”.
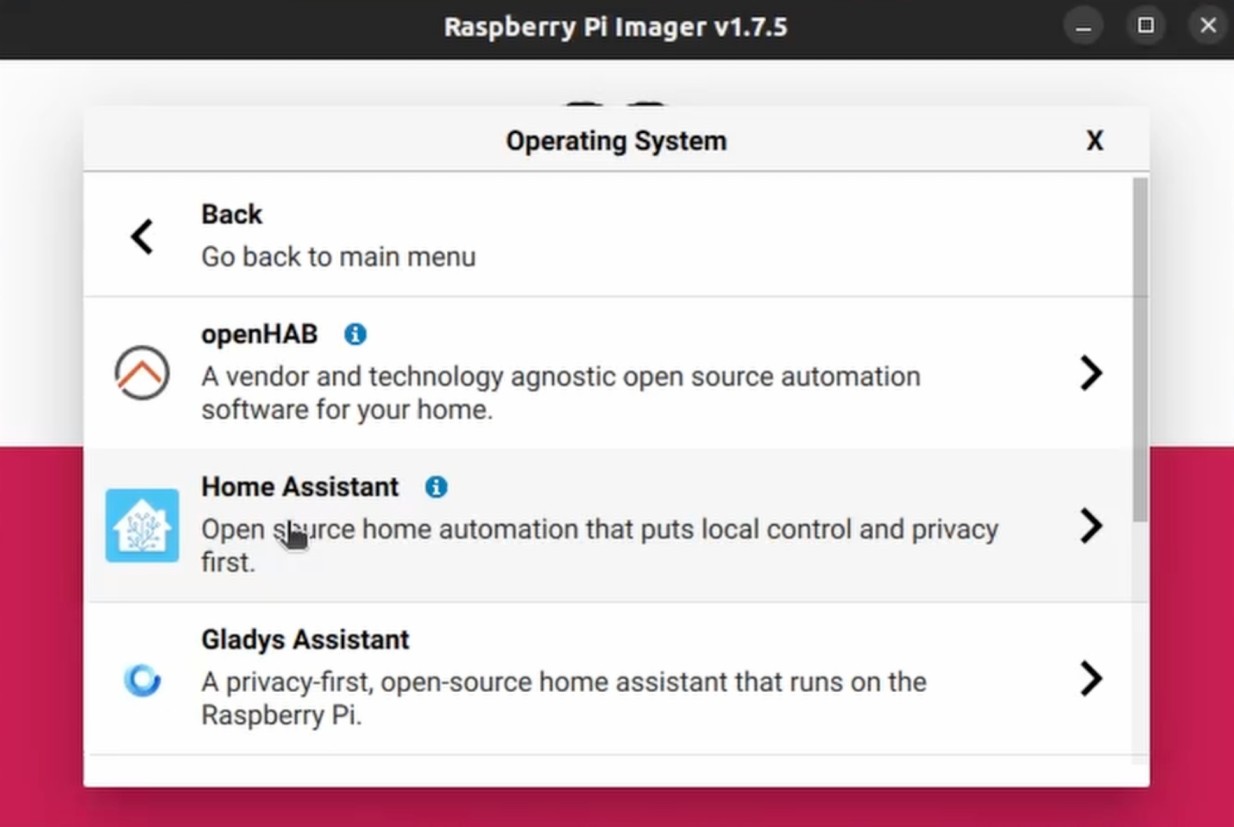
- Then select “Home assistants and home automation” and then select “Home Assistant”
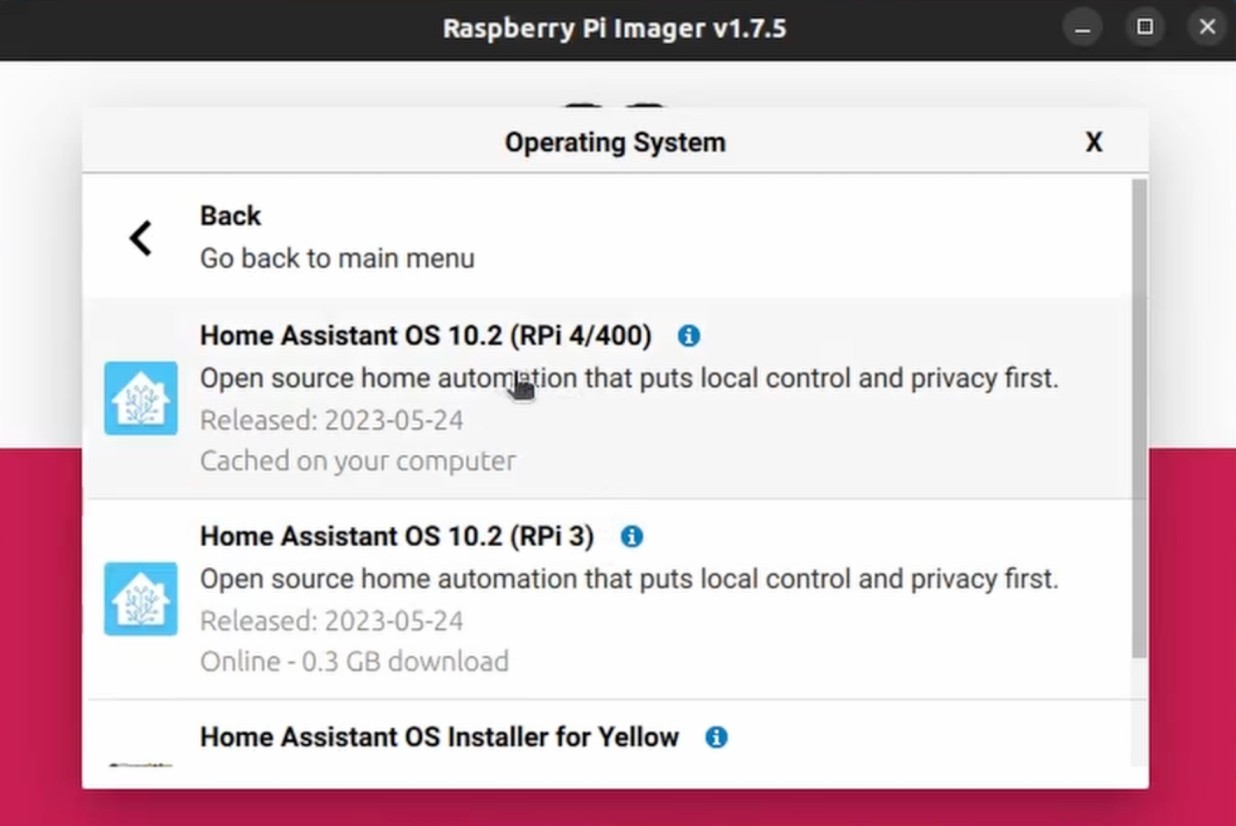
- Finally select “Home Assistant OS” depending on the Raspberry PI you have. For example, select RPi 4 for Raspberry PI 4.
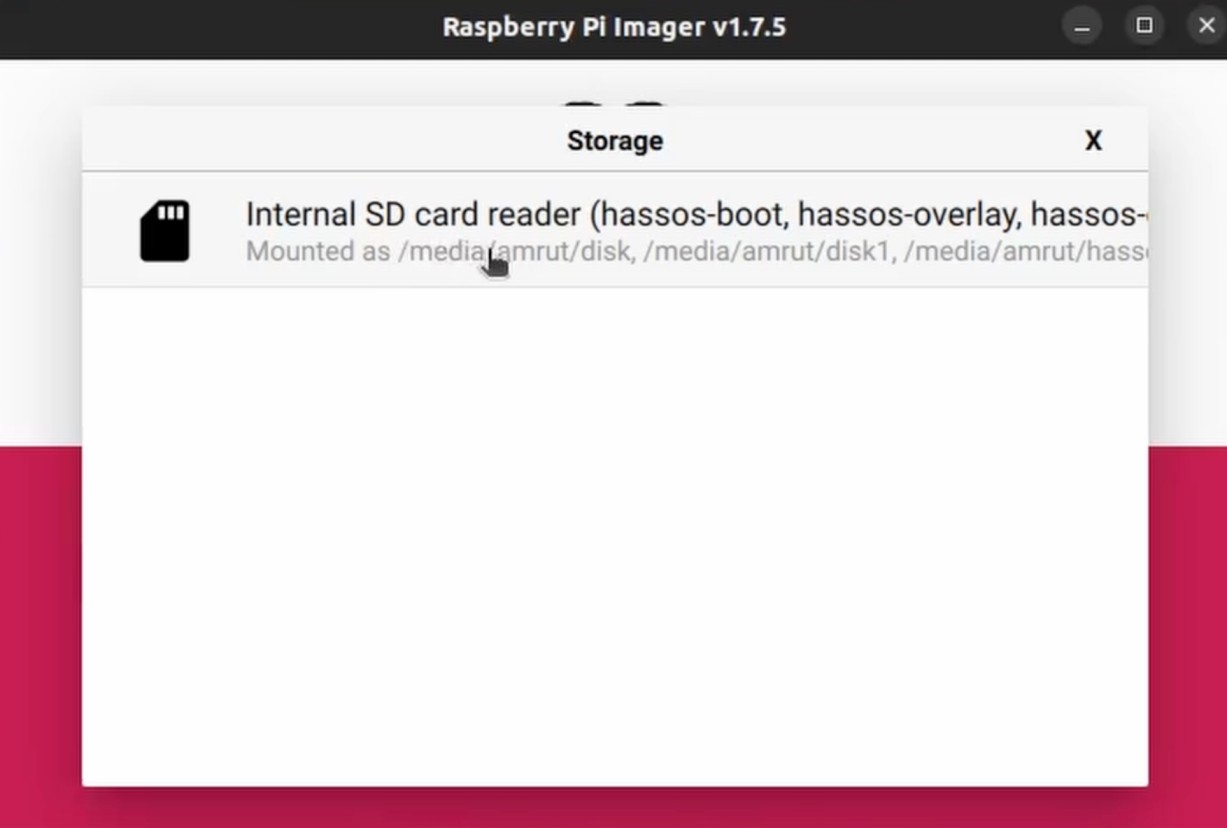
- Next, Select your storage i.e. your SD card by clicking on “choose storage”.
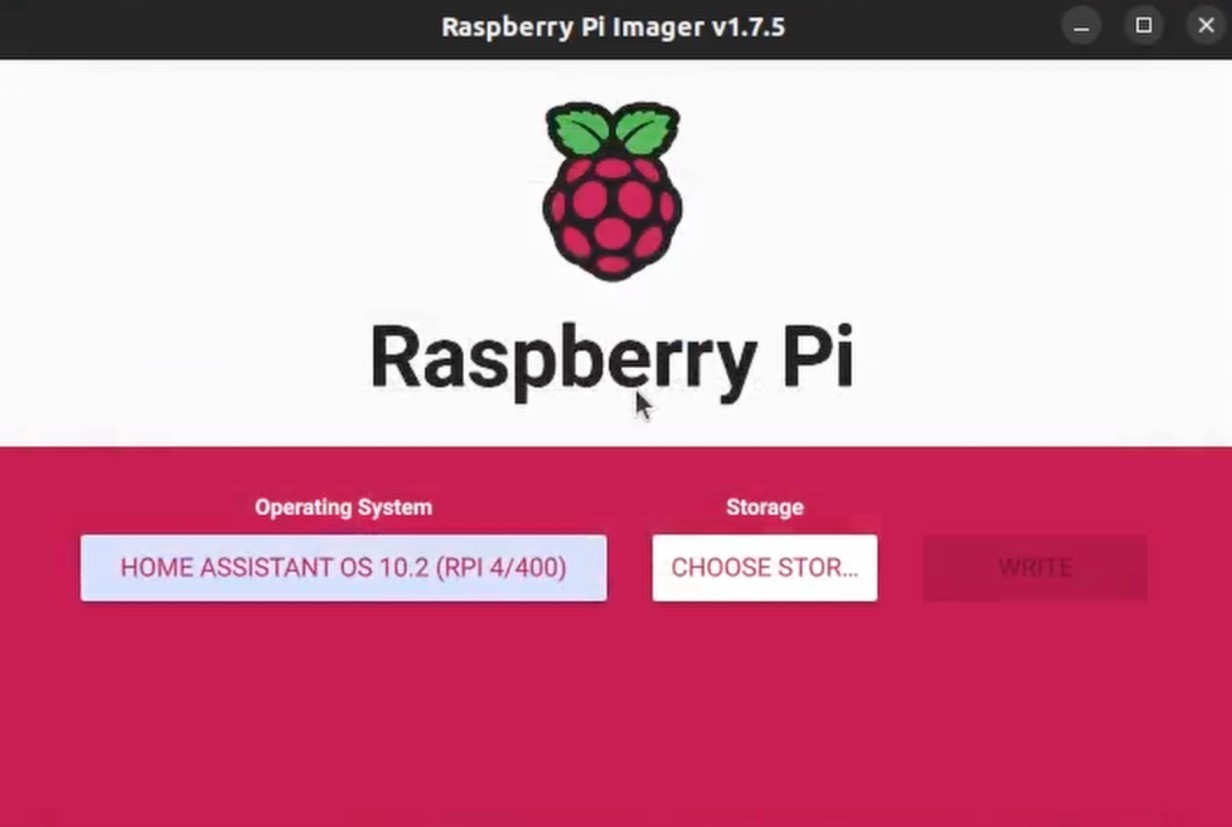
- Make sure you select your SD card here and not your computer's hard drive.
-
With this we are now ready to write the Home Assistant OS on the SD card.
-
Now click on write, you will be prompted for a password to confirm you want to write to the SD card.
With this, you will soon start writing the Home Assistant OS on the SD card.
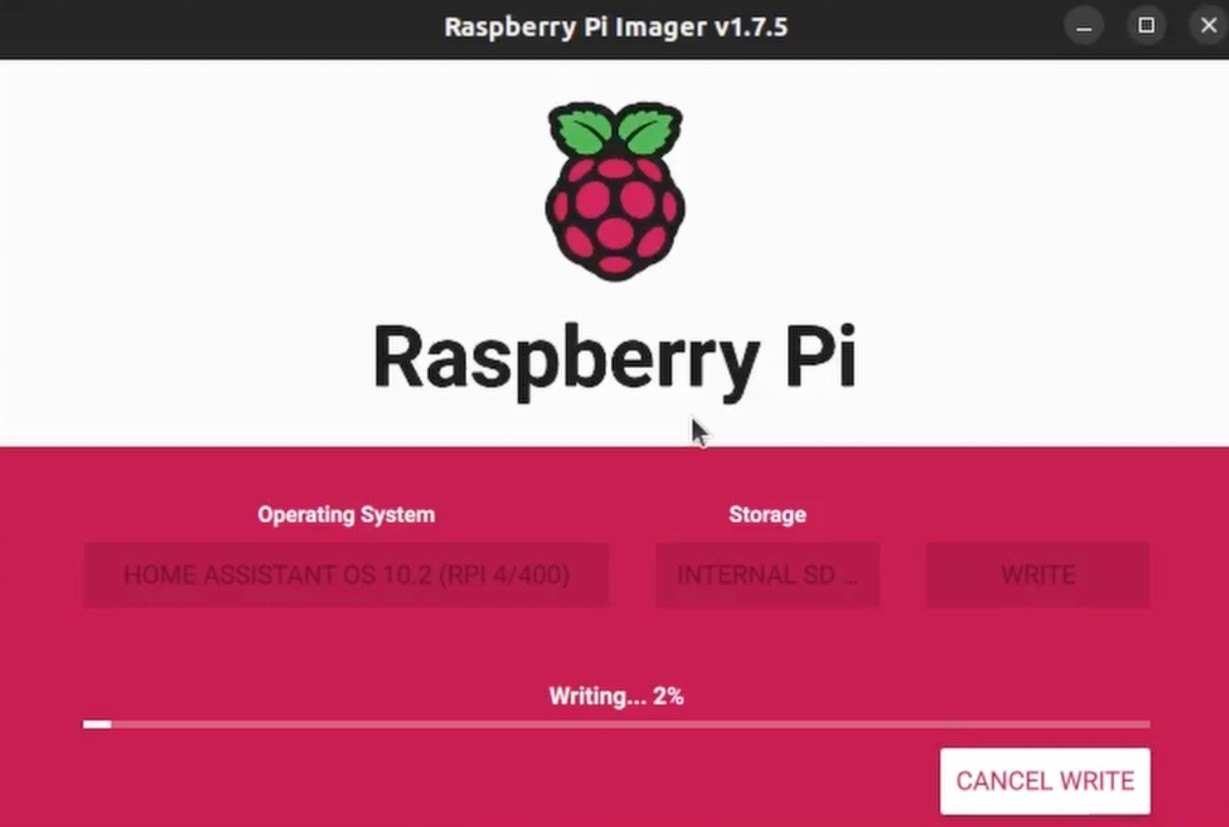
Once this finishes, your SD card will automatically be ejected. You will have to reinsert the SD card to your computer.
You can connect a LAN cable to the Raspberry PI and your router and already start up Home Assistant.
But in case you want to start it up by connecting to the WiFi then follow the next set of instructions.
If you are on the Ubuntu system follow the next these steps.
If you are using a Windows system then the steps are mentioned below this section.
Setting up a WIFI connection using an Ubuntu system
Step 1: run the command sudo fdisk -l . You should see some devices something like this.
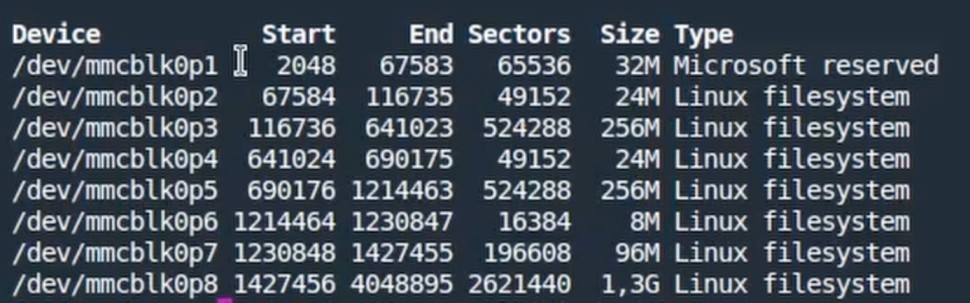
Step 2: Mount the device with the type “Microsoft reserved” using the command sudo mount -t auto <device location> /mnt/ha . Make sure you replace the device id from the output of step number 1.
For example for the above list, sudo mount -t auto /dev/mmcblk0p1 /mnt/ha
Also, make sure that the location /mnt/ha is a directory. If it does not exist then make a directory with the command sudo mkdir -p /mnt/ha .
Step 3: Change your current directory to /mnt/ha using cd /mnt/haand create a folder config/network folders inside it using sudo mkdir -p config/network .
Step 4: Now change your directory to the network directory using cd config/network and create a file named my-networkusing the vi editor.
Step 5: Paste the below content in the file and update the places where you have to put the Wifi SSID and Wifi password.
[connection]
id=my-wifi
uuid=b6e4e249-1c14-420c-bf6f-b1f6e2166022
type=802-11-wireless

[802-11-wireless]
mode=infrastructure
ssid=YOUR_WIFI_NAME

[802-11-wireless-security]
auth-alg=open
key-mgmt=wpa-psk
psk=YOUR_WIFI_PASSWORD

[ipv4]
method=auto

[ipv6]
addr-gen-mode=stable-privacy
method=auto

that's all you have to do.
Now you can insert the card in the Raspberry PI and wait for it to connect to the Wifi on boot up.
Scan Your Network
You can scan the network to see if the Raspberry PI is connected using this command by first finding the network interface of your Ubuntu system using the commandsudo arp-scanand using the interface name run the following command
sudo arp-scan -l --interface <name of the network interface>
Setting up a WIFI connection using a Windows system
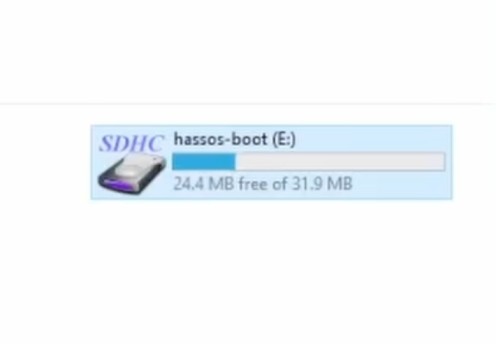
Insert the SD card again in the computer and you will be able to see a boot drive popping up.
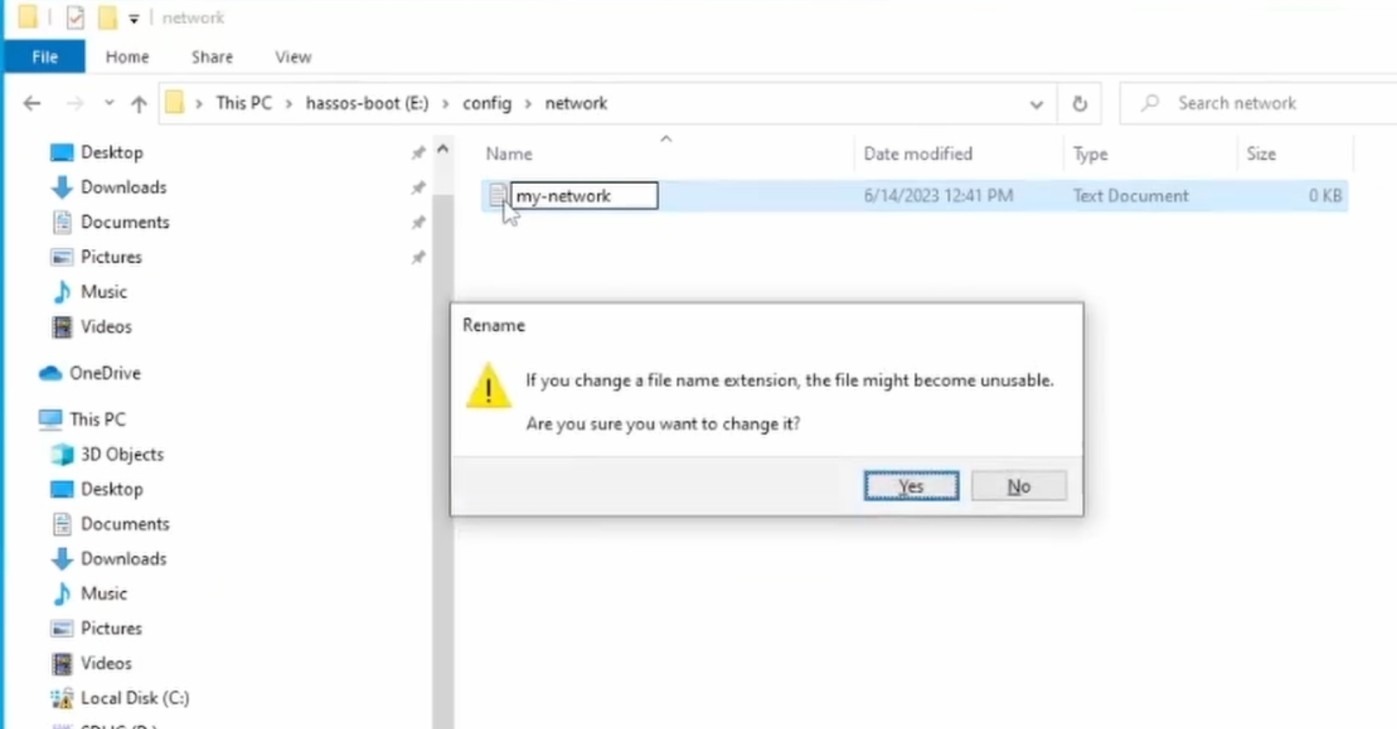
Step 1: Open the drive and create a folder called config . Then open the config folder and create another folder called network .
Step 2: Inside the network folder create a file with the name my-network. Make sure you do not give any extension to the file.
[connection]
id=my-wifi
uuid=b6e4e249-1c14-420c-bf6f-b1f6e2166022
type=802-11-wireless

[802-11-wireless]
mode=infrastructure
ssid=YOUR_WIFI_NAME

[802-11-wireless-security]
auth-alg=open
key-mgmt=wpa-psk
psk=YOUR_WIFI_PASSWORD

[ipv4]
method=auto

[ipv6]
addr-gen-mode=stable-privacy
method=auto
Step 3: Add the following configuration to the file.
Step 4: Change the Wifi SSID and password in the file as per your Wifi SSID and password.
That’s all, you have now set up the wifi configuration.
Now eject the SD card and insert it into the Raspberry PI and boot up the RaspberryPI.
You can run the command arp -a on the command line to find out the IP address of Home Assistant.
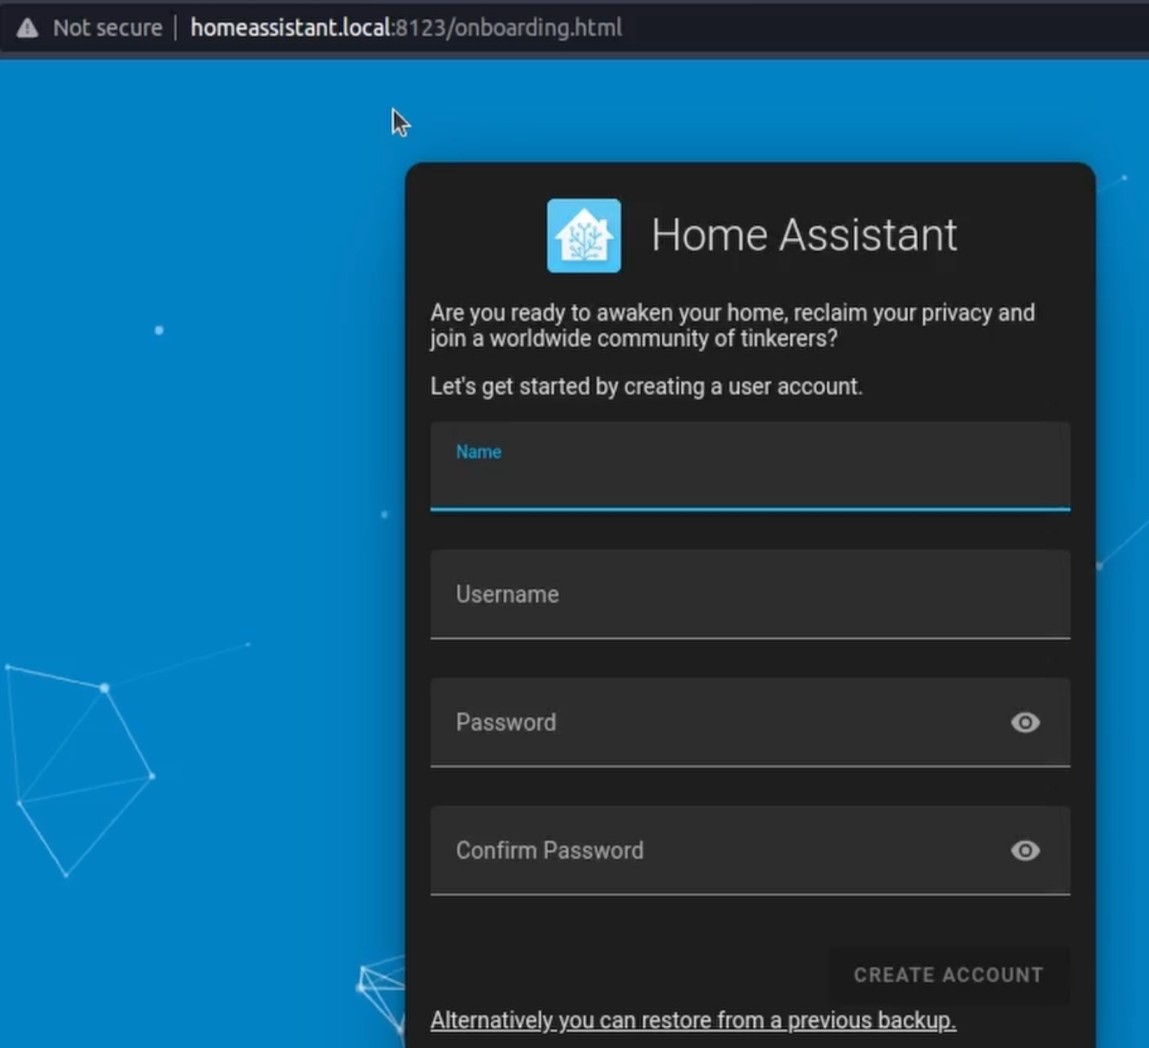
Accessing Your Home Assistant
You can access your Home Assistant from the web browser by the following address
http://<ip address of raspberrypi>:8123
Or you can access it using the location
http://homeassistant.local:8123
You can always follow the step-by-step guide in the Youtube video mentioned above.