
Written by
Featured Video
In this article, we will explore how we can create a custom wake word for our voice assistant to invoke Home Assistant
Table of Contents
Requirements
- Home Assistant OS setup and running.
You can check this link to see how you can install it for the first time. - Docker Installed on your machine.
You can install it using this link here. - Assist Pipeline setup with Whisper (speech-to-text) and Piper (text-to-speech).
You can check this article to set it up. - Samba Share is set up to copy files from your machine to Home Assistant OS.
You can check this article to set it up.
Install Snowboy Addon In Home Assistant OS
We will use a different wake word detector called Snowboy with our custom Wake Word.
Step 1: Go to Home Assistant Settings on the left panel and click on Add-ons
Step 2: Now click on the Add-on Store in the bottom right-hand corner and search for Snowboy
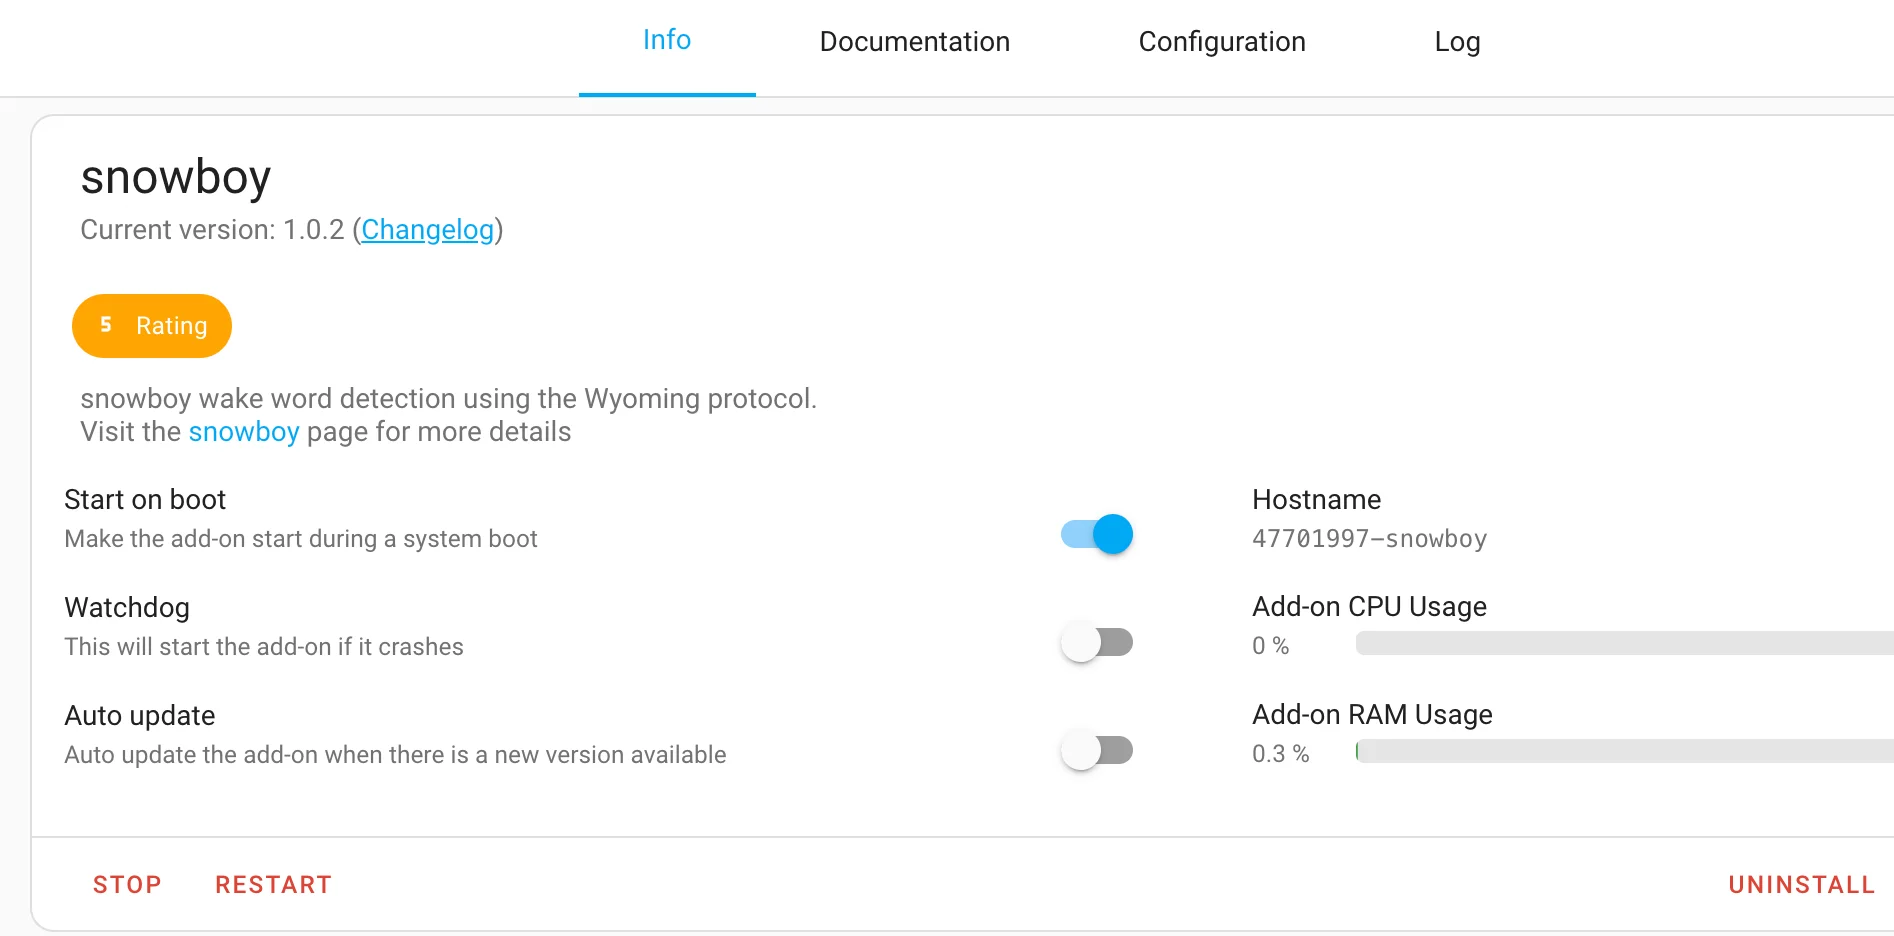
Step 3: Select the Snowboy add-on, click on Install, and start the add-on.
Note: In case you don't find the addon, you can directly added from this GitHub link.
Step 4: Go to Home Assistant Settings > Devices & Services.
Here you should have the Snowboy integration available to configure using the Wyoming protocol.
Next, we will create our custom wake word.
Creating a Custom Wake Word Model
For creating a custom wake word we have to run an application locally.
For this, we will have to run a docker image to start an application on your machine.
Step 1: Run the following command.
docker run -it -p 8000:8000 rhasspy/snowboy-seasalt
Step 2: Once the docker image is pulled and the application starts, open the URL http://localhost:8000 on the browser

Step 3: Click on Enable Microphone.
Step 4: Now record 3 samples of your voice saying the wake word you want.
Step 5: Give a name to the wake word model and click Submit.
Step 6: Once the model is ready, click on Save Model.
Step 7: Create a folder named snowboy inside the share folder in Home Assistant.
You can access the share folder using the Samba Share that you have set up before.
Step 8: Now copy the model to the snowboy folder you created before.
Now update your voice assist pipeline with your custom wake word.
Step 9: Click on Home Assistant Settings in the left panel and click on Voice Assistants
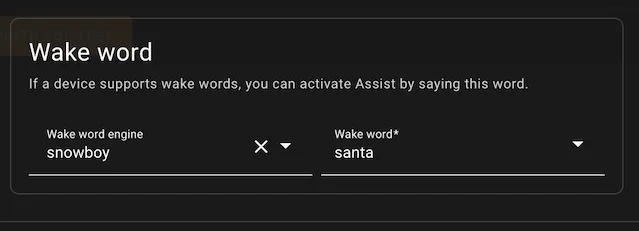
Step 10: Select the Voice Assist Pipeline and update the Wake word section with your custom Wake word.
Run Snowboy As A Docker Container
If you run Home Assistant as a docker container, then you can run Snowboy using a docker image.
The below docker-compose.yaml file contains all the components required for your voice assist pipeline, i.e. Whisper, Piper, and Snowboy.
services:
  snowboy:
    image: rhasspy/wyoming-snowboy
    container_name: snowboy

    command: >
      --uri 'tcp://0.0.0.0:10500'
      --custom-model-dir /share/snowboy
    volumes:
      - ./snowboy-data:/data
      - ./snowboy-custom-wake-word:/share/snowboy
    ports:
      - 10500:10500
#-------------------------------------
  piper:
      image: homeassistant/amd64-addon-piper:latest
      container_name: piper

      entrypoint: python3
      command: >
        -m wyoming_piper
        --piper '/usr/share/piper/piper'
        --uri 'tcp://0.0.0.0:10200'
        --length-scale "1"
        --noise-scale "0.667"
        --speaker "0"
        --voice "en_US-lessac-medium"
        --max-piper-procs "3"
        --data-dir /data
        --data-dir /share/piper
        --download-dir /data
      ports:
        - "10200:10200"
      volumes:
        - ./piper-data:/data
      restart: unless-stopped

#----------------------------------------
  whisper:
    image: homeassistant/amd64-addon-whisper:latest
    container_name: whisper

    entrypoint: python3
    command: >
      -m wyoming_faster_whisper
      --uri tcp://0.0.0.0:10300
      --model small-int8
      --beam-size 2
      --language en
      --data-dir /data
      --download-dir /data
    ports:
      - "10300:10300"
    environment:
      - TZ=Europe/Berlin
    volumes:
      - ./whisper-data:/data
    restart: unless-stopped
You can place the custom wake word model in the folder openwakeword-custom-model-dir that will created when you start the docker-compose.yaml with the command docker compose up.
Then finally you need to connect Snowboy container to Home Assistant using the Wyoming protocol.
If you are interested in exploring more of such easy to follow step by step guides about Home Assistant, then here are a few suggestions
- Setup Zigbee2Mqtt with Home Assistant
- Change Graph Colors in Energy Dashboard
- Setup Local Tuya With Home Assistant