Written by
Featured Video
Table of Contents
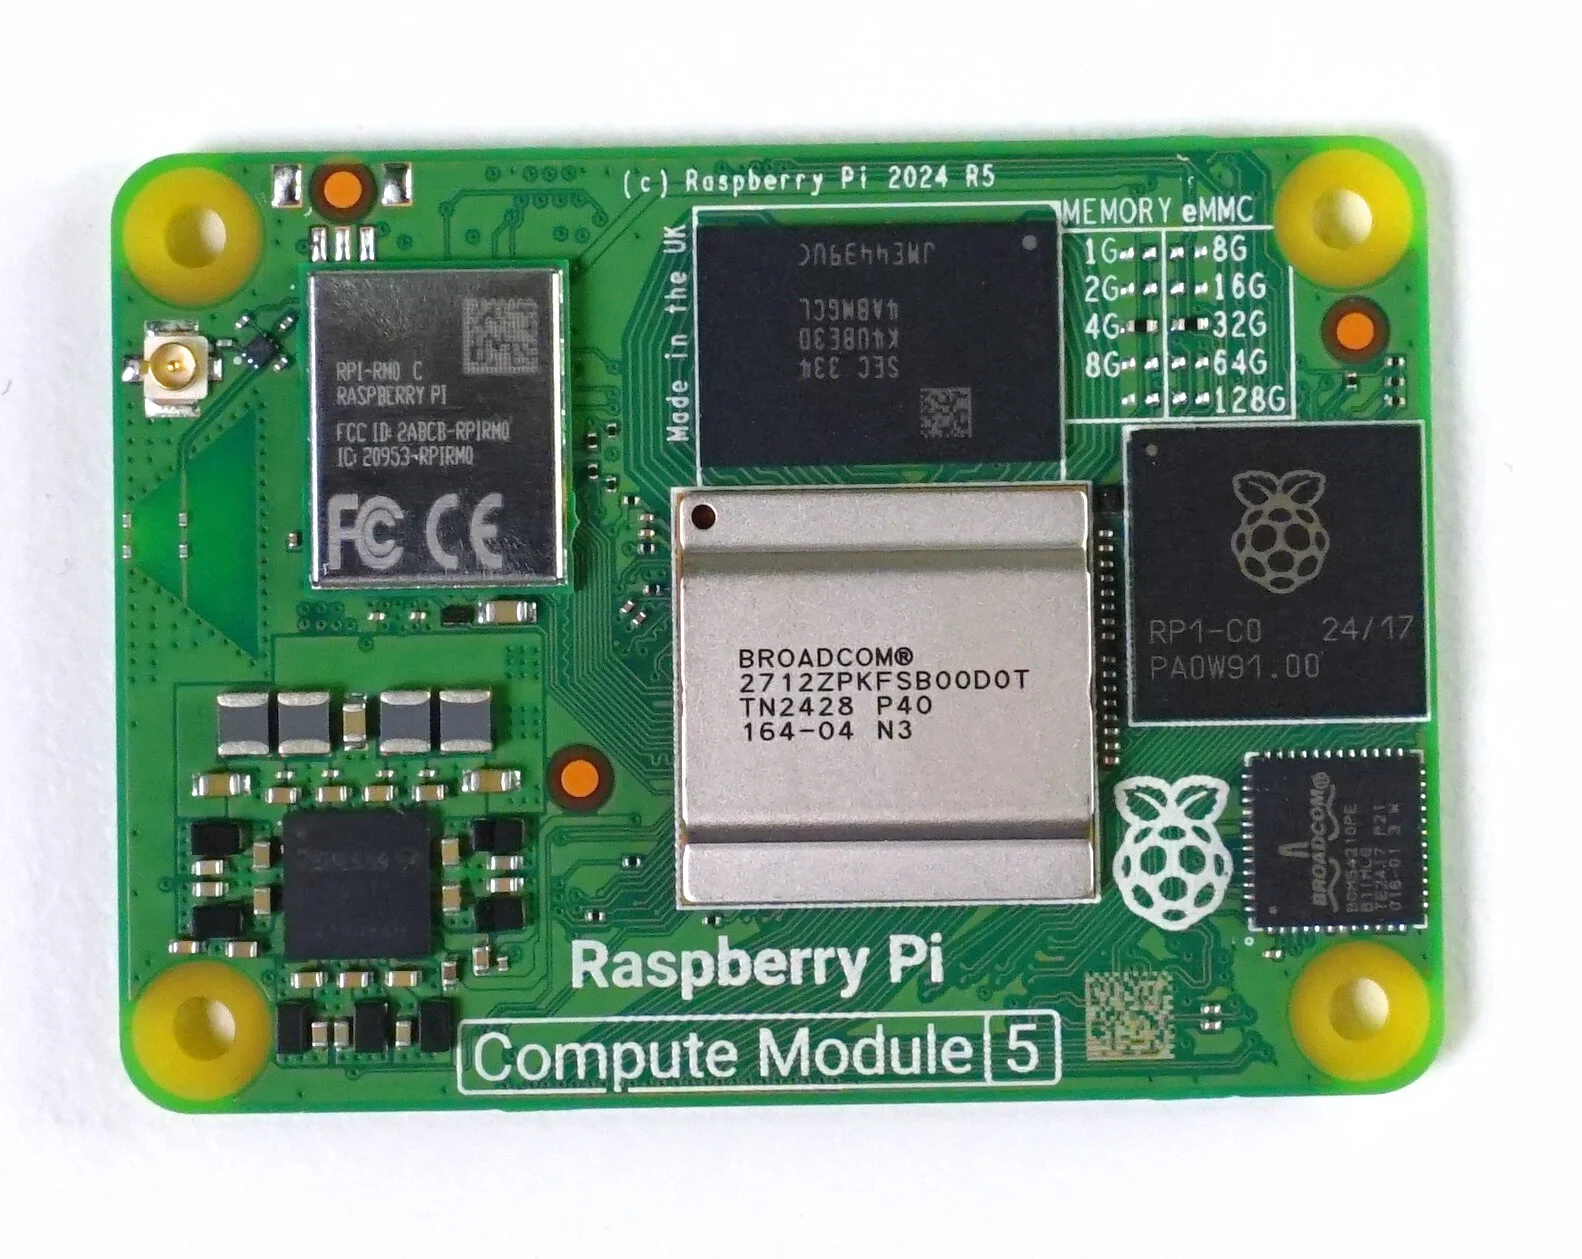
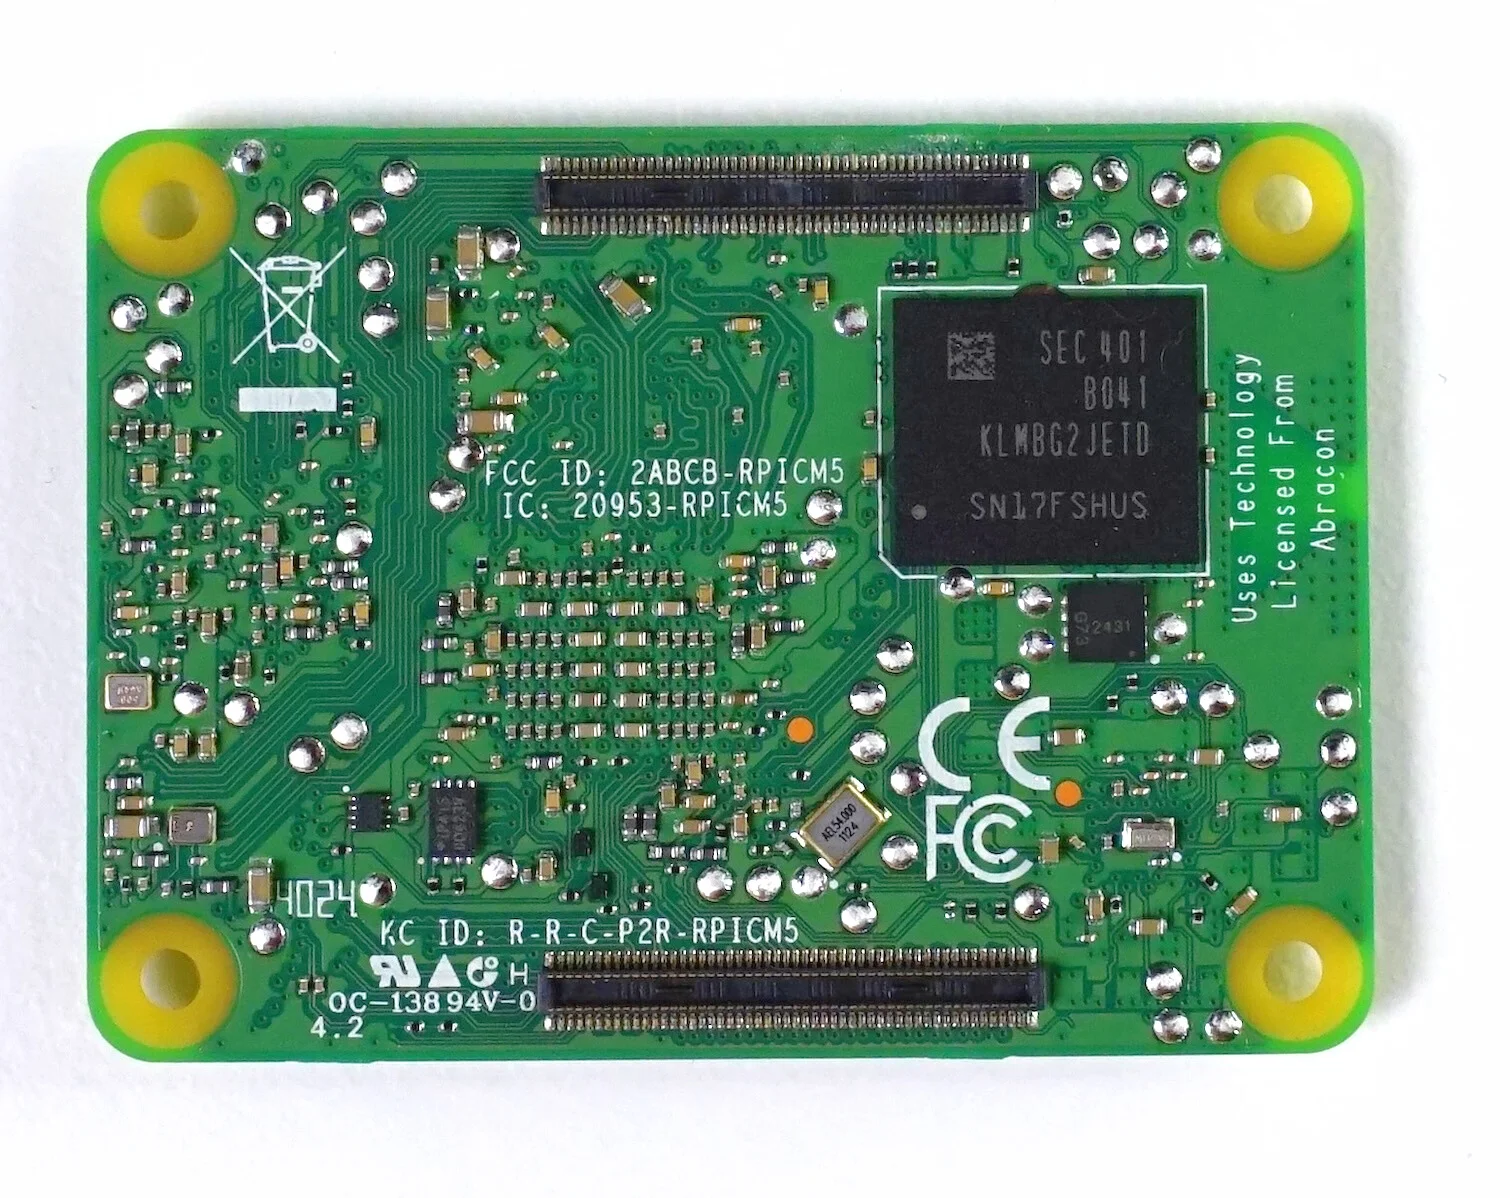
Links to buy Raspberry Pi Compute Module 5:
- AliExpress : https://s.click.aliexpress.com/e/_DdzGQGd
- ThePiHut : https://thepihut.com/products/raspberry-pi-compute-module-5
- BerryBase : https://www.berrybase.de/en/detail/019350e97c767050917125760299ebf0
The Raspberry Pi Compute Module 5 (CM5) is an impressively compact computer that fits in the palm of your hand. But while its size and capabilities are remarkable, it isn’t something you can use straight out of the box. To unlock its full potential, you’ll need a carrier board. The official development carrier board is one option, and as the ecosystem grows, more specialized carrier boards are expected to hit the market. These boards will cater to applications ranging from server machines in the server racks to DIY NAS setups.
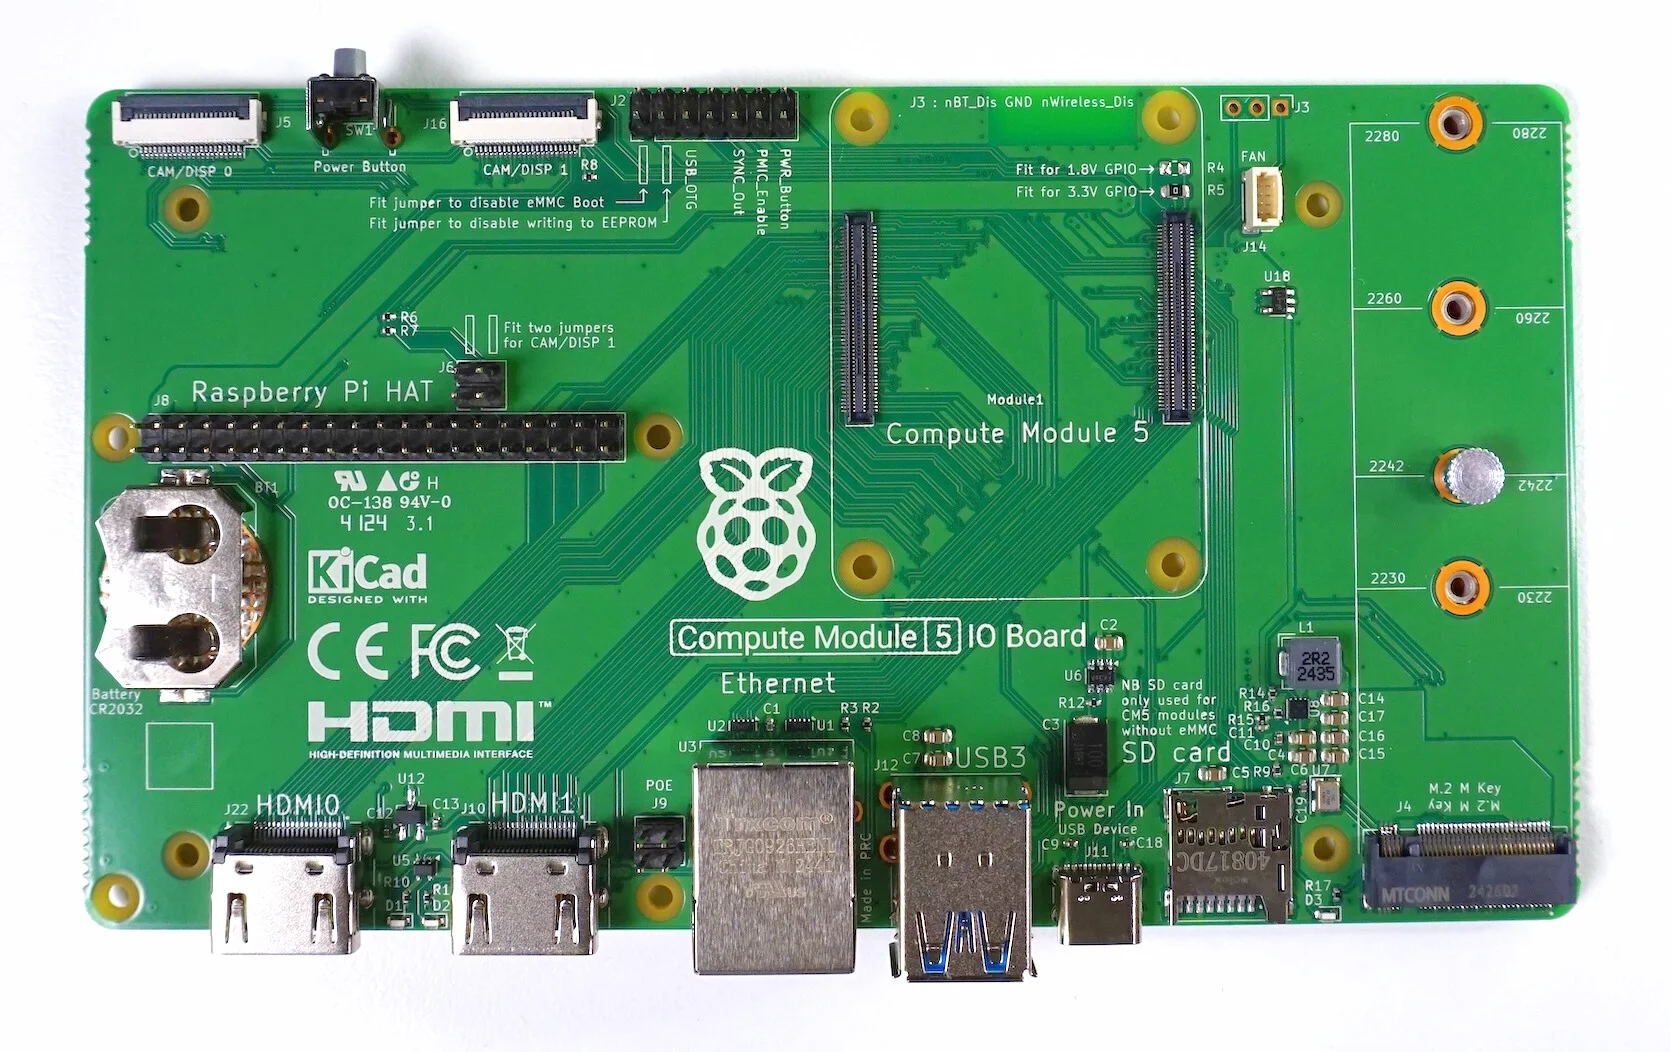
Setting Up the Compute Module 5
To get started, I installed Raspberry Pi OS using the USBboot mechanism, as my CM5 had 32GB eMMC storage. Once the OS was up and running, I began testing the module’s capabilities.
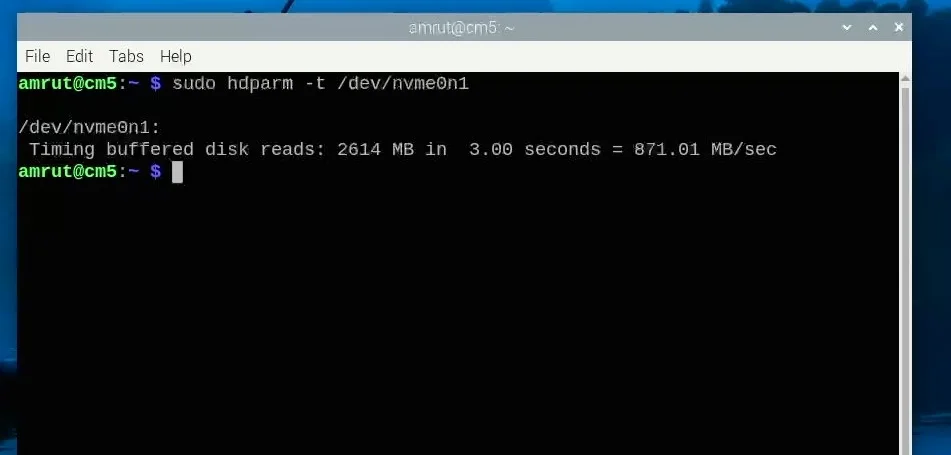
NVMe Speed Test
After setting the PCI Express to Gen 3, I tested NVMe speeds and achieved impressive results of approximately 871 MB/s.
Ethernet Speed Test
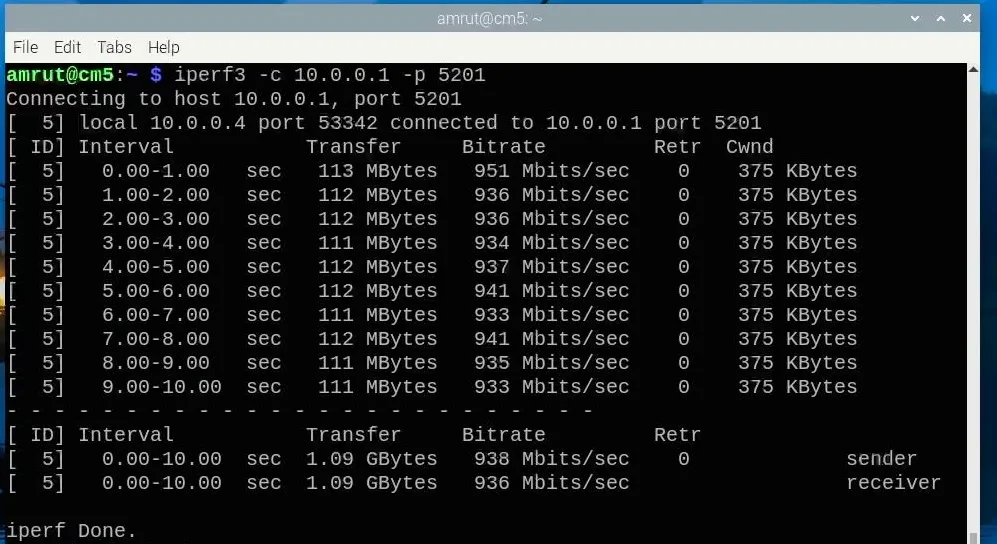
Using iPerf3, I measured the Ethernet speed and recorded a stable throughput of about 936 Mbps.
Performance and Thermal Management
To evaluate the CM5’s thermal performance, I tested it with the official heatsink:
-
At Idle: The temperature hovered around 39–40°C, with energy consumption between 1.5–2W.
-
Geekbench Test: The CM5 delivered slightly better performance than the Raspberry Pi 5 I purchased last year. While the exact reasons for this improvement are unclear, the results are promising.
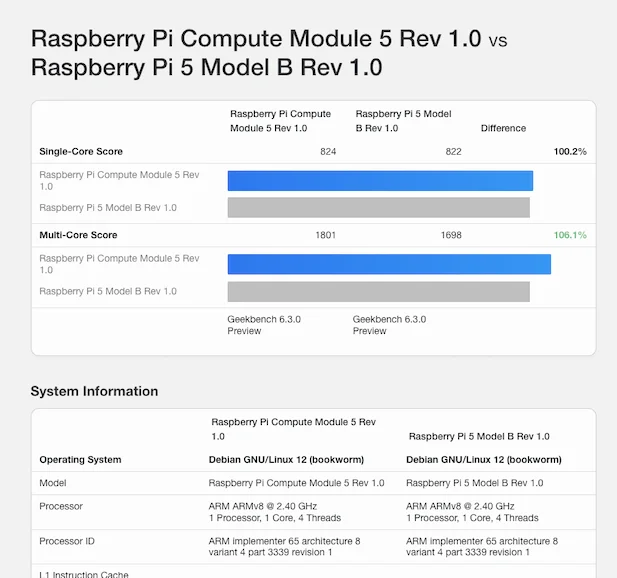
The Geekbench score results are here.
-
Video Playback: The module played a 1080p YouTube video smoothly without dropping frames.
-
Stress Testing: Using Sysbench, I conducted stress tests under the following conditions:
- Initial Stress Test: Temperatures rose to 44°C.
- Prolonged Testing: After 5 minutes, the temperature reached 60°C, and after 10 minutes, it climbed to 65°C. These tests were conducted in an open setup at a room temperature of 23°C. During the stress test, energy consumption was 4.5–5W, excluding the NVMe drive.
Enhancing Cooling with a Fan
When I first received the CM5, I didn’t have a heatsink with a fan. However, I repurposed a fan from the official Raspberry Pi 5 case. By using 2.5mm screws, I securely attached the fan to the heatsink. Though slightly crooked, it stayed firmly in place without vibration.
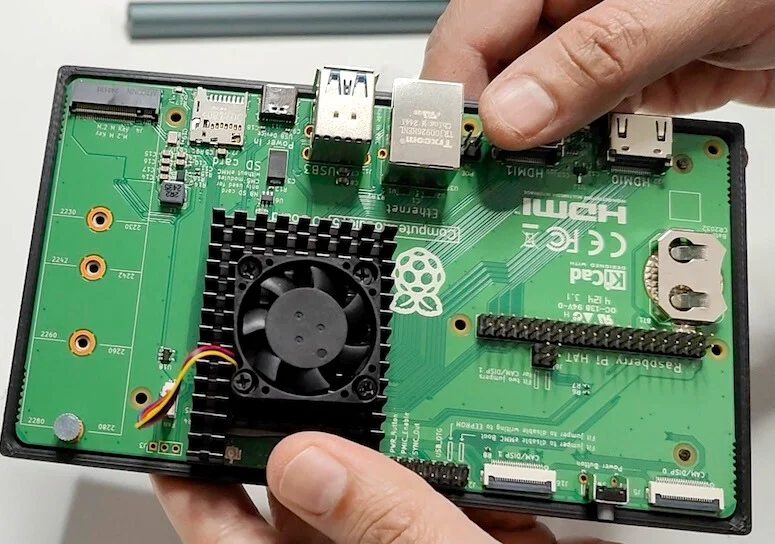
With the fan:
- Default Configuration: The fan intermittently turned on as temperatures reached 50°C and stayed on at low speed when the temperature hit 59°C. This configuration effectively kept the module cool without producing audible noise from the fan.
- Custom Fan Configuration: I modified the fan settings in the configuration file to make the fan start at 40°C and run at low speed at 45°C. With these adjustments, the temperature stabilized at 47°C during a 10-minute stress test. The energy consumption slightly increased to 5.1–5.6W with the fan running at low speeds.
Custom Fan Speed Configuration
Here is the configuration I used in the /boot/firmware/config.txt file.
dtparam=fan_temp0=40000
dtparam=fan_temp0_hyst=5000
dtparam=fan_temp0_speed=75

dtparam=fan_temp1=45000
dtparam=fan_temp1_hyst=5000
dtparam=fan_temp1_speed=125

dtparam=fan_temp2=50000
dtparam=fan_temp2_hyst=5000
dtparam=fan_temp2_speed=175

dtparam=fan_temp3=55000
dtparam=fan_temp3_hyst=5000
dtparam=fan_temp3_speed=250
If you want to understand this configuration, there is a nice post on StackExchange, that will explain the configuration
Shutdown Behavior
Interestingly, on shutdown, the fan turned on at full speed and stayed on until the power cord was disconnected.
Jeff Geerling, a fellow enthusiast, also observed this issue and has started a forum discussion to address it. We’re optimistic that a solution will emerge soon.
Stay tuned for more updates and detailed guides on unlocking the full potential of the CM5!
