A palm-size IO board for Raspberry Pi CM5 — my hands-on review and tests | CM5 Minima From Seeed Studio
Written by
Featured Video
Table of Contents
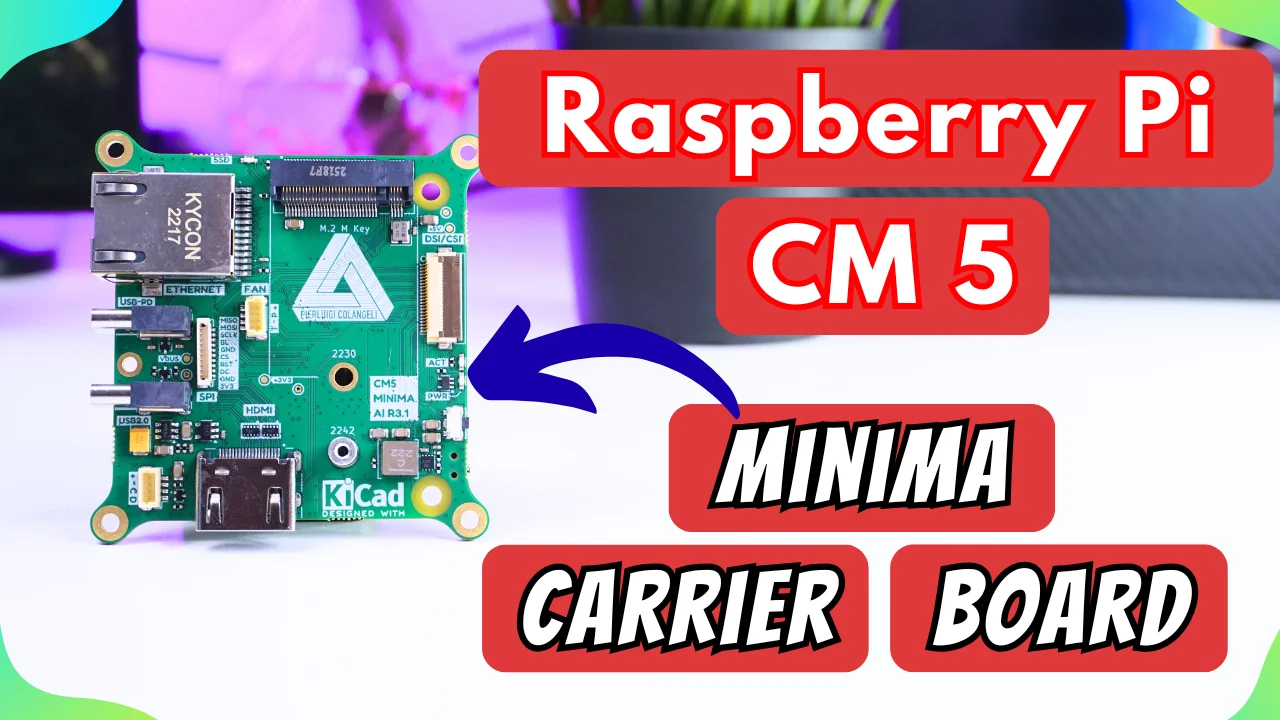
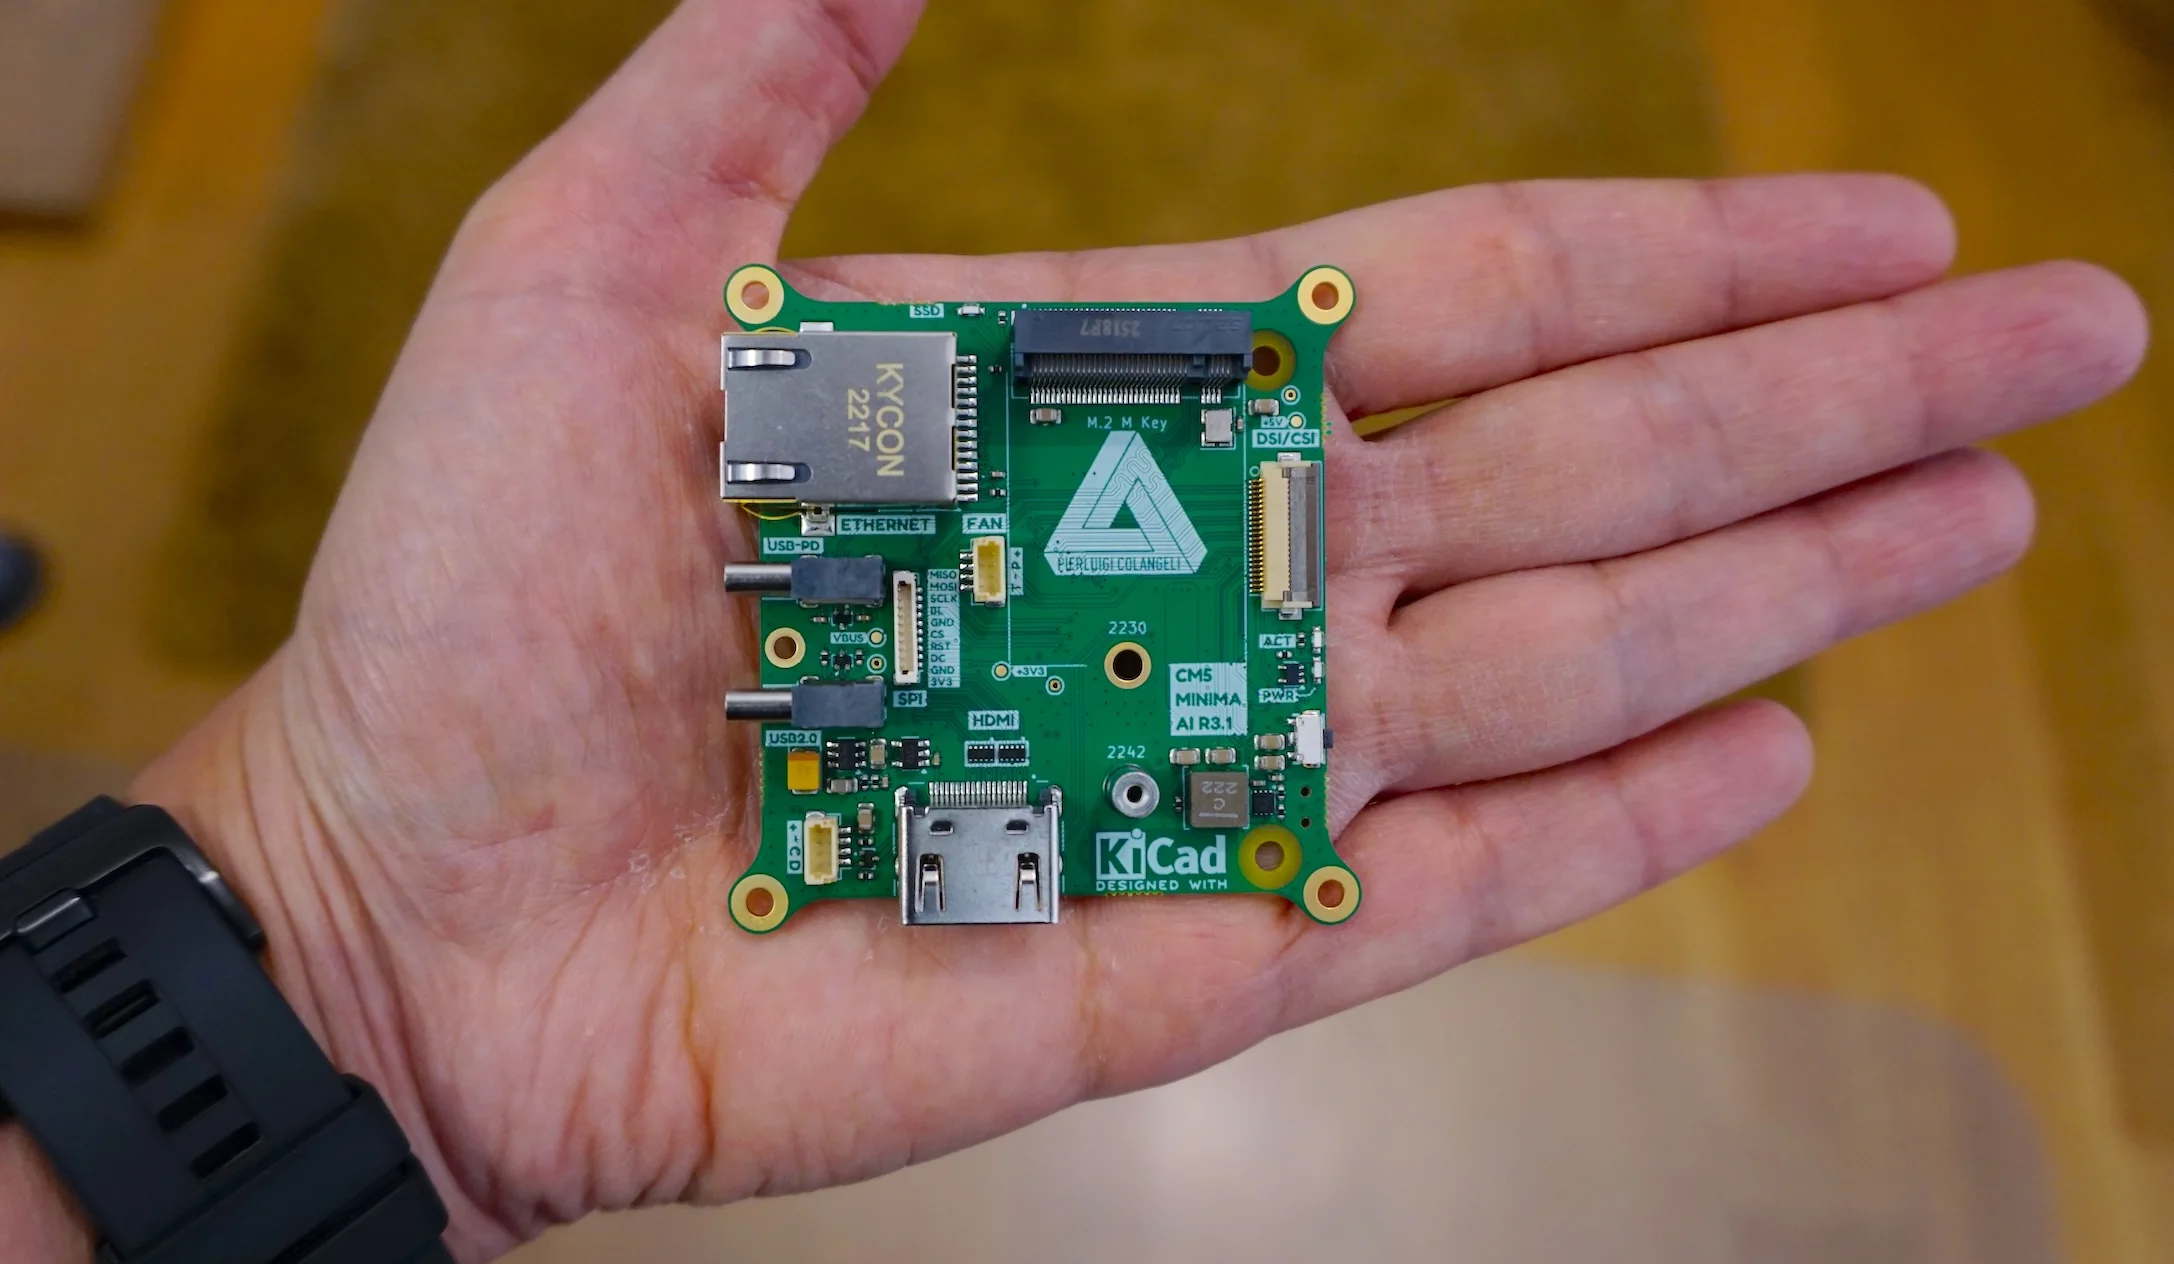
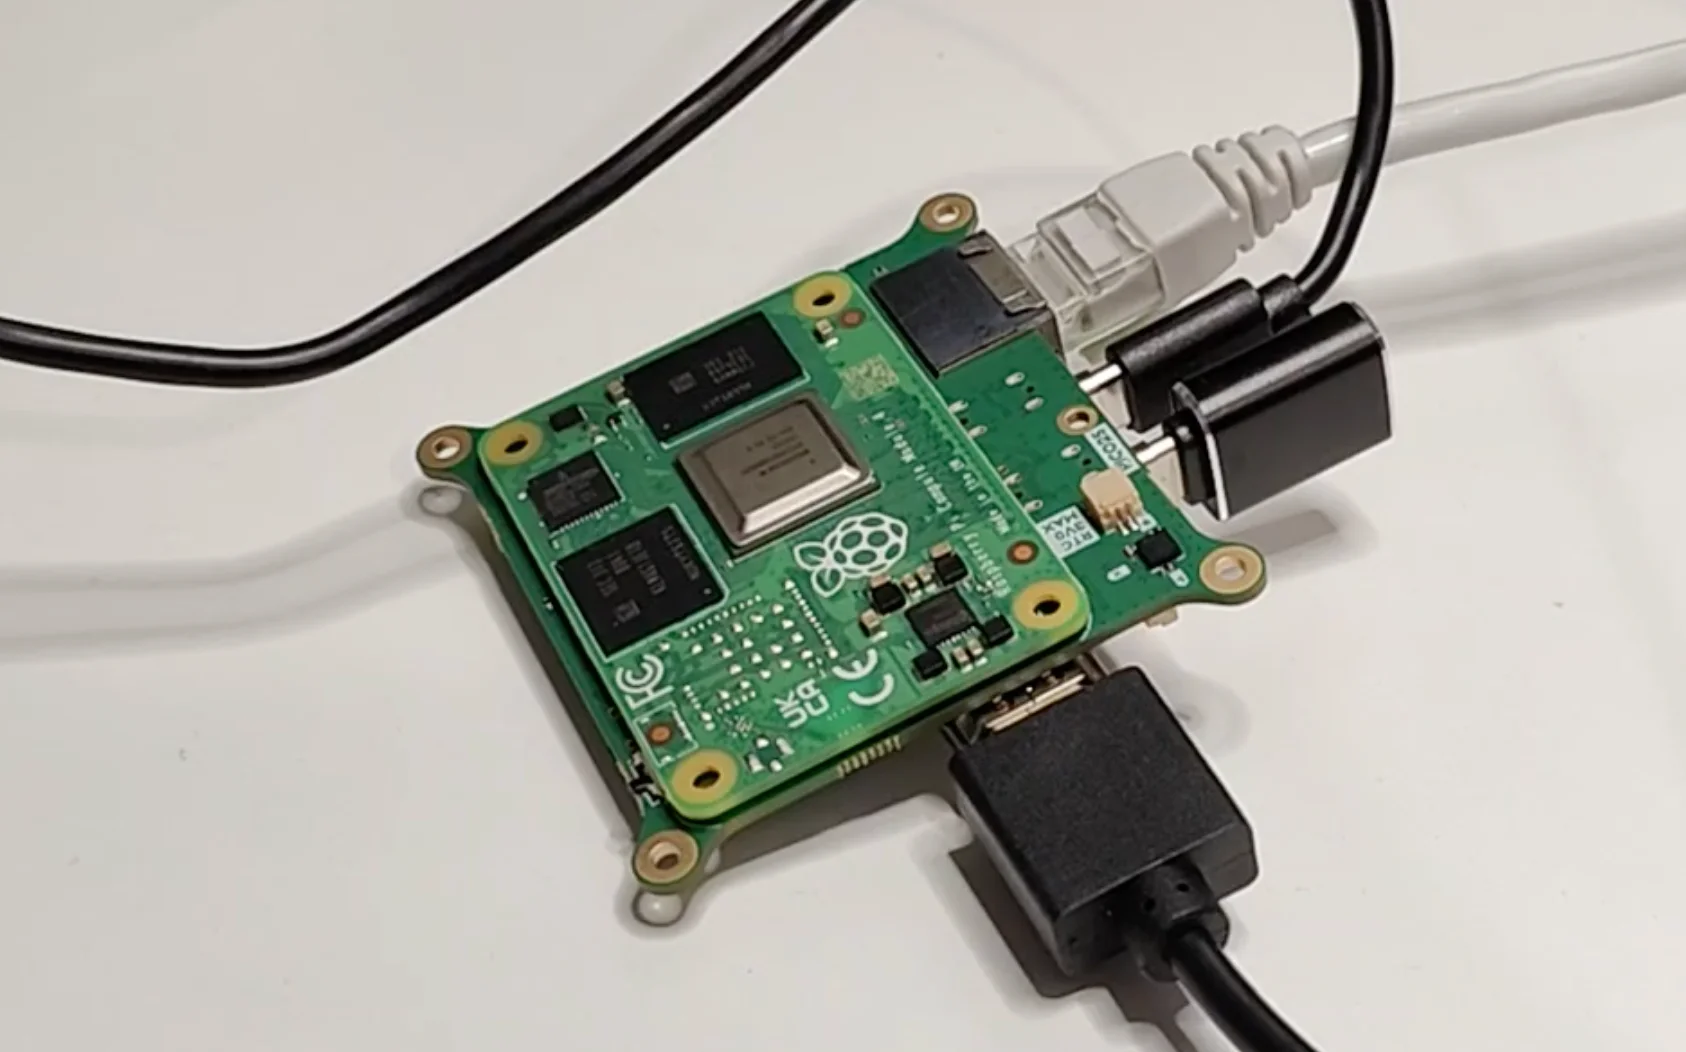
If you’re playing with the Raspberry Pi Compute Module 5 (CM5), you know the official dev board is huge. For a couple of my projects I wanted something tiny—something I could tuck behind a display or drop into a small enclosure. That’s where this small CM5 Minima IO board from Seeed Studio came into my workflow. It literally fits in my palm, but it still exposes the bits I care about.
Buy CM5 Minima:
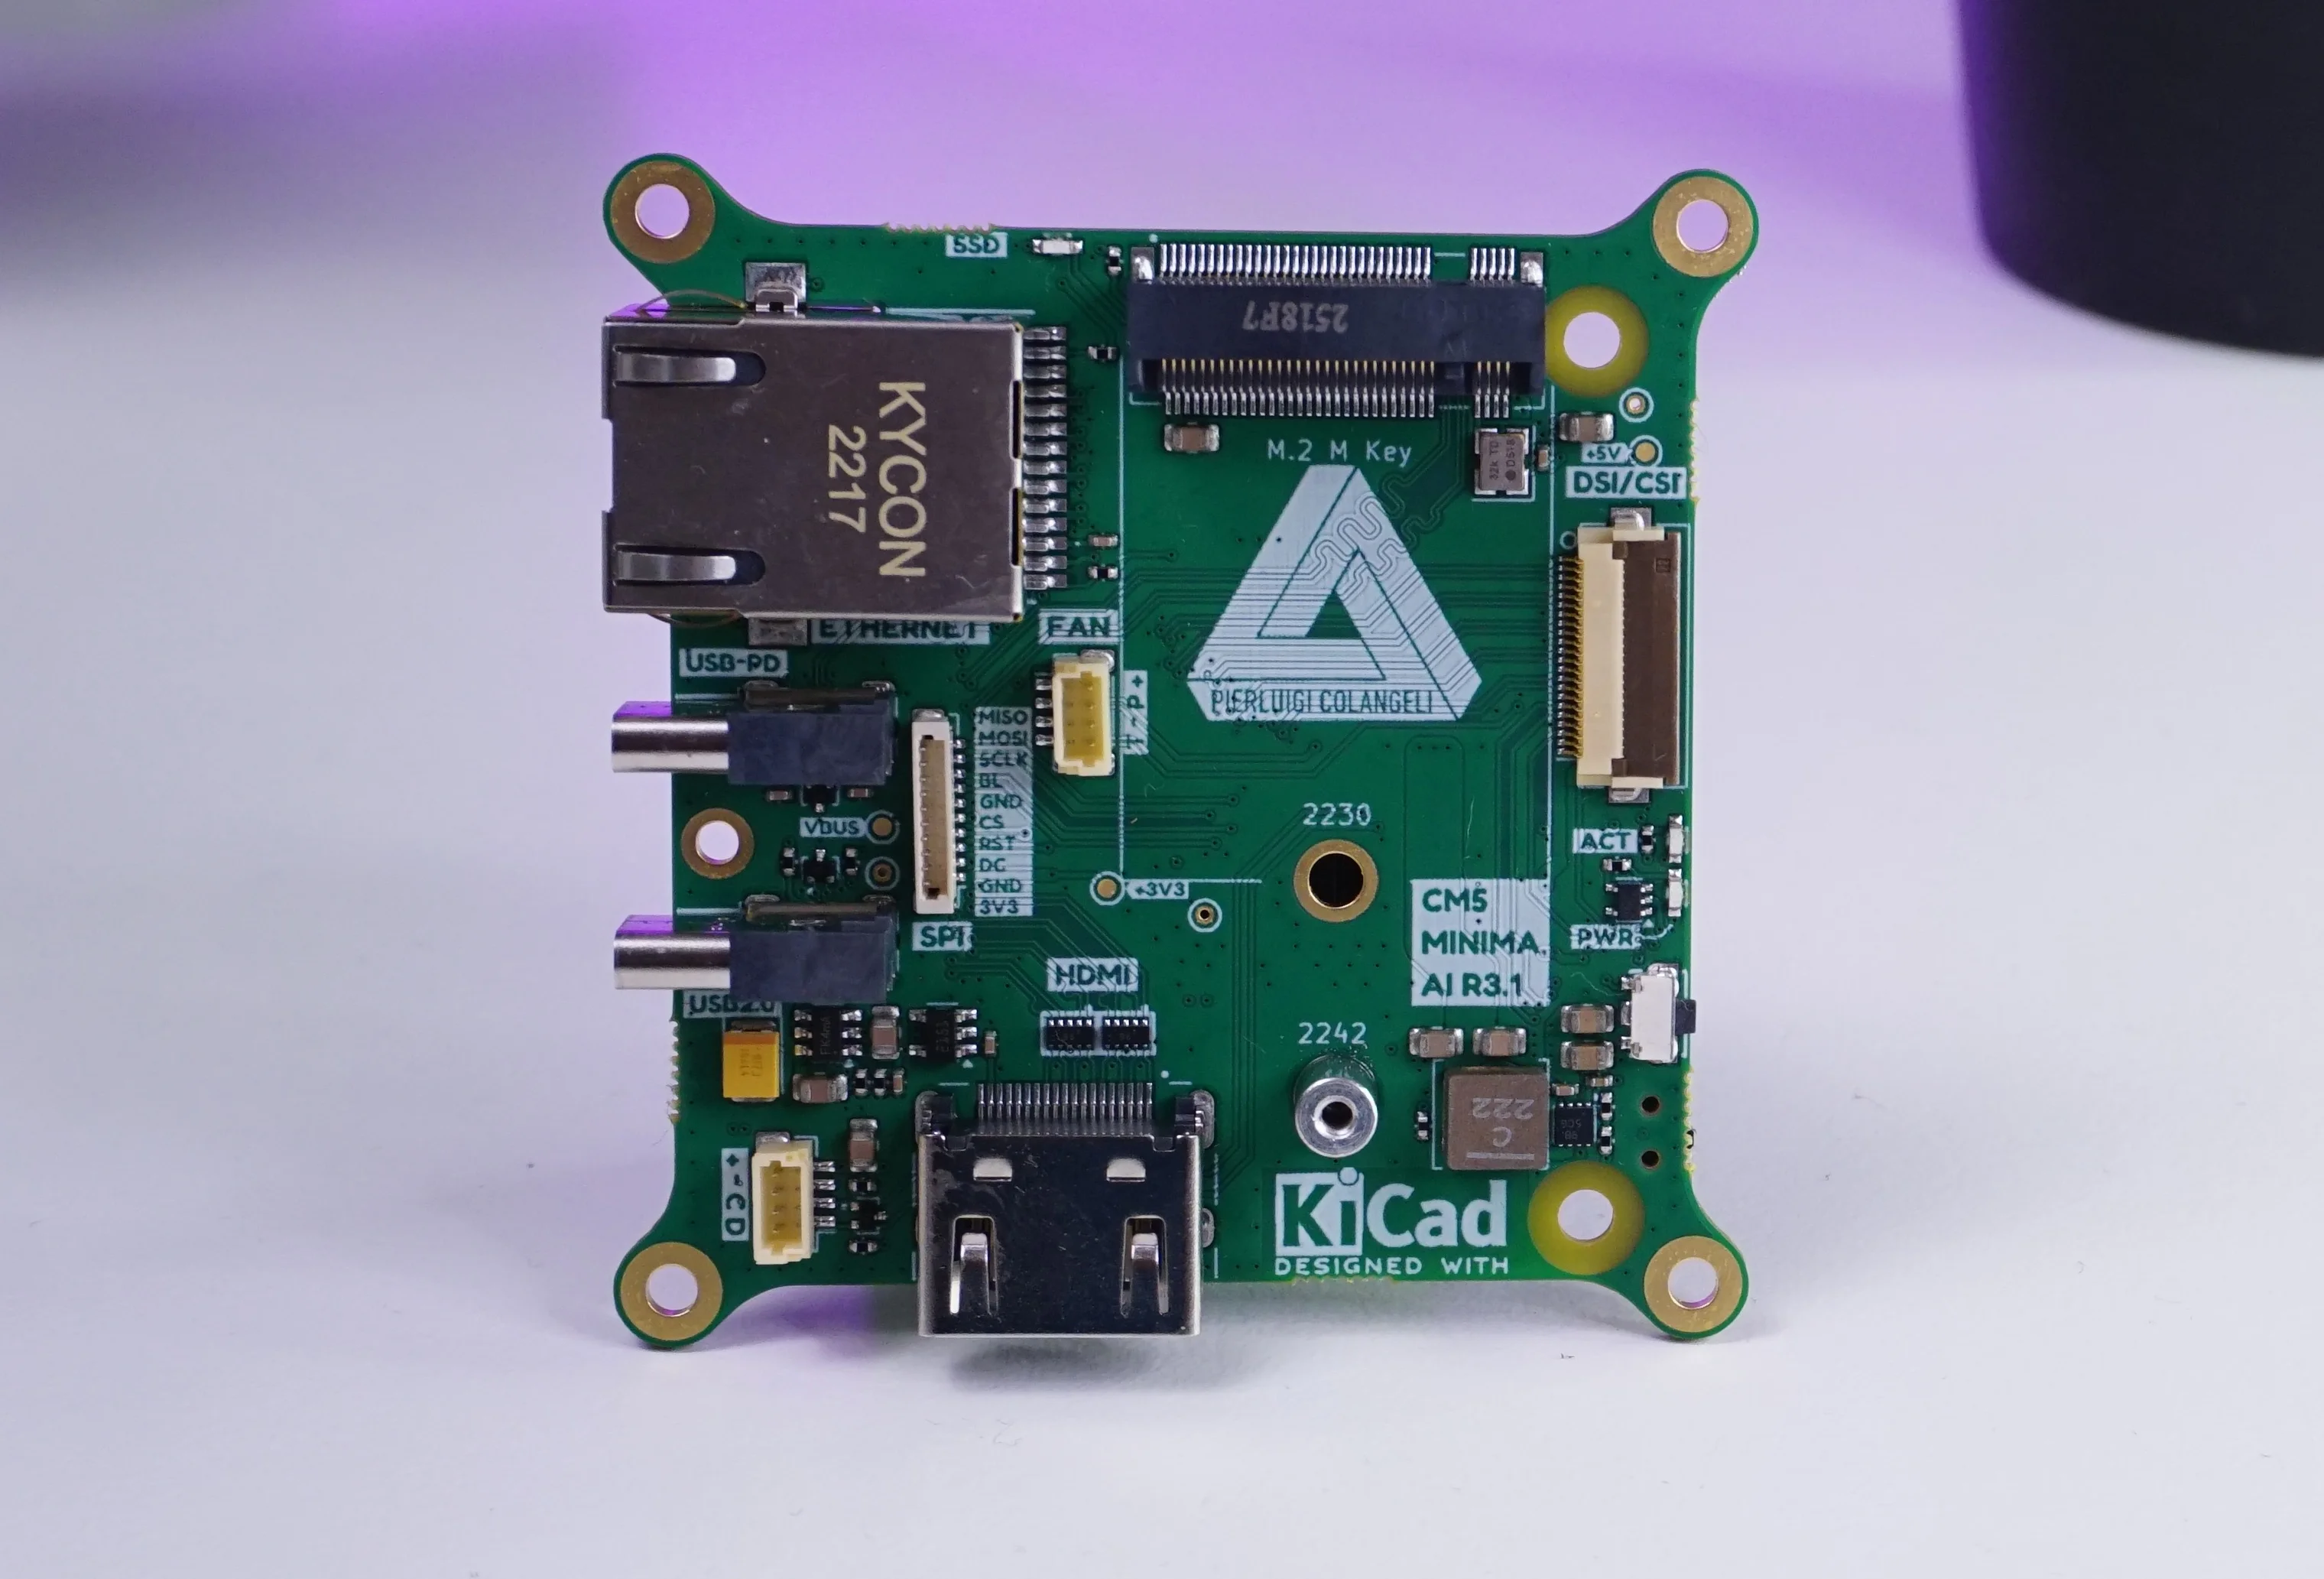
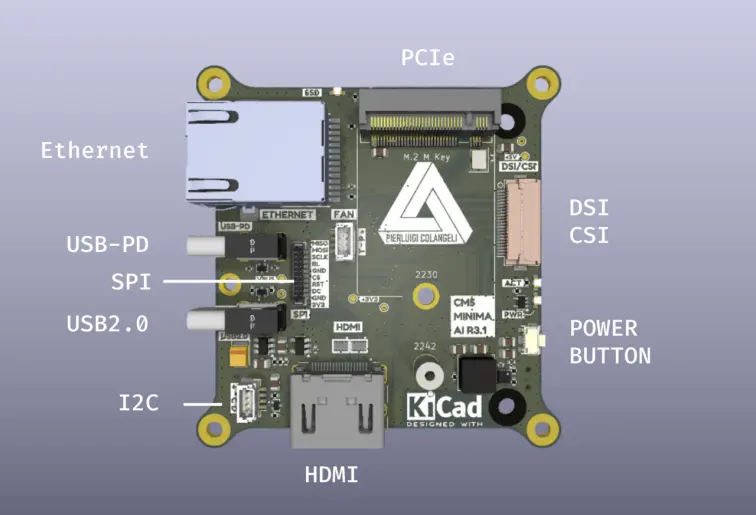
What this little board packs
Despite the footprint, it’s a surprisingly complete breakout:
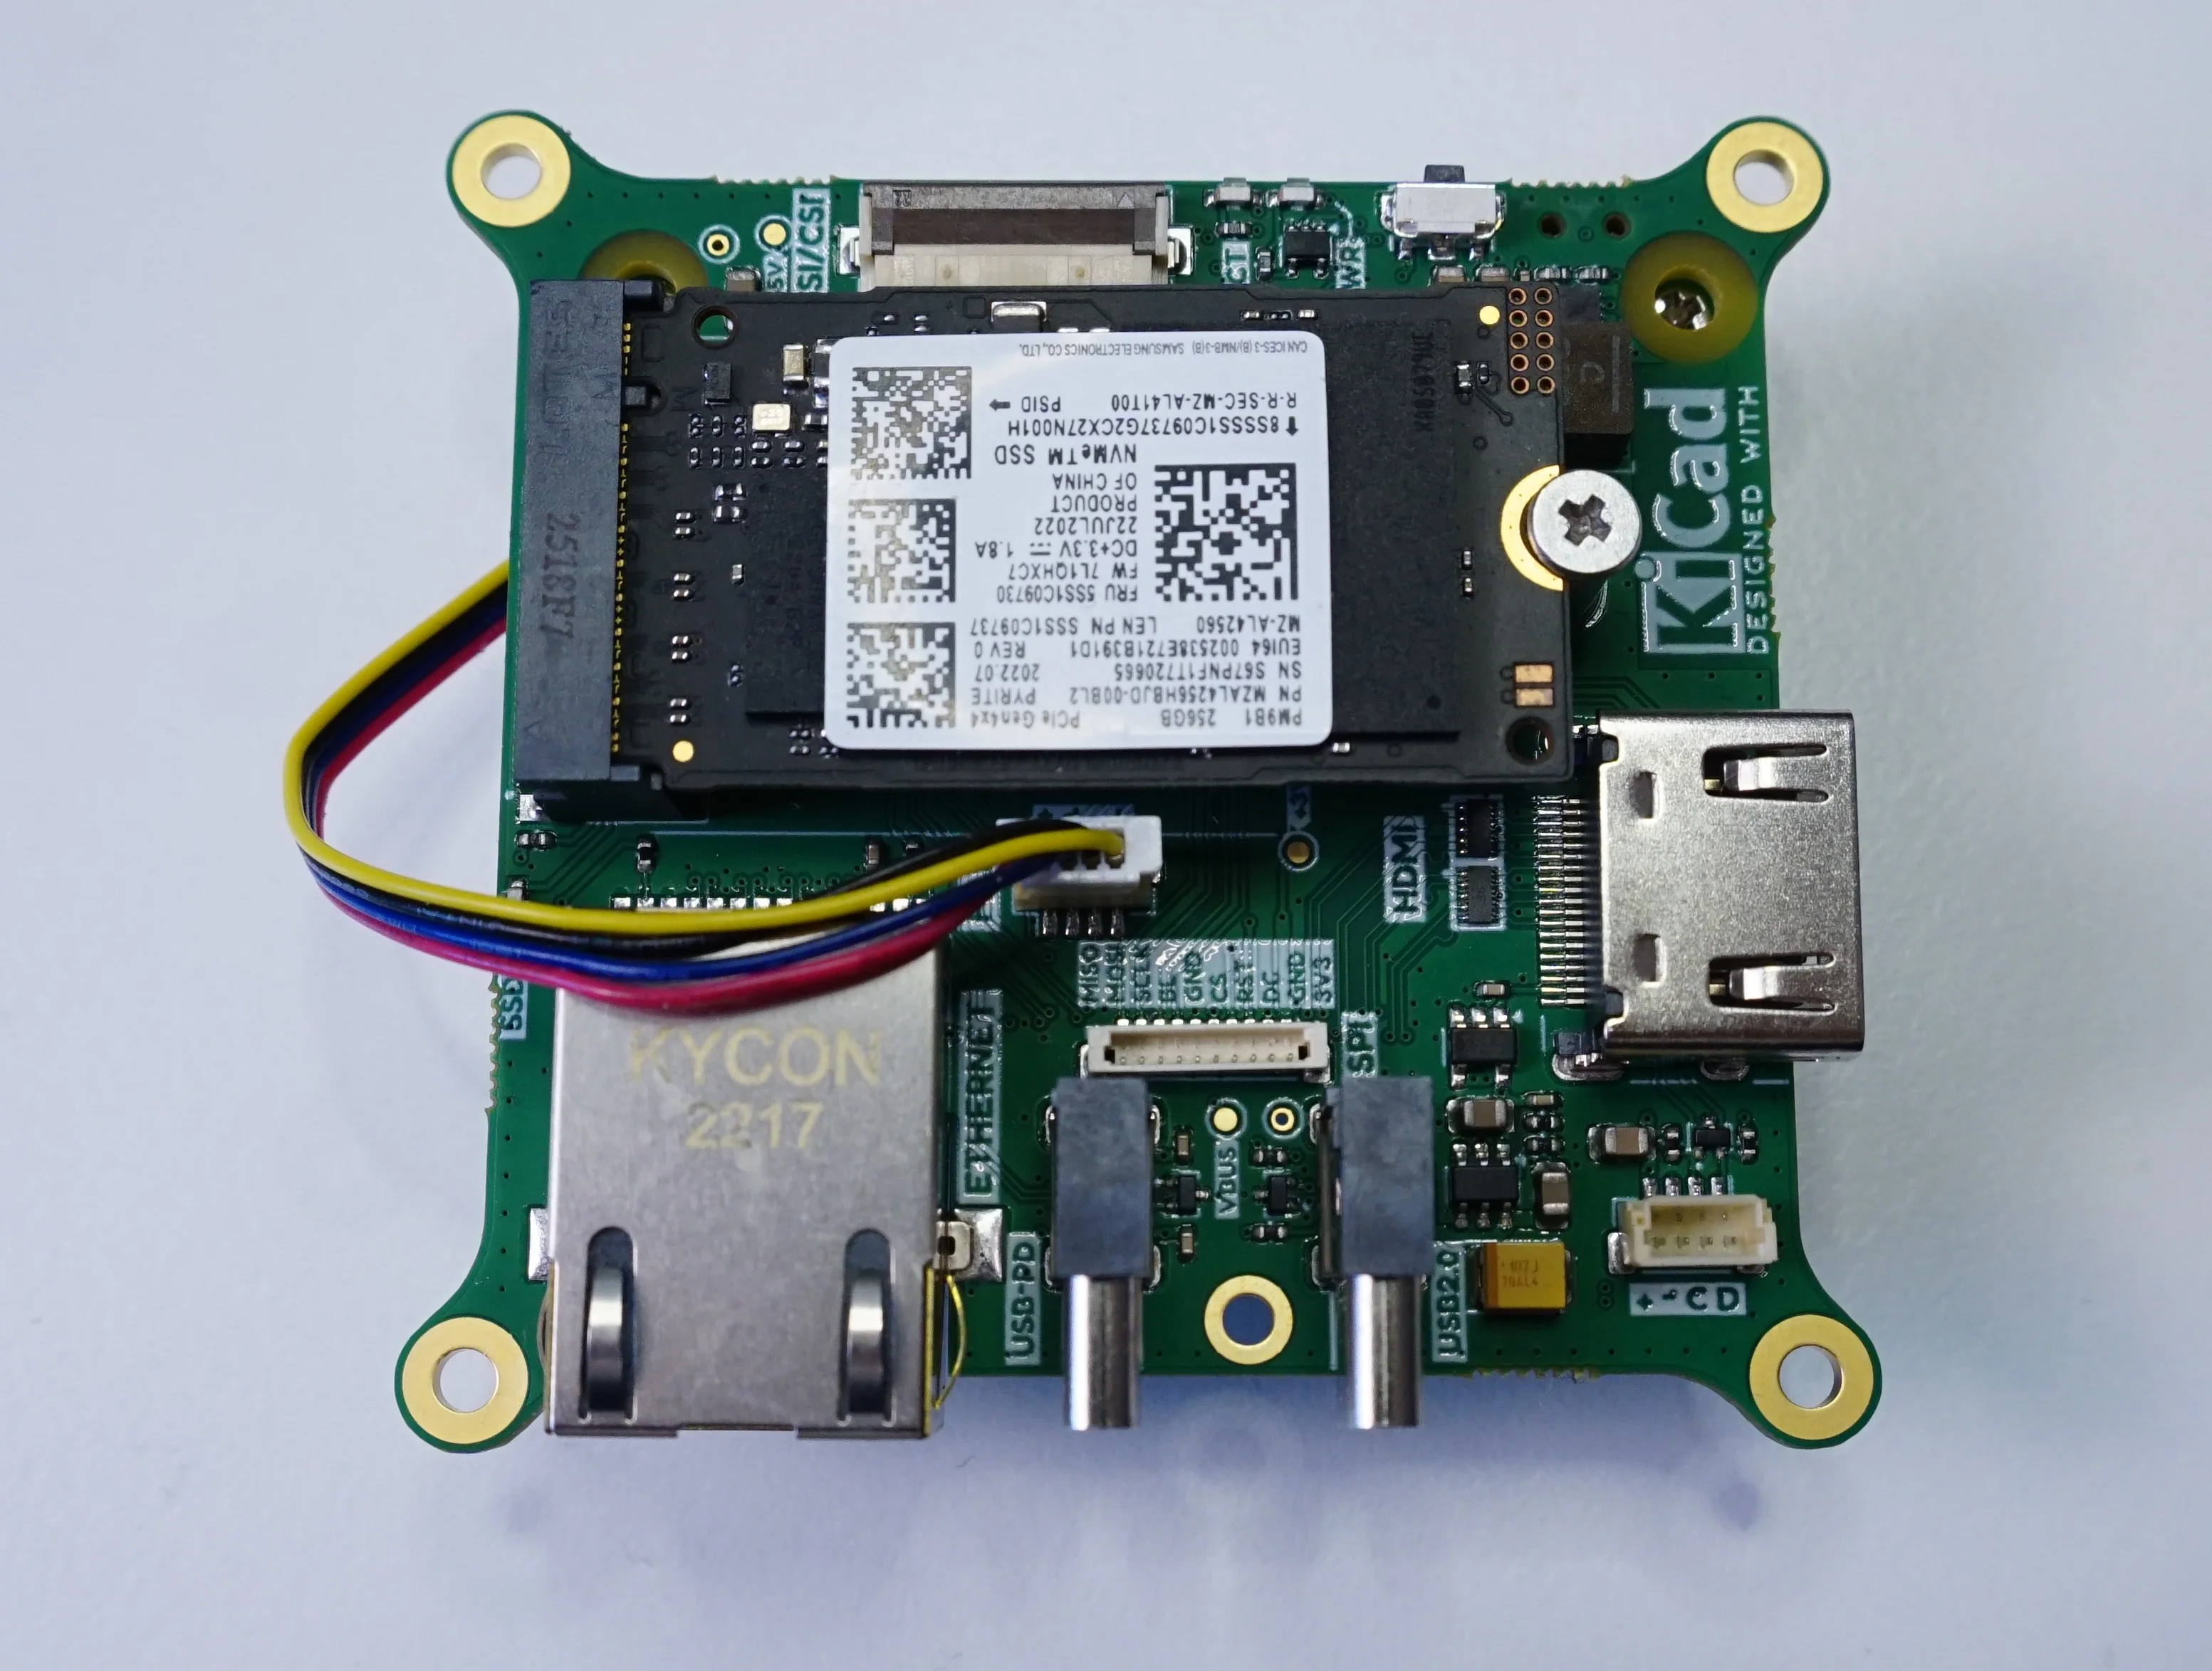
- M.2 M-key slot for 2230/2240 NVMe drives (PCIe x1).
- Gigabit Ethernet (RJ45).
- Two USB-C ports: one for PD power and one USB 2.0 data/OTG.
- Full-size HDMI (4K@60).
- DSI/CSI combo connector.
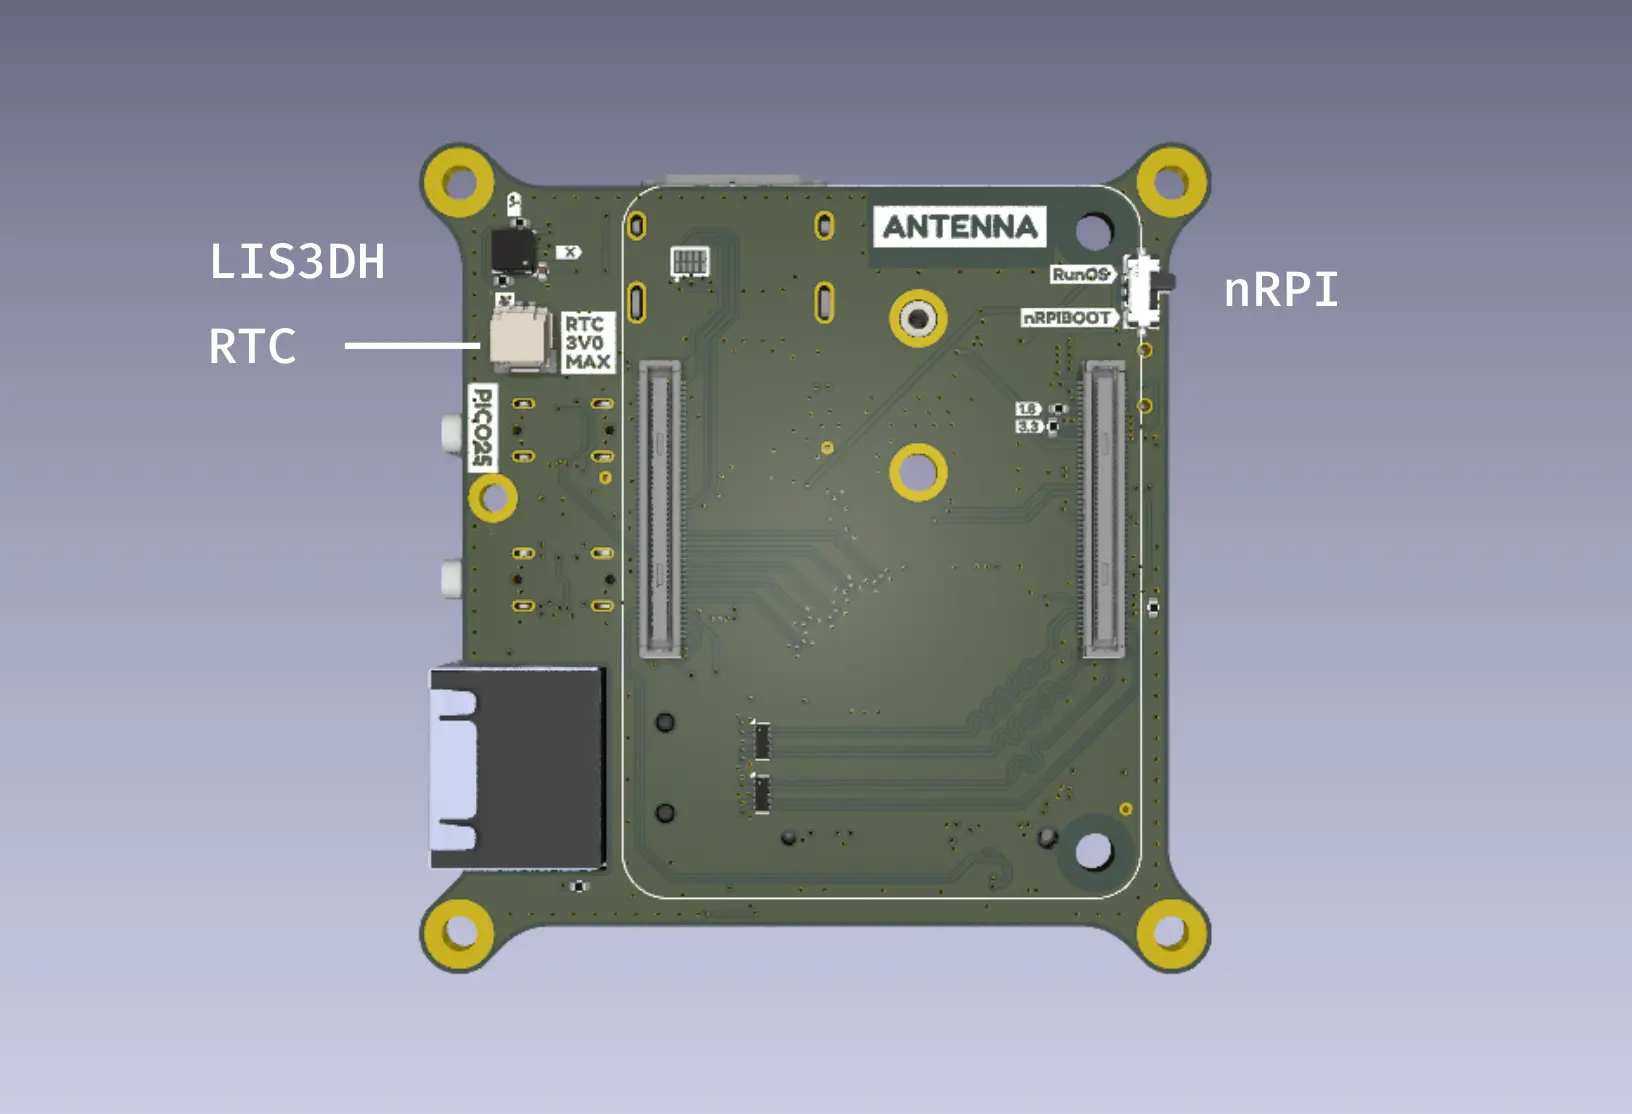
- SPI header, CPU fan connector, RTC battery header.
- Power button, power/activity LEDs.
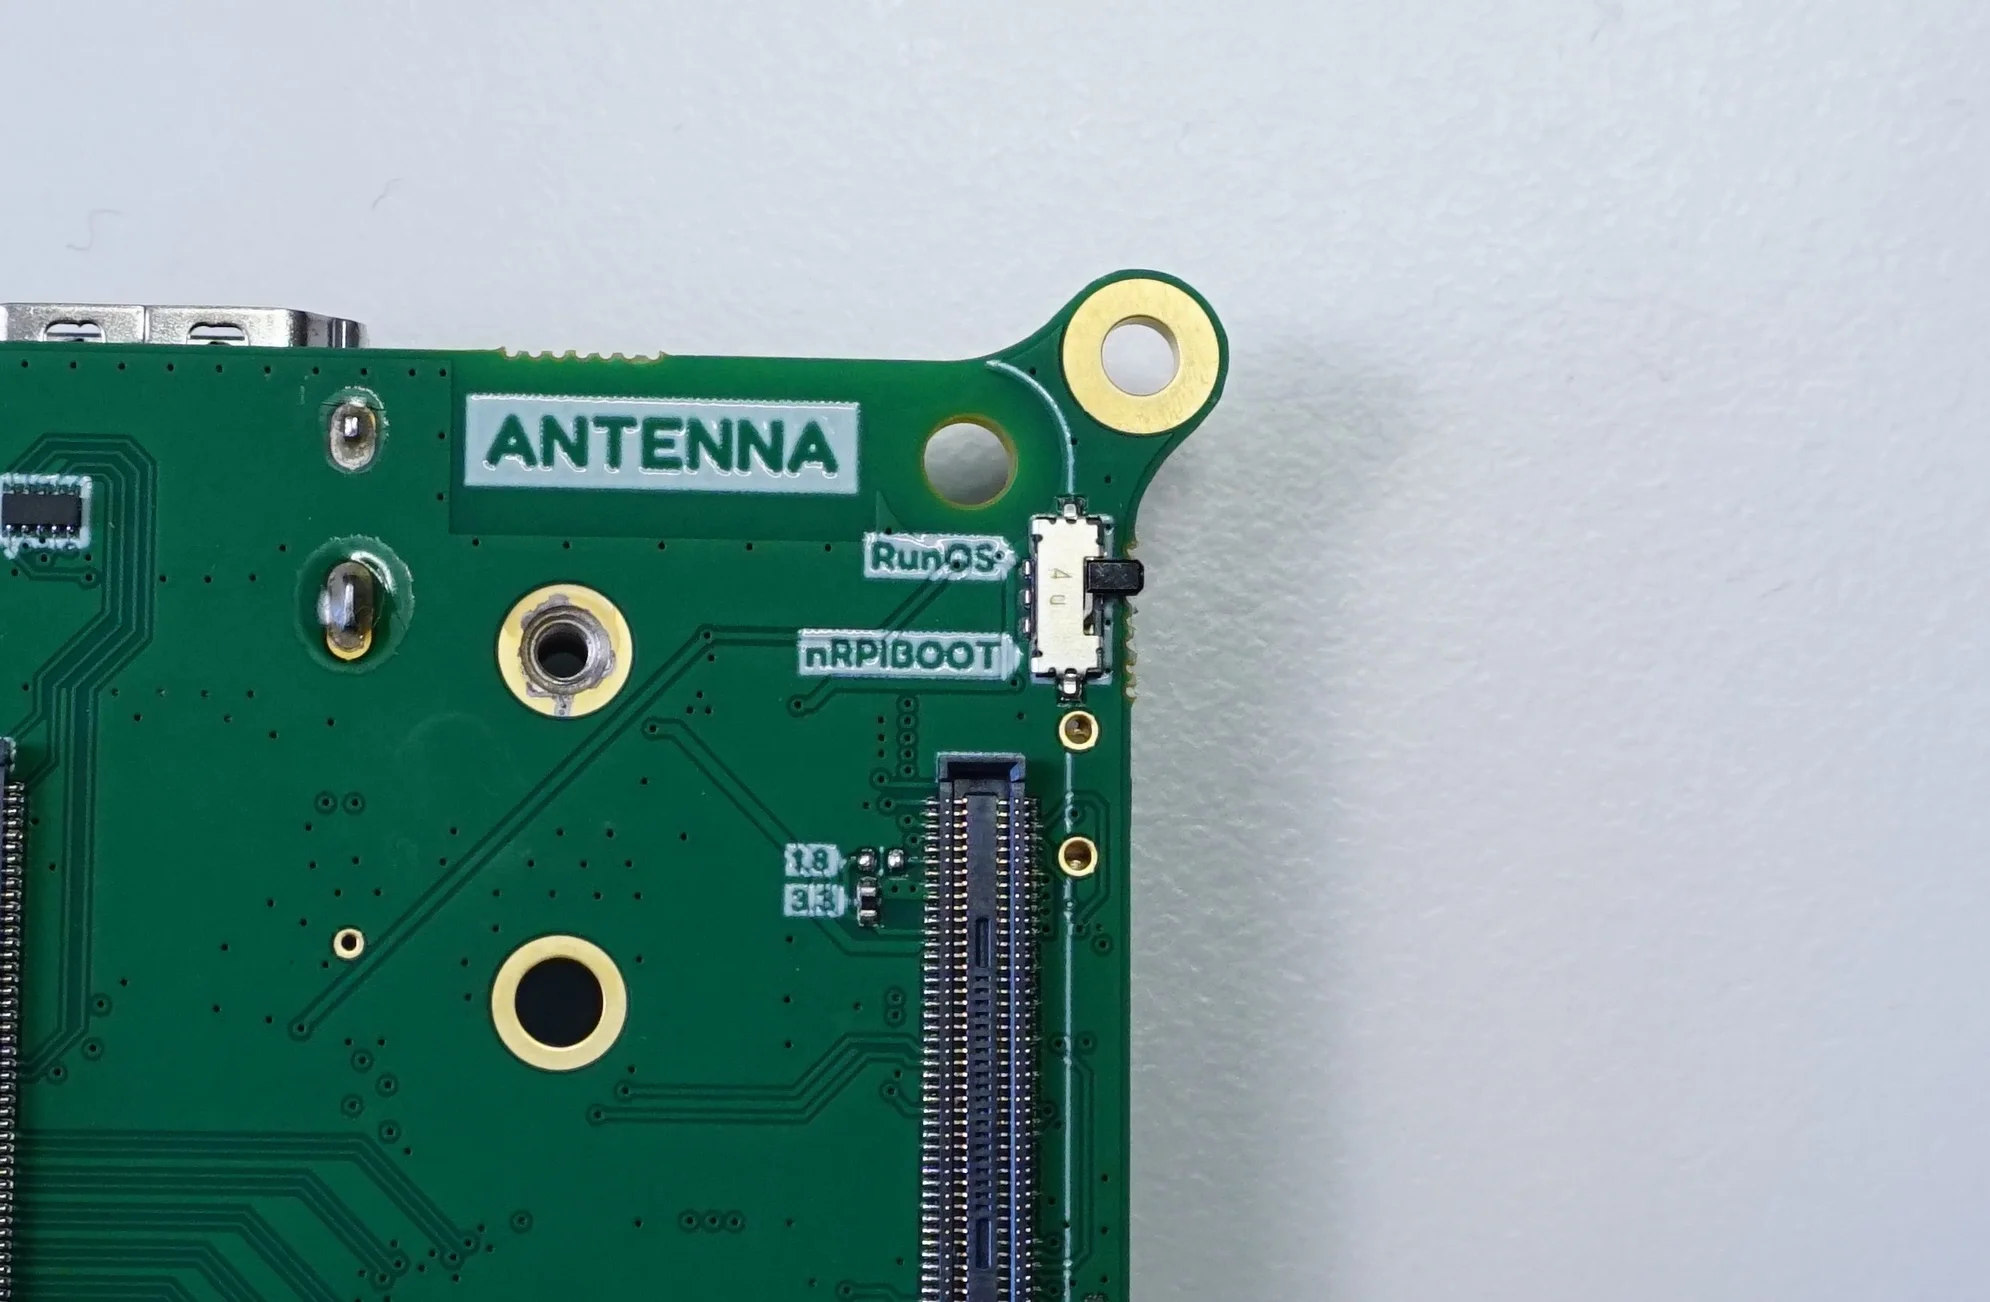
- CM5 connectors and a boot/flash switch (run OS vs. eMMC flashing).
- Open-source hardware design (co-created with a GitHub contributor), which I always appreciate when I’m building around a board.
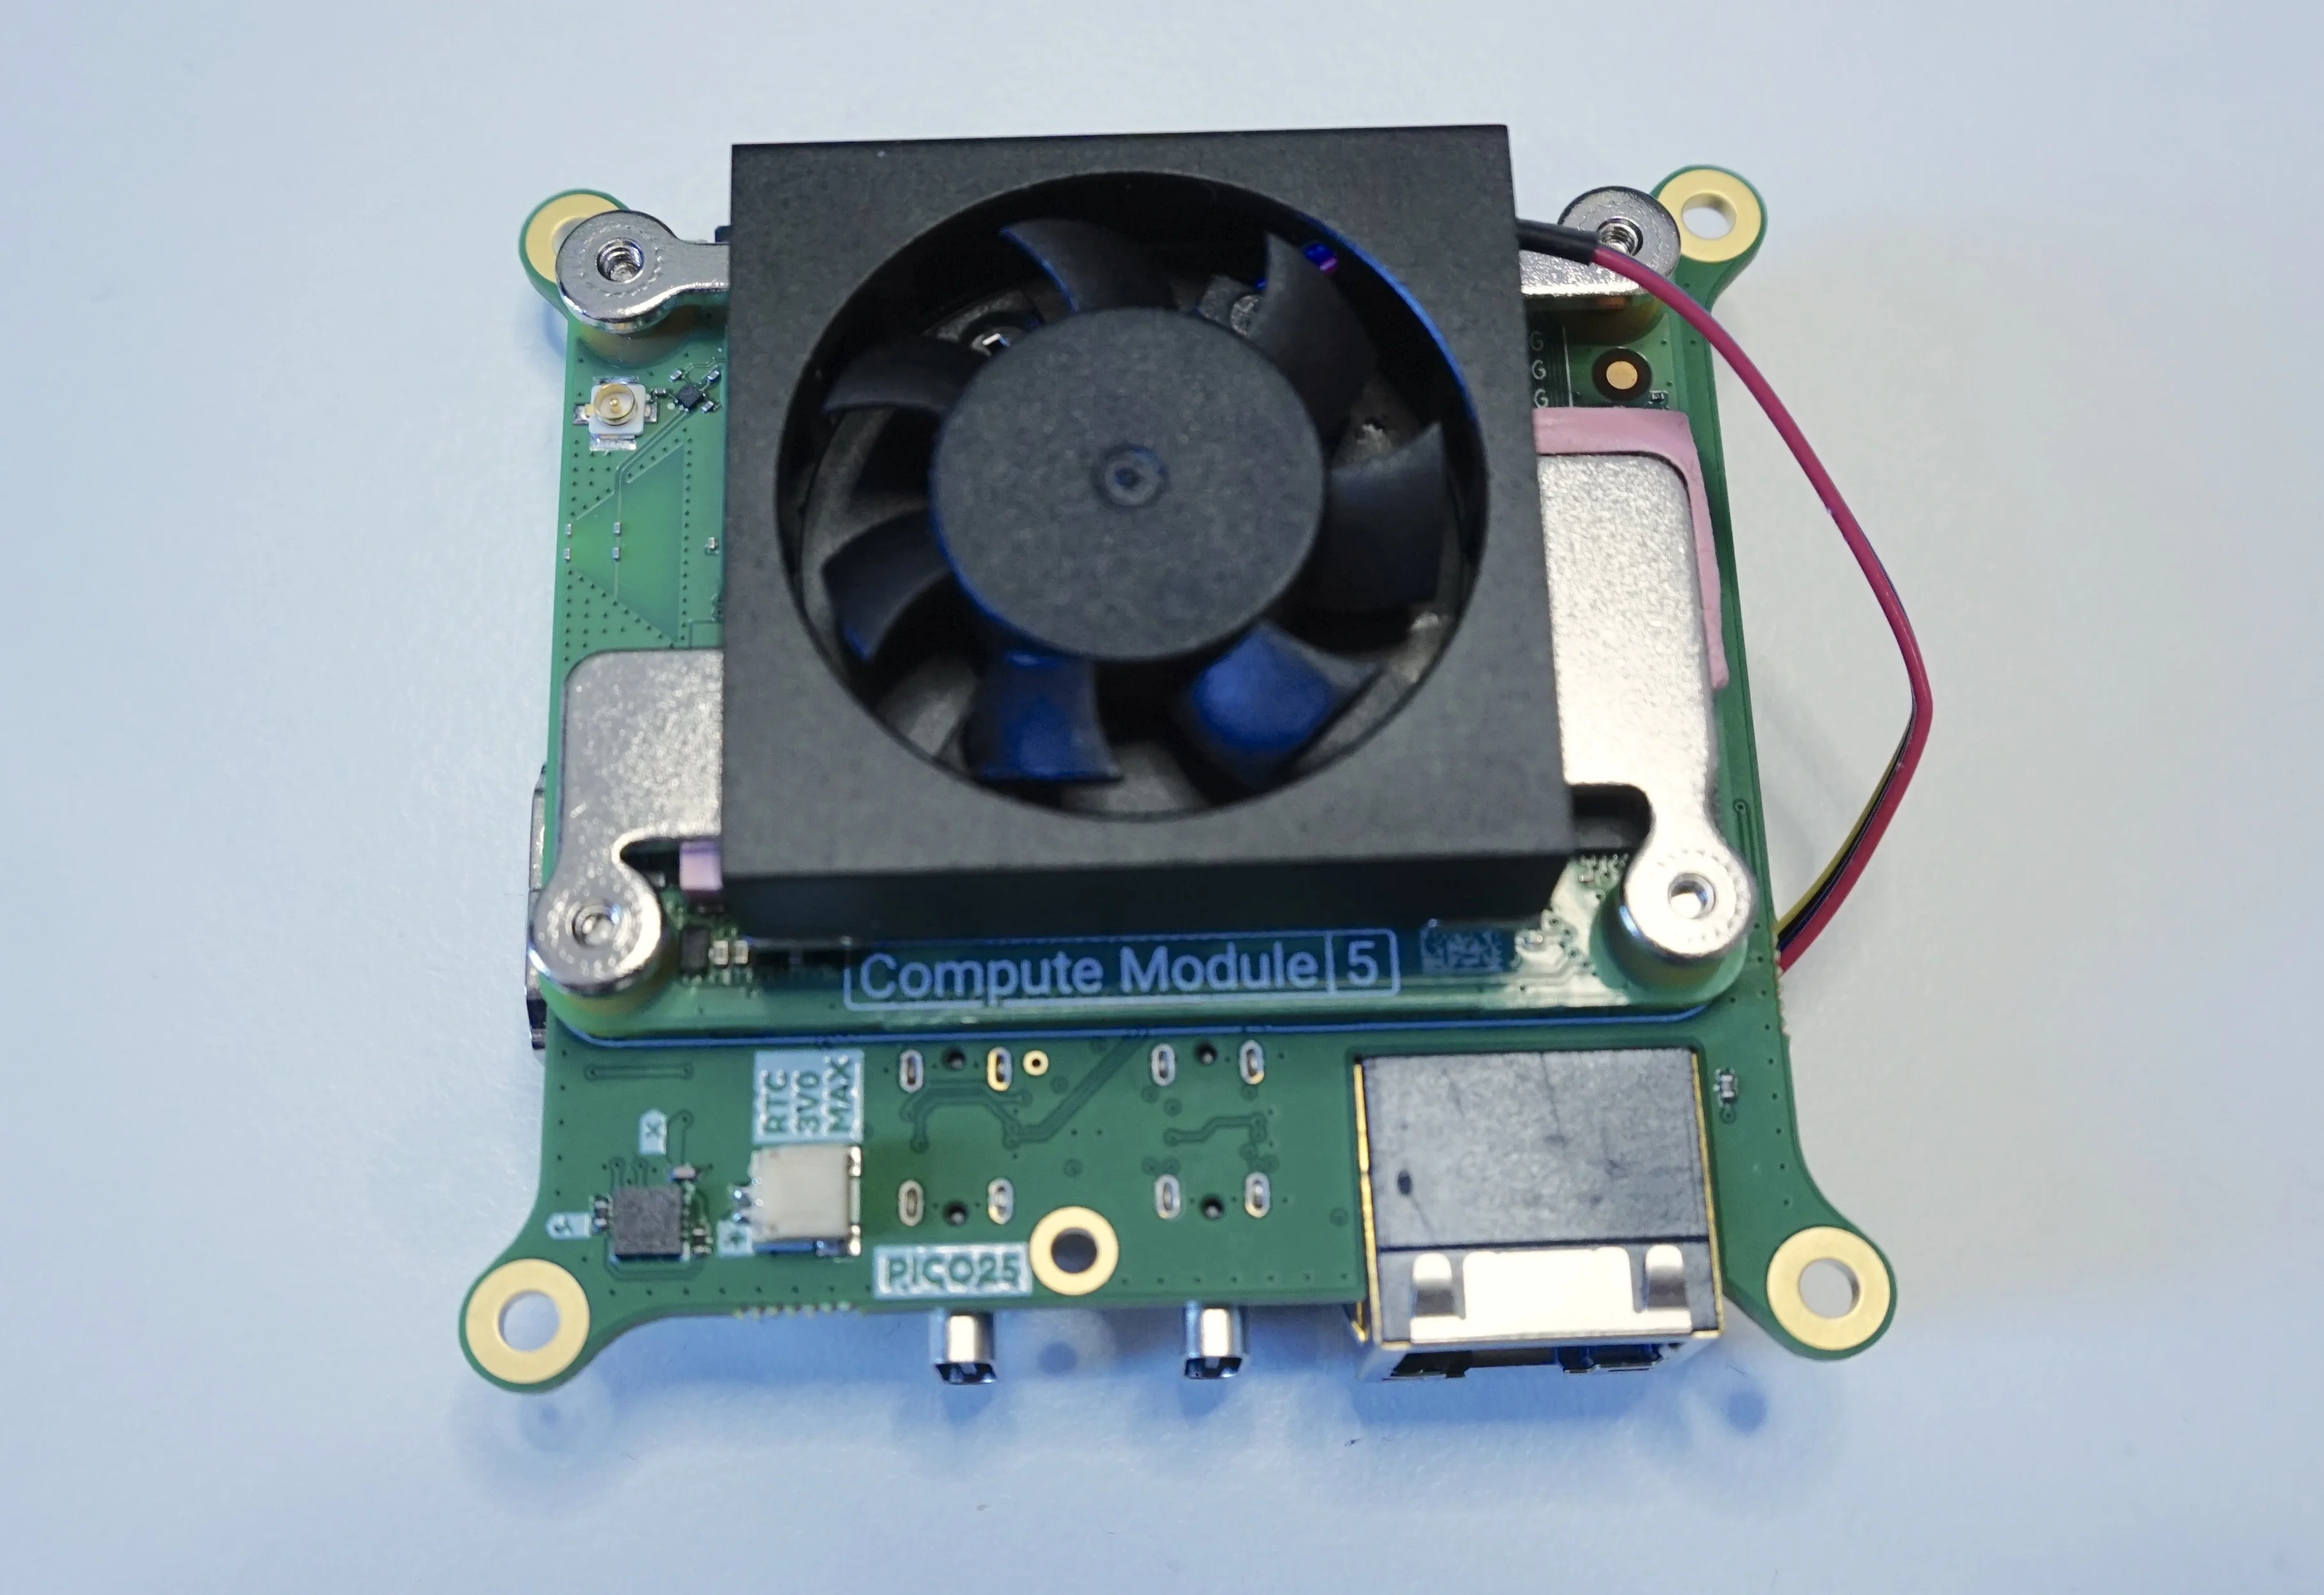
First setup: fan, CM5, NVMe
I started by mounting a small fan on my CM5, dropped the module onto the board, and plugged the fan into the dedicated header. Then I slid in a 2242 NVMe just to see how storage would behave on a single PCIe lane.
Flashing the OS to eMMC (quick notes)
Flashing was straightforward:
- Flip the boot switch to the nRPIBOOT position.
- Connect the USB cable to my host machine.
- Run the
rpibootcommand to make the emmc storage avaialble as mass storage and flash the image to eMMC. - Flip the switch back to Run and power-cycle.
If you’re new to this, the switch is the key—wrong position and the eMMC won’t present over USB.
Here is a detailed guide to flash an OS on the eMMC storage on the Raspberry Pi Compute Module 5.
Storage & networking performance
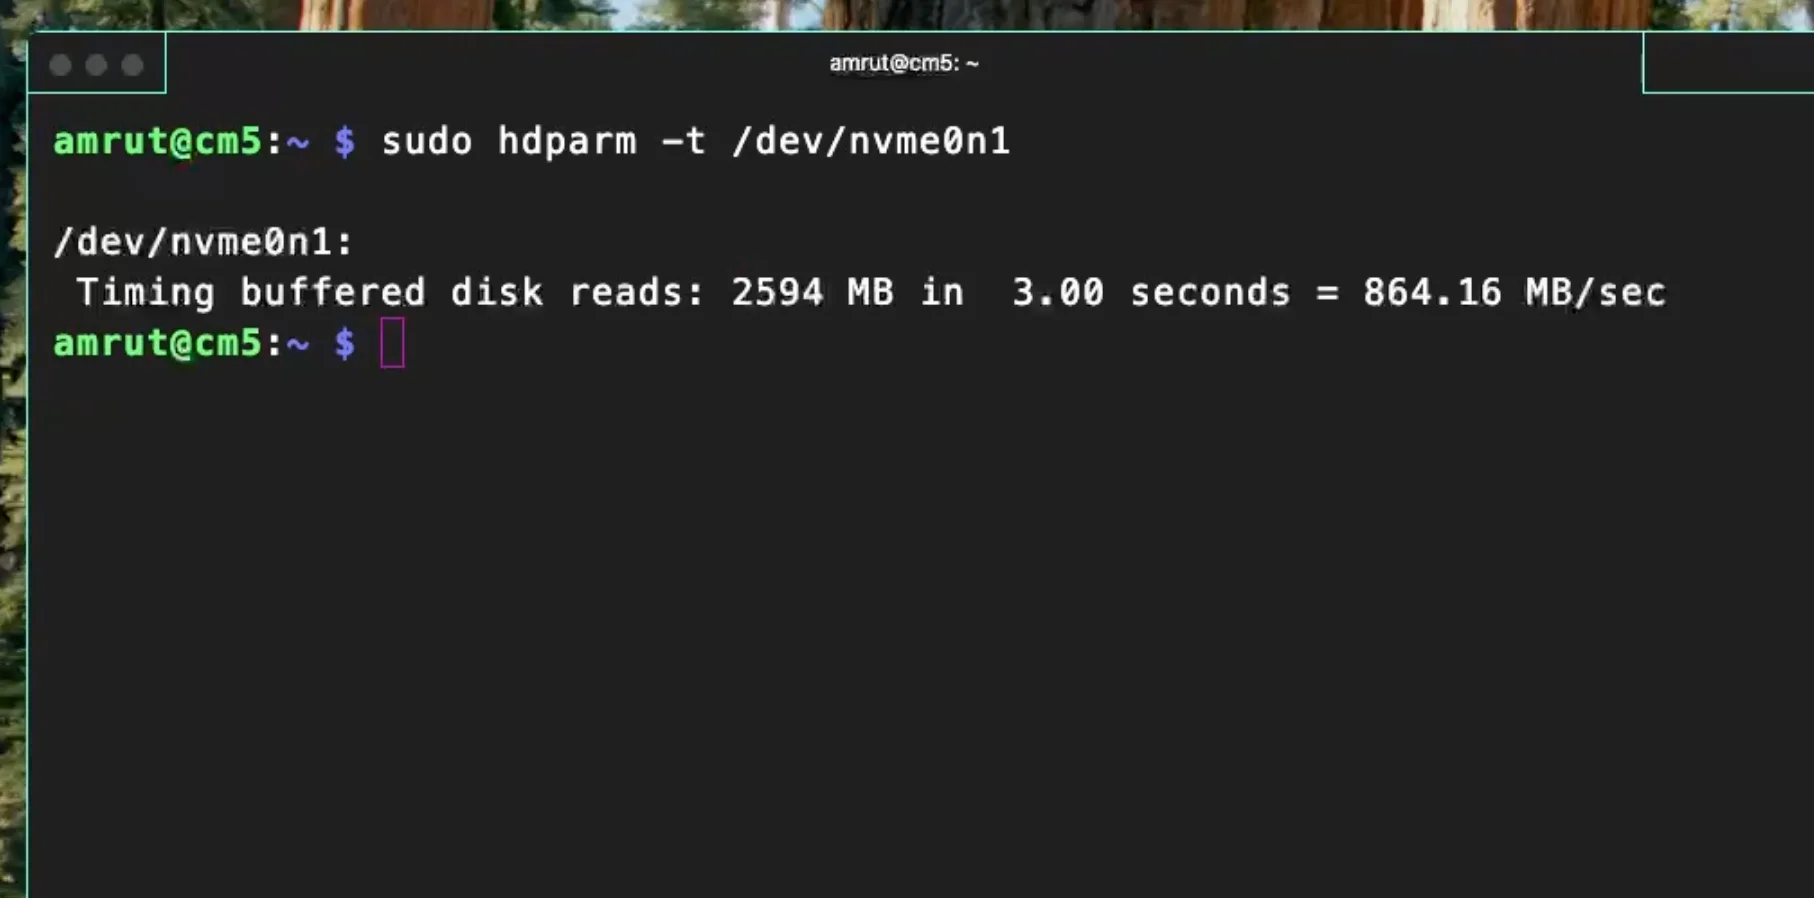
NVMe: After confirming the drive was detected, I bumped the PCIe link to Gen 3 in the config. With a single lane, I saw roughly ~864 MB/s, which is right in line with PCIe Gen3 x1 expectations for a decent 2230/2240 drive.
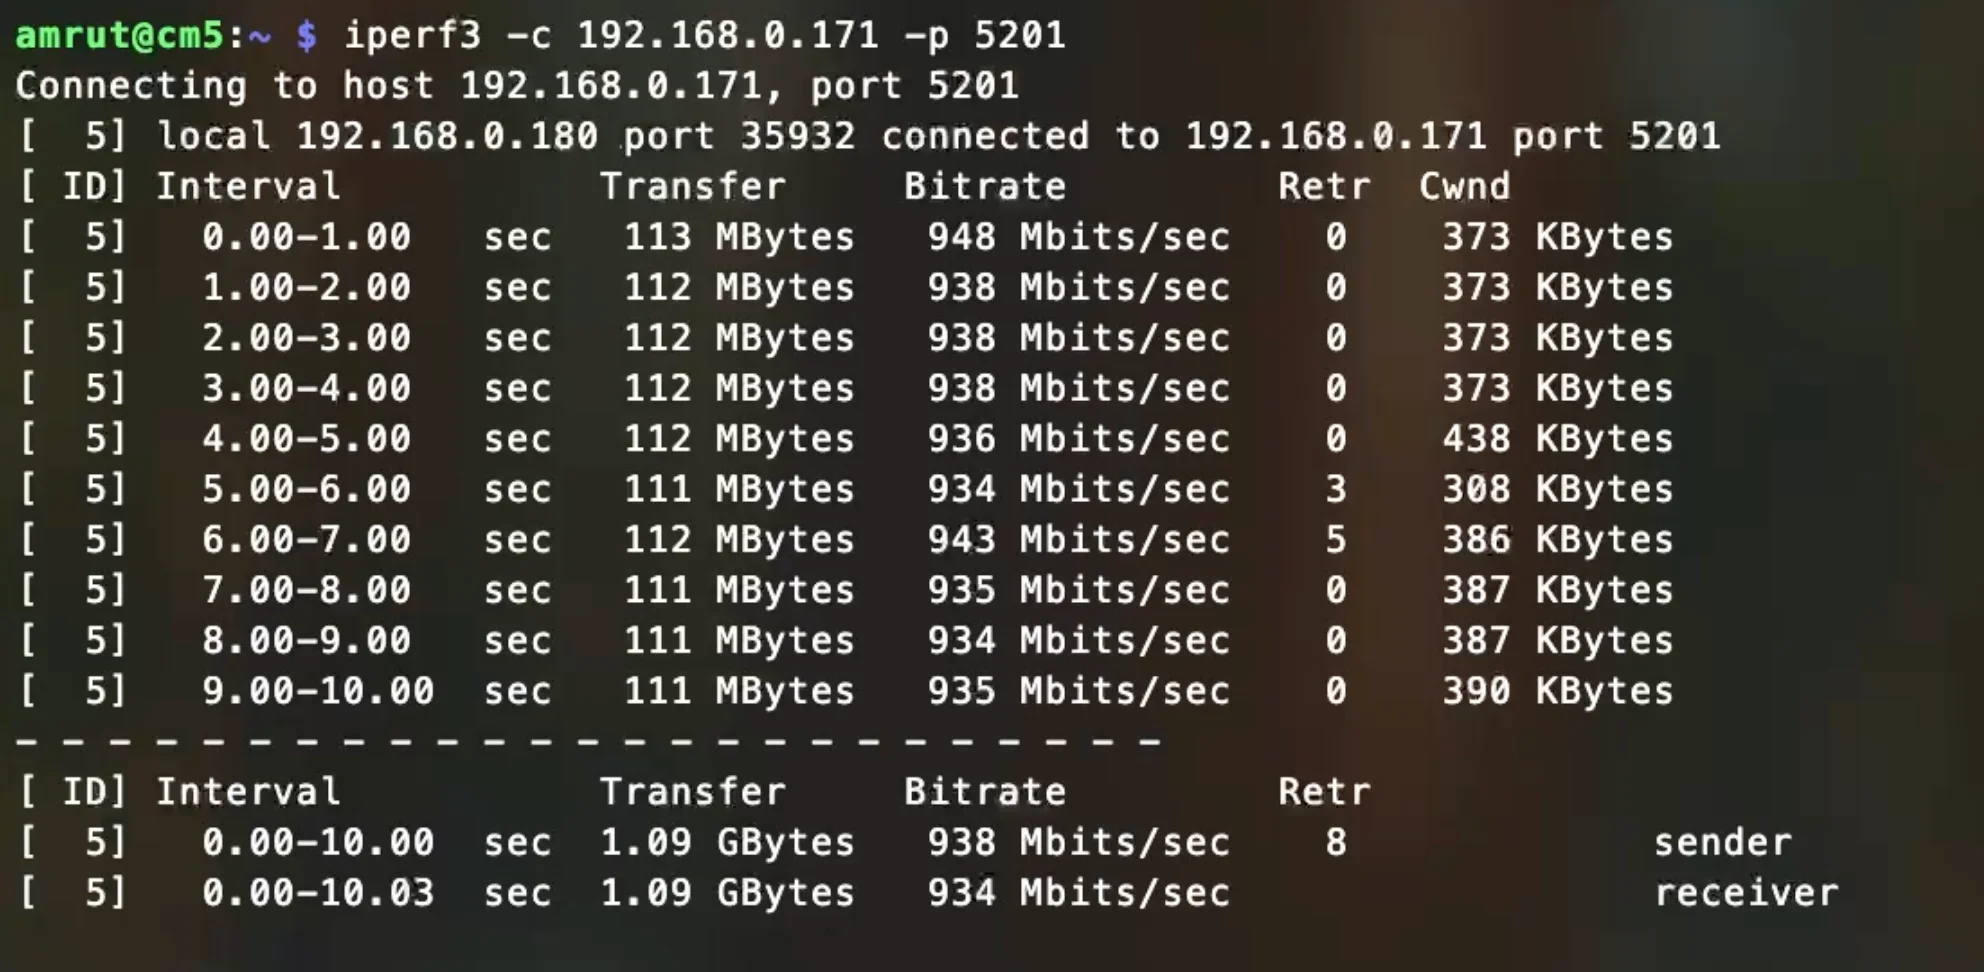
Ethernet: The gigabit port behaved as it should—around ~940 Mb/s in my tests.
Thermals & the fan kick off Out of the box, the fan kicked in once the CM5 crossed ~50 °C (default threshold). Under light loads the board stayed quiet; under sustained builds the fan spun up predictably and kept temps from creeping.
USB-C behavior
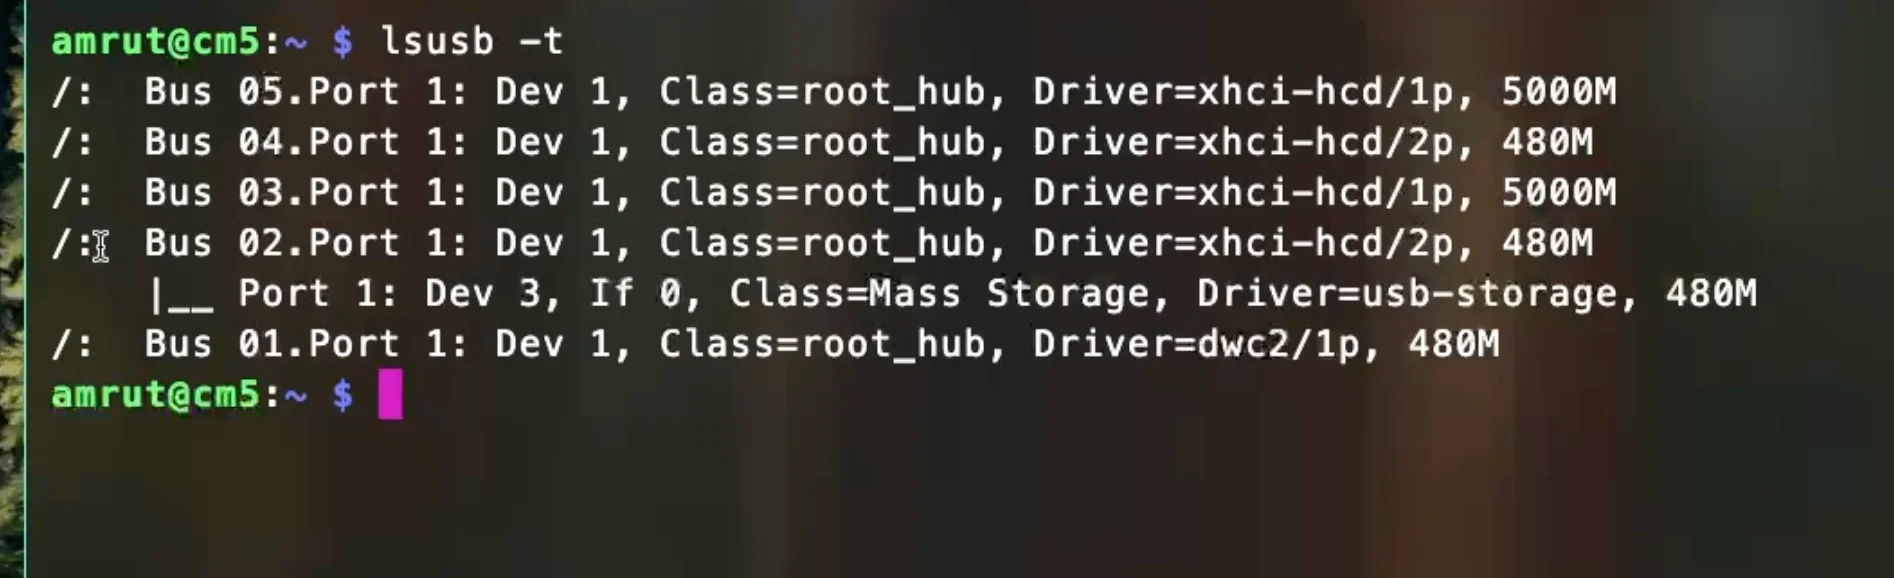
The power port negotiated fine with my PD bricks. The data port enumerated my USB 3.x device as Gen 2 capable (10 Gb/s class), which is what I expect here. For my use, plugging in a fast external SSD for quick copies felt snappy.
Trying a Compute Module 4
Curiosity got the better of me, so I tried a CM4 on this board. A couple of observations:
- With a PD power supply, the CM4 didn’t start. Swapping to a regular USB power supply brought it to life.
- NVMe didn’t show up, and the USB-C (data) port wasn’t working for me.
- Ethernet and HDMI did work.
Bottom line: you can make it talk over Ethernet (and even get HDMI out), but this board isn’t officially aimed at CM4, and the missing NVMe/USB makes it a limited fit unless you’re happy running headless over Ethernet or with basic HDMI output only.
What I like (and what to watch)
Likes
- Tiny footprint with the right mix: NVMe, Ethernet, HDMI, and USB-C.
- Sensible fan header and default thermal behavior.
- Open-source design—handy if you need to audit or adapt.
Watch-outs
- Single PCIe lane is expected on CM5, so NVMe tops out around ~900 MB/s—great for apps and logs, just don’t expect desktop-class Gen4 speeds.
- The CM4 experiment is quirky (power/PD, missing NVMe/USB); I treat CM4 support as “nice if it happens,” not a guarantee.
- Availability can be spotty. Pricing for me was about $65, and at the time it was on back-order with plans for EU/US warehouse stock.
Where this board fits in my builds
Anywhere I need a compact CM5 brain with real storage and 4K60 HDMI: kiosk displays, edge nodes with local caching, instrument controllers in tight spaces—this board slides in without forcing a giant carrier.

Buy CM5 Minima: