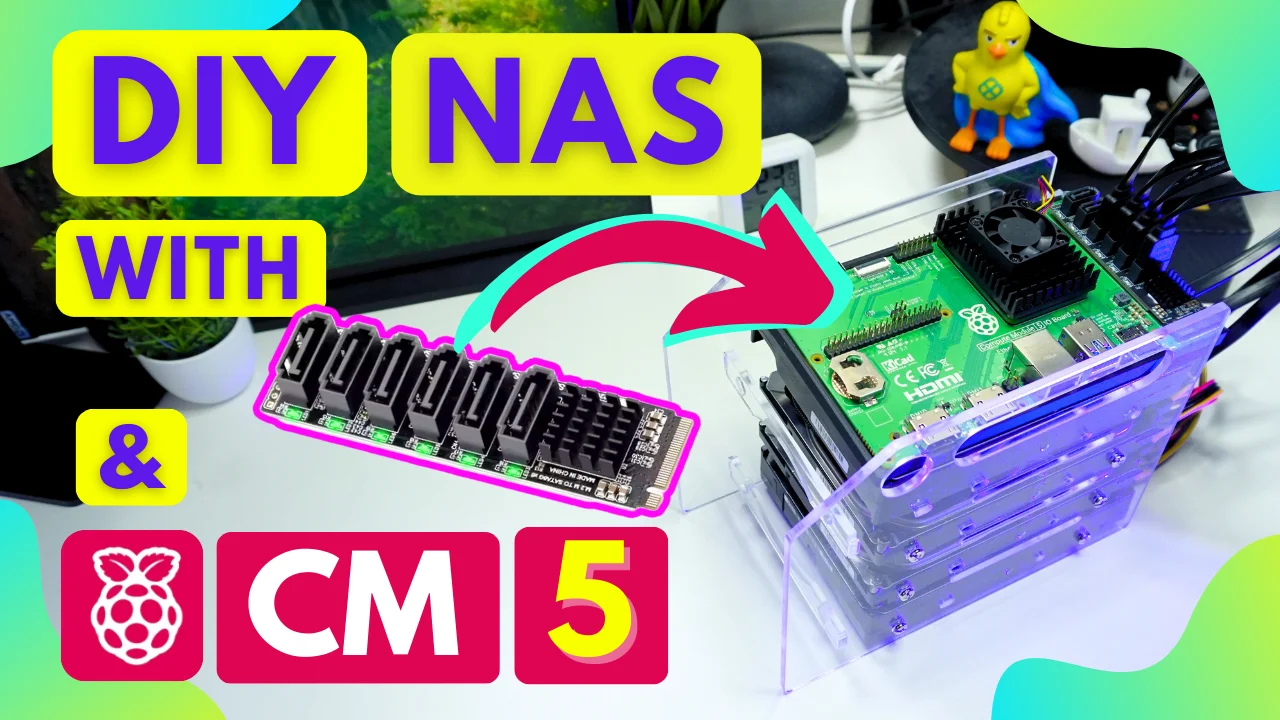
Create a Network-Attached Storage (NAS) with Raspberry Pi Compute Module 5 and NVMe to SATA Adapter
Written by
Featured Video
Table of Contents
In this guide, we’ll walk through the process of creating a DIY Network-Attached Storage (NAS) system using a Raspberry Pi Compute Module 5 (CM5) and an NVMe to SATA adapter.
This adapter, equipped with the ASM1166 chip, supports six SATA connections, making it a versatile tool for this project. Let’s dive into the steps, challenges, and results.
Components Used:
-
Raspberry Pi Compute Module 5: A compact yet powerful computing module.
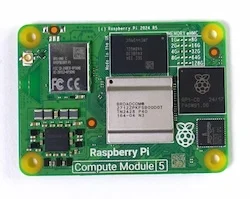
Buy Raspberry Pi Compute Module 5:
-
NVMe to SATA Adapter: Features the ASM1166 chip for connecting multiple SATA drives.
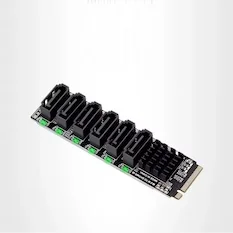
Buy NVMe to SATA Adapter (ASM1166):
-
Acrylic HDD Rack Mount: For neatly organizing hard drives.

Buy Acrylic HDD Rack Mount:
-
SATA Power Supply Cable: Powered by a DC adapter (7.5A, 12V).

Buy SATA Power Supply Cable (7.5A, 12V):
- Hard Drives: Used for creating the storage array.
- OpenMediaVault (OMV): Software for managing NAS.
Installing the OS and Configurations
I installed Raspberry Pi OS Lite on the Compute Module 5. This OS is lightweight and ideal for running OpenMediaVault. (A detailed video guide on flashing the OS on the CM5 with eMMC storage is linked here)
During the setup, I encountered an error related to the AHCI controller. After some research, I added the following to load the required overlays in the config.txt file and rebooted the system.
[all]

# dtparam=pciex1
# dtparam=pciex1_gen=3

dtparam=pcie-32bit-dma-pi5
dtoverlay=pciex1-compat-pi5,no-mip
This resolved the issue, and the drives were successfully recognized.
Set Up OpenMediaVault and RAID 5
I have a detailed guide to setup Open Media Vault on a Raspberry Pi 5 here
With OpenMediaVault installed, I accessed its UI to confirm the drives were detected. Using the multiple device plugin, I formatted the drives and set up RAID 5 for redundancy and performance.
RAID 5 allowed me to combine multiple drives into a single array while safeguarding data against single-drive failures. For detailed instructions, check out my video on setting up OpenMediaVault and RAID 5.
Performance Testing
After exposing the NAS via SMB services, I tested the setup by transferring a large file over a LAN connection. The results were impressive:
- Using the onboard Ethernet: ~110 MB/s.
- With a 2.5 Gbps USB-to-Ethernet adapter: 130–140 MB/s.
While these speeds are solid for hard drives, my SSD-based NAS setup achieved faster speeds of ~200 MB/s.
Power Consumption
Power consumption for the HDD-based NAS was measured:
- Idle: ~21W.
- Peak Load: ~34W.
In comparison, my SSD-based NAS consumed only ~9W at peak load, making it more energy-efficient for daily use. I plan to use the HDD NAS as a backup solution, automating it to replicate data from the SSD NAS and shut down afterward. This approach minimizes energy use and wear on the drives.
Challenges and Solutions
- NVMe to SATA Adapter Durability: The adapter is fragile, requiring careful handling when connecting/disconnecting SATA cables.
- Heat Generation: Hard drives generate significant heat. A fan will be added to improve cooling, albeit at the cost of higher power consumption.
Conclusion
This DIY NAS setup demonstrates the potential of the Raspberry Pi Compute Module 5 and the NVMe to SATA adapter. While it’s not as energy-efficient as SSD-based solutions, it offers a reliable backup system with decent performance.
If you enjoyed this project and want to see more like it:
-
✅ Subscribe to the YouTube channel
-
☕ Support my work on Patreon or Buy Me a Coffee