Written by
Featured Video
Table of Contents
Installing Raspberry Pi OS on the Raspberry Pi Compute Module 5 (CM5) with eMMC storage involves a slightly different process compared to the CM5 Lite version without eMMC.
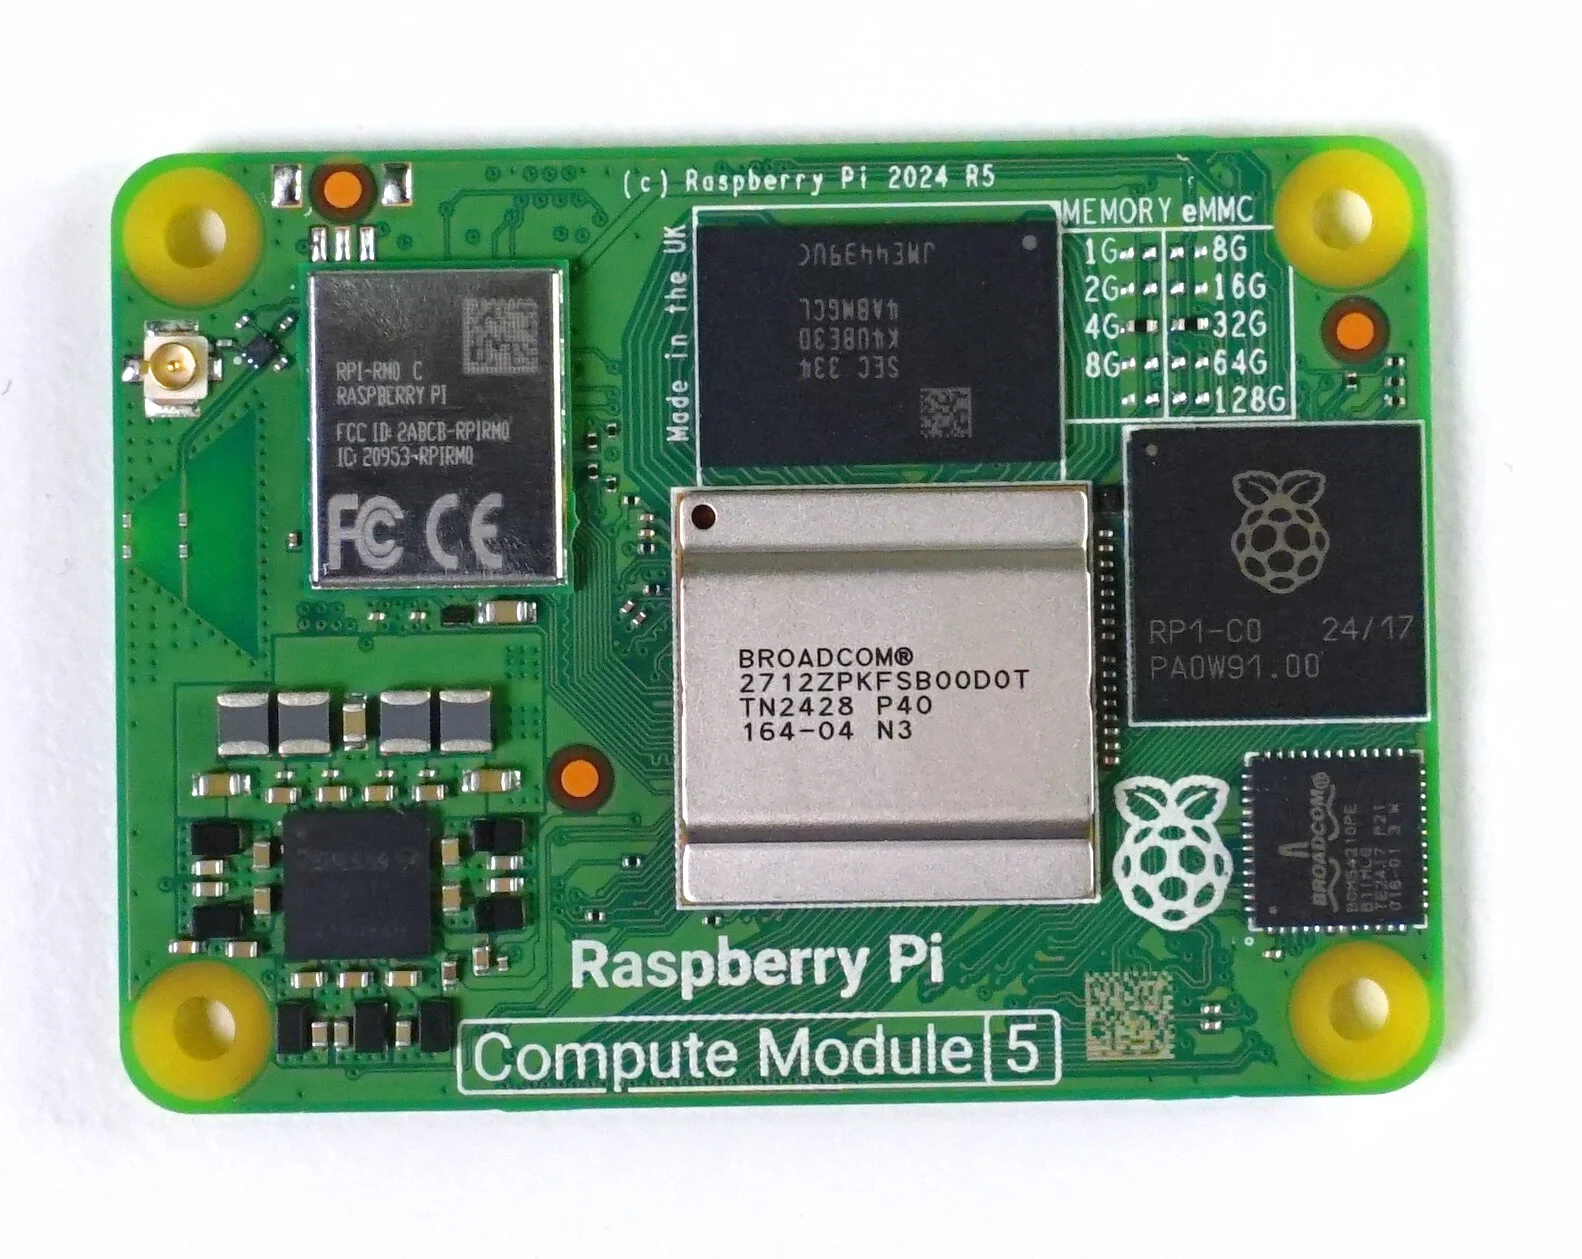 | 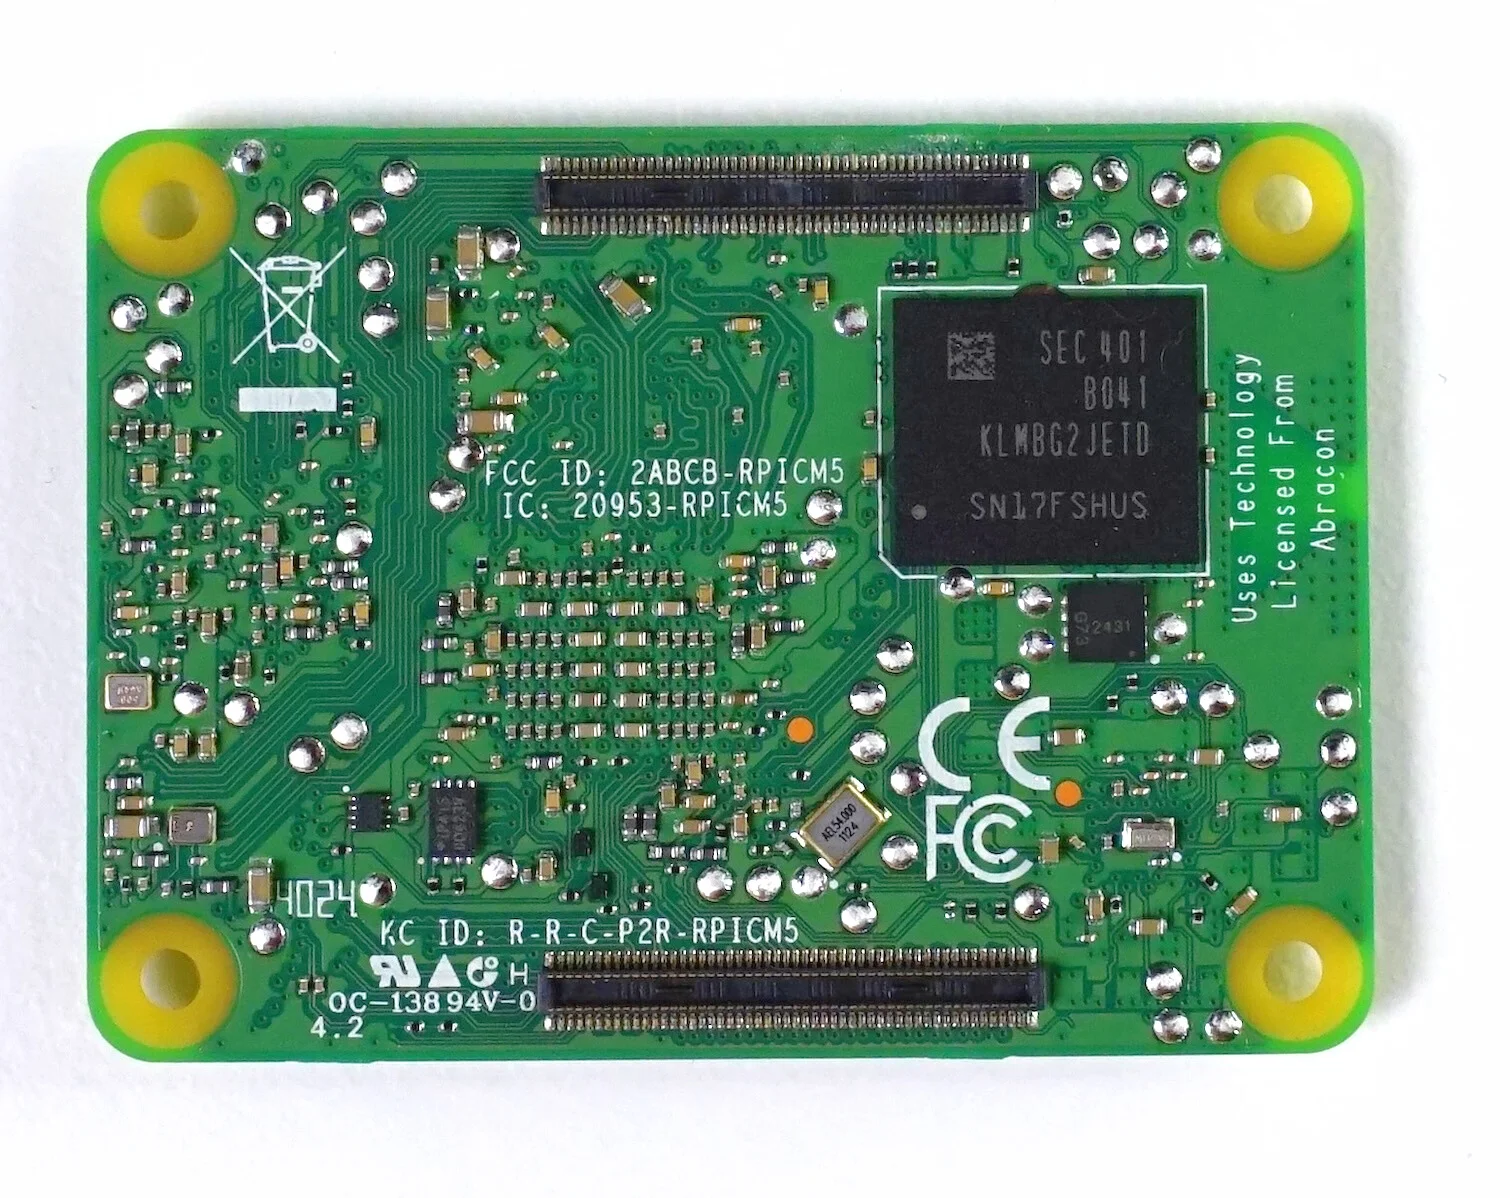 |
|---|
Buy Raspberry Pi Compute Module 5:
In this guide, we’ll walk you through the steps to install Raspberry Pi OS on a Compute Module 5 using Windows, Linux, and macOS.
For CM5 Lite (Without eMMC Storage)
If you’re using the CM5 Lite, the process is straightforward. Simply flash the OS onto an SD card using Raspberry Pi Imager and insert it into the IO board.
For the CM5 with eMMC storage, follow the instructions below:
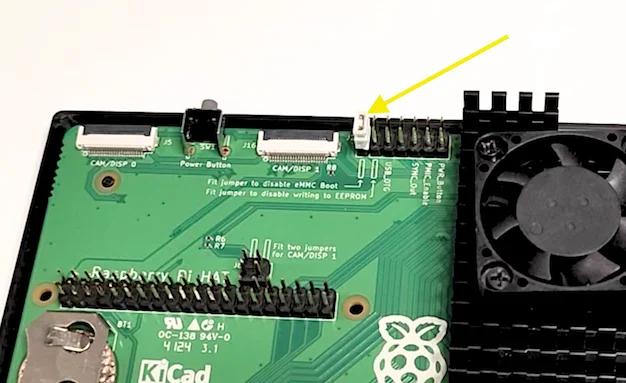
Pre-Requirement: Disable Boot From eMMC
Make sure to connect a jumper to the pins that disable booting from the eMMC prior to flashing the OS.
Installing Raspberry Pi OS From Windows Machine
- Download and Install RPI Boot Installer
- Download the RPI boot installer from the official Raspberry Pi website here.
- Run the setup and follow the prompts.
- During installation, command windows will open multiple times to install necessary drivers. Wait for the process to finish and click “Next” until the setup completes.
- Start the Mass Storage Gadget
- Open the Start Menu and search for “CM4/CM5 Mass Storage Gadget.”
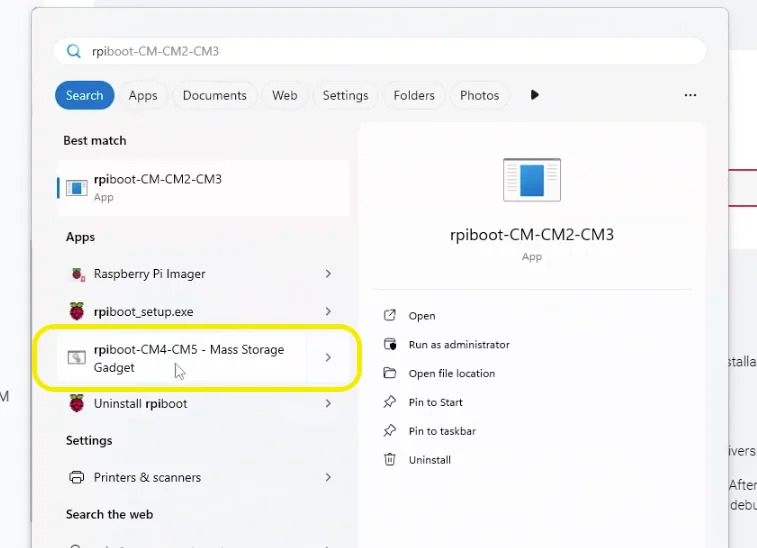
- Click on it to open a command window.
- When the command window shows “Waiting for BCM2835/6/7/2711/2712…” connect the IO board to your computer.
- The red light on the IO board will turn green when the binaries start flashing onto the eMMC module. Once the light remains green, the eMMC storage will be accessible on your computer.
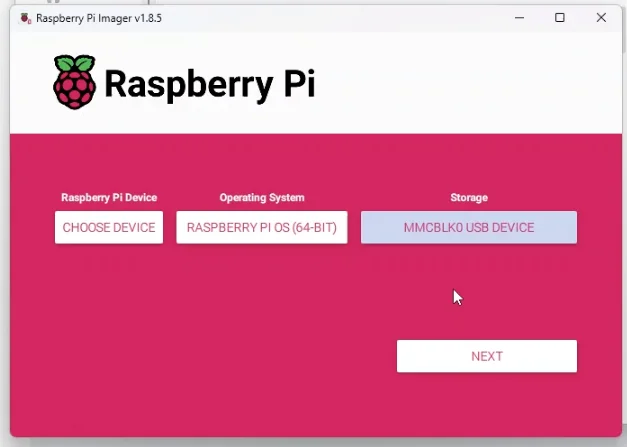
3. Use Raspberry Pi Imager
- Open the Raspberry Pi Imager.
- Select the desired OS and the detected eMMC storage.
- Click “Next” to flash the OS onto the eMMC storage.
Installing Raspberry Pi OS From Linux
- Build RPI Boot Binary
- Clone the repository and build the RPI boot binary:
sudo apt install git libusb-1.0-0-dev pkg-config build-essential
git clone --recurse-submodules --shallow-submodules --depth=1 https://github.com/raspberrypi/usbboot
cd usbboot
make
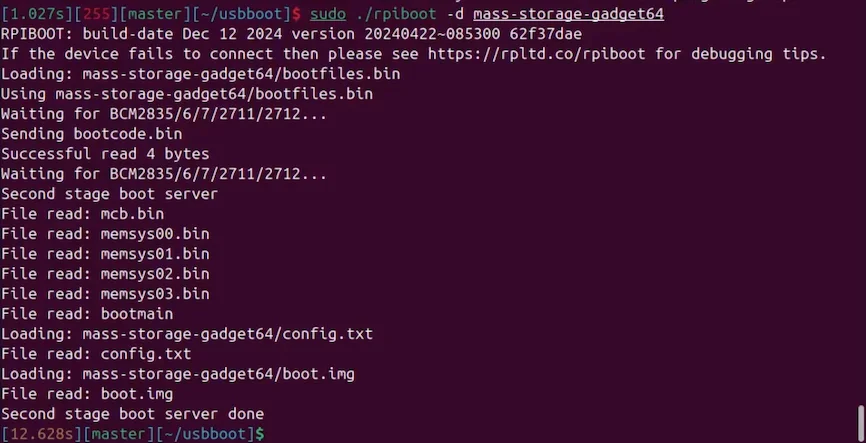
- Start RPI Boot
- Run the following command to start RPI boot:
sudo ./rpiboot -d mass-storage-gadget64
- This will wait for the device connection.
- When the command window shows “Waiting for BCM2835/6/7/2711/2712…” connect the IO board to your computer.
- The red light on the IO board will turn green when the binaries start flashing onto the eMMC module. Once the light remains green, the eMMC storage will be accessible on your computer.
- If these instructions don’t work, you can check the instructions from the GitHub repo here.
- Flash the OS
- Once the process completes and the drive is mounted, open Raspberry Pi Imager.
- Select the OS, choose the eMMC module, and click “Next” to write the OS to the eMMC storage.
Installing Raspberry Pi OS Using macOS
- Build RPI Boot Binary
- Clone the repository and build the RPI boot binary:
git clone --recurse-submodules --shallow-submodules --depth=1 https://github.com/raspberrypi/usbboot
cd usbboot
brew install libusb
brew install pkg-config
make
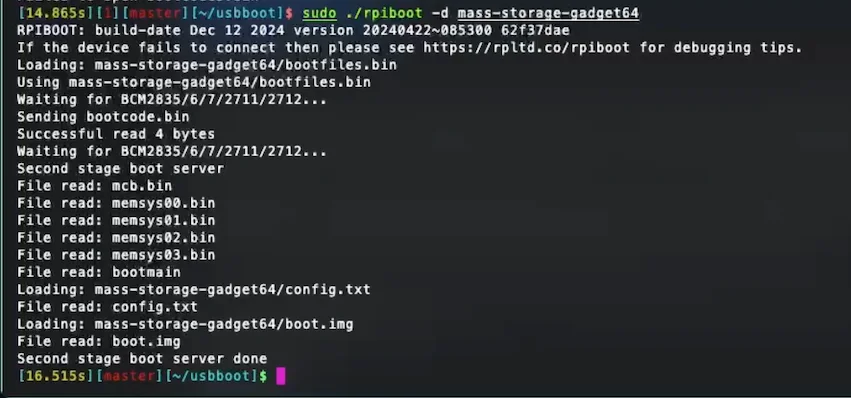
- Run the command to start RPI boot:
sudo ./rpiboot -d mass-storage-gadget64
- When the command window shows “Waiting for BCM2835/6/7/2711/2712…” connect the IO board to your computer.
- The red light on the IO board will turn green when the binaries start flashing onto the eMMC module. Once the light remains green, the eMMC storage will be accessible on your computer.
- If these instructions don’t work, you can check the instructions from the GitHub repo here.
- Flash the OS
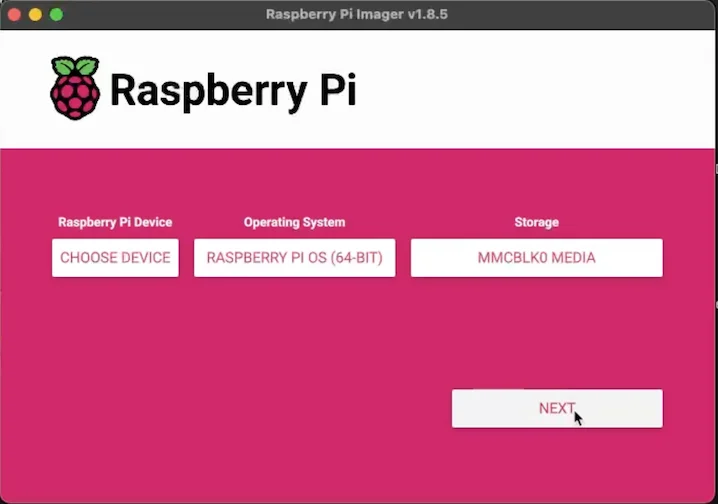
Open the Raspberry Pi Imager, select the OS, choose the mounted eMMC storage, and Click “Next” to write the OS.
Conclusion
Following these steps will allow you to successfully install Raspberry Pi OS on the CM5 with eMMC storage.
- Create a NAS with Raspberry Pi 5
- Radxa X4: 60$ Powerful Atlernative to Raspberry Pi 5
- Create Custom Wake Word For Your Voice Assistant
- Orange Pi 5 MAX: A Powerful Successor to the Orange Pi 5 Pro
