Written by
Amrut Prabhu
@smarthomecircleFeatured Video
Table of Contents
Components
-
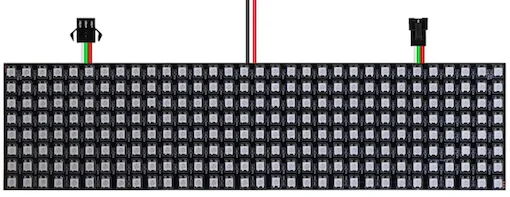
8x32 LED Matrix with individual programmable LEDs of type WS2812B.
You can buy using the links below. -
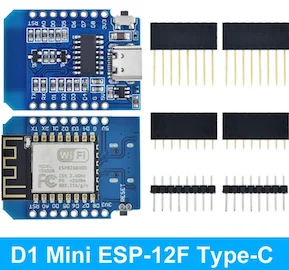
D1 Mini board
STL Model File For 3D printer
The link to the STL file for the 3D printing model is here.
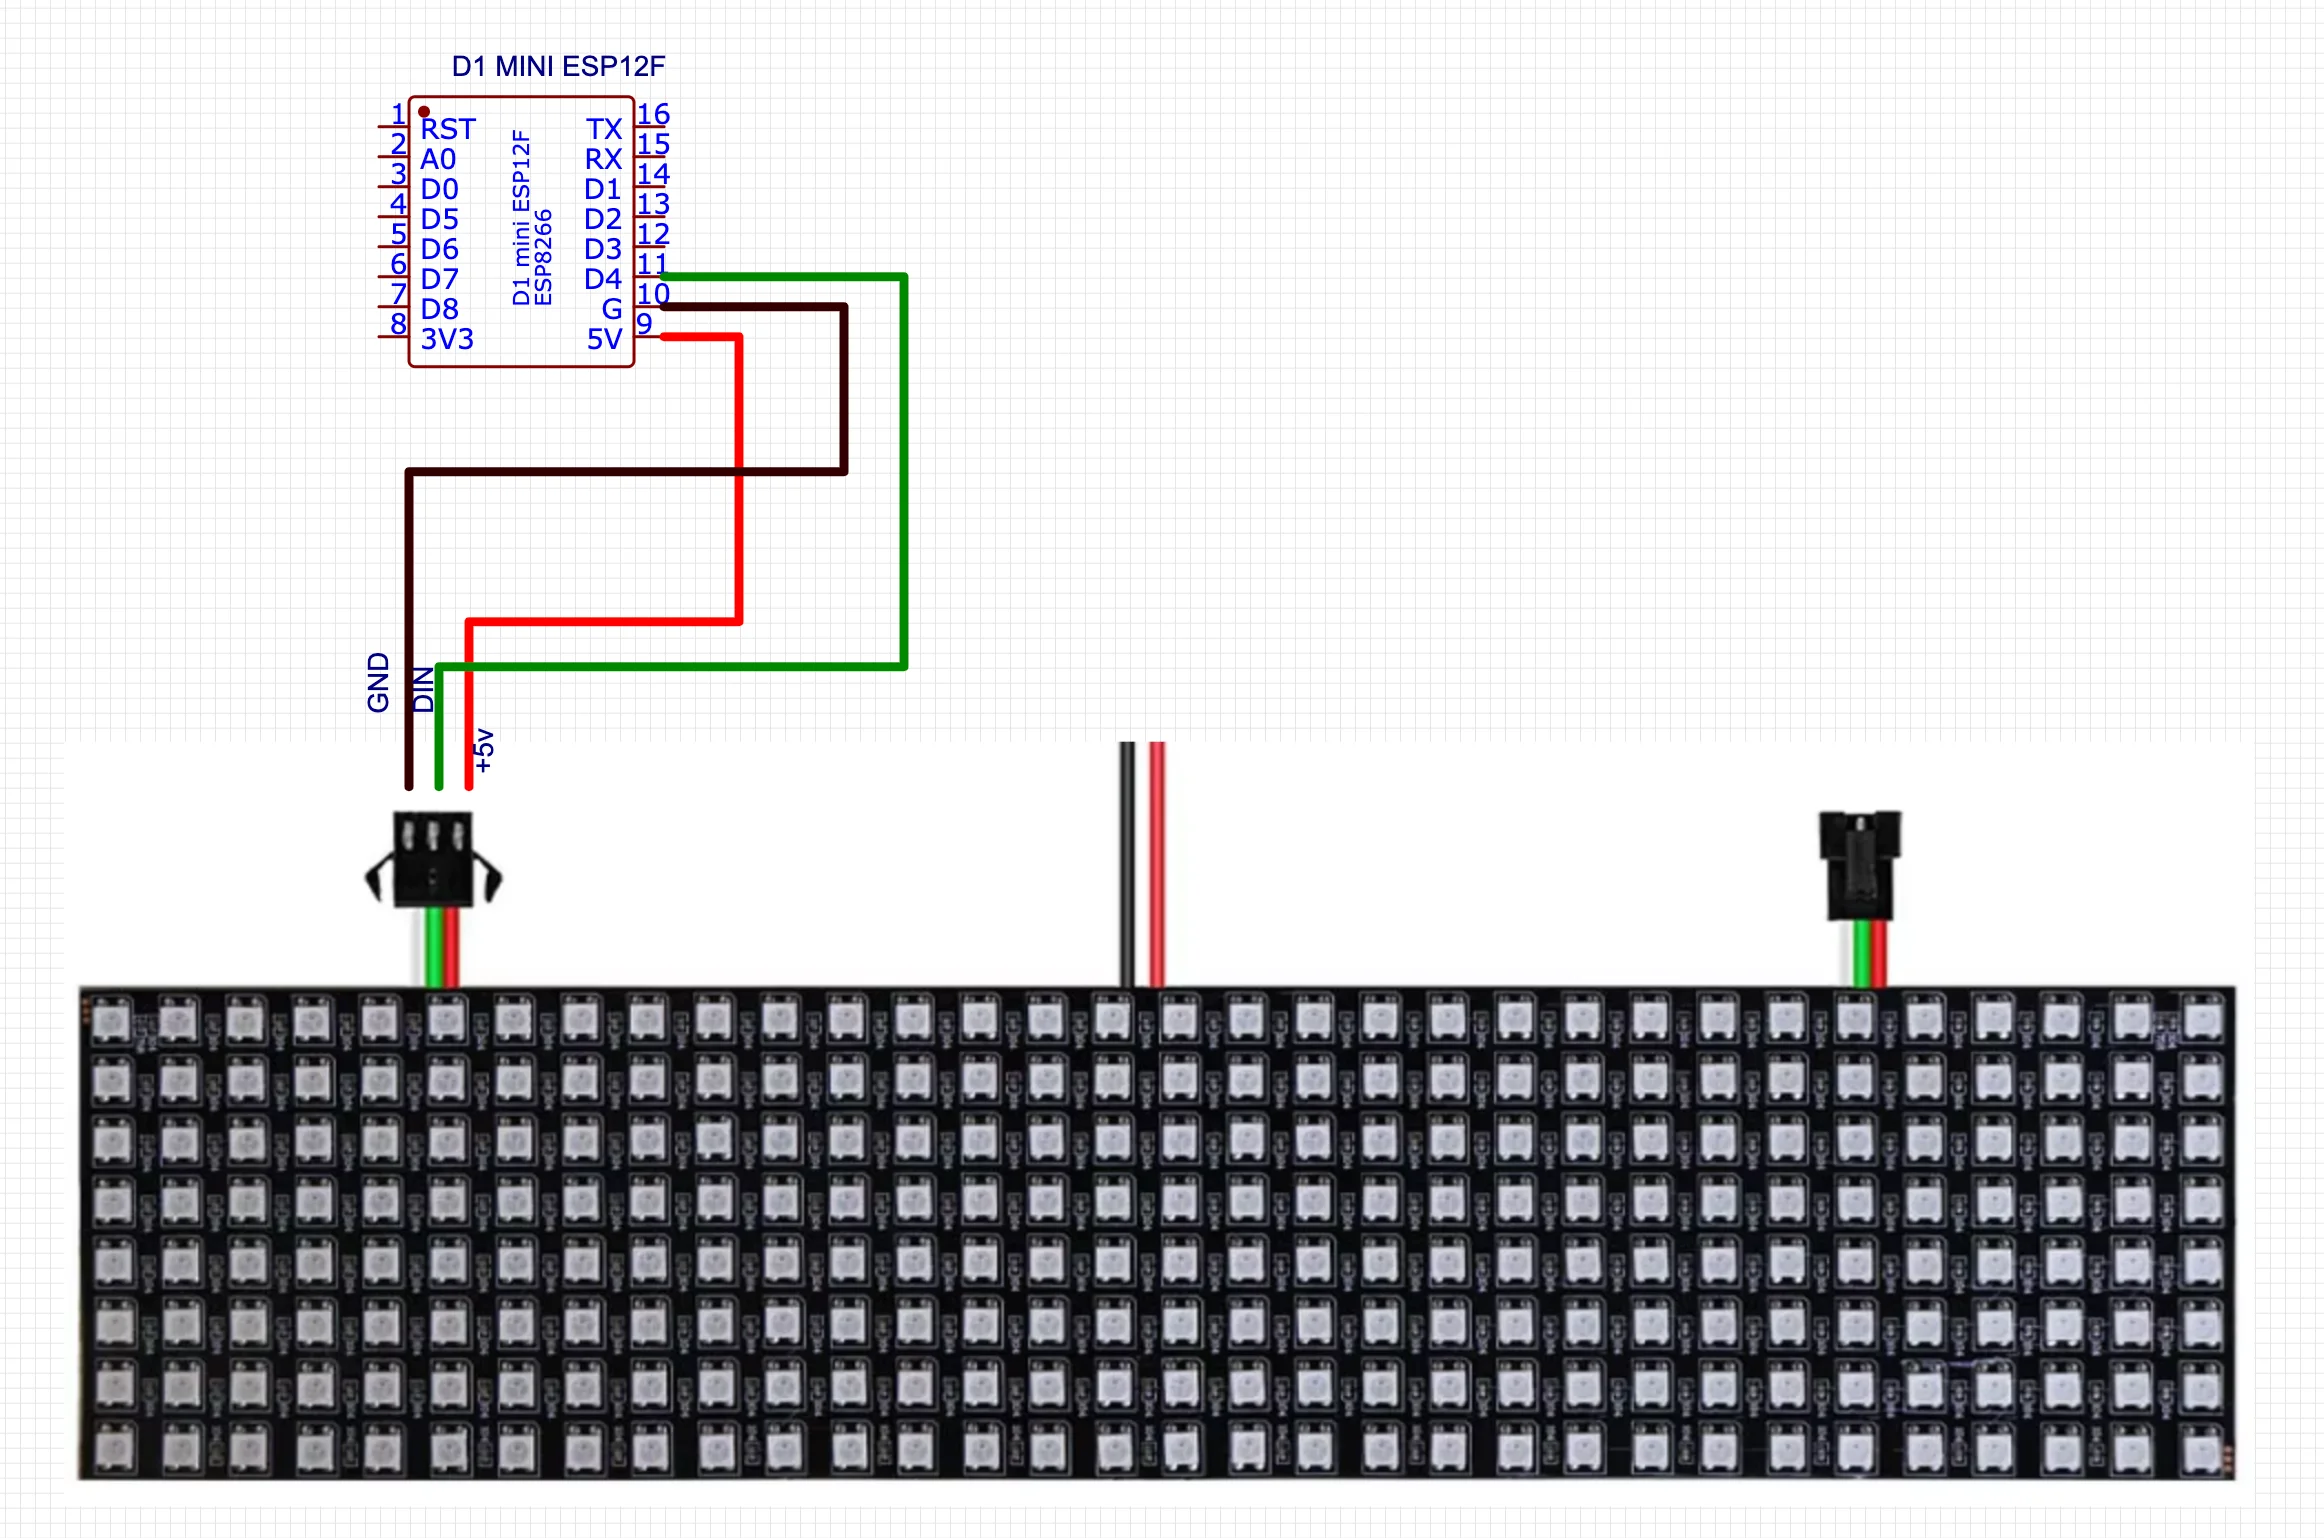
Circuit Diagram
Installing WLED on D1 mini
- Head over to https://install.wled.me and connect the D1 mini to the compute2.
- Click on “Connect” and then click on “Install WLED”.
- After installation, configure Wifi credentials.
- Once connected, add it to Home Assistant.
REST Commands For Controlling LED Matrix Text Input
Simple Text Options command
rest_command:
  wled_text:
    url: http://<IP Address of the device>/json/state
    method: POST
    payload: '{ "on": true, "bri": "{{brightness}}", "seg":{"id":0, "col":{{color}} , "fx":122, "n":"{{text}}" }}'
Advanced Text Options Command
rest_command:
  wled_text_advanced:
    url: http://<IP Address of the device>/json/state
    method: POST
    payload: '{"on": true, "bri": {{brightness}}, "seg":{"id":0, "fx":122, "frz": {{freeze}}, "sx": {{scroll_speed}}, "col": {{color}}, "n":"{{text}}"}}'
Here are some recommended articles for you.
- Create Custom Wake Word For Your Voice Assistant
- Connect Bluetooth Devices to Home Assistant with Bluetooth Proxy
- Share Files With Home Assistant OS with Samba Share