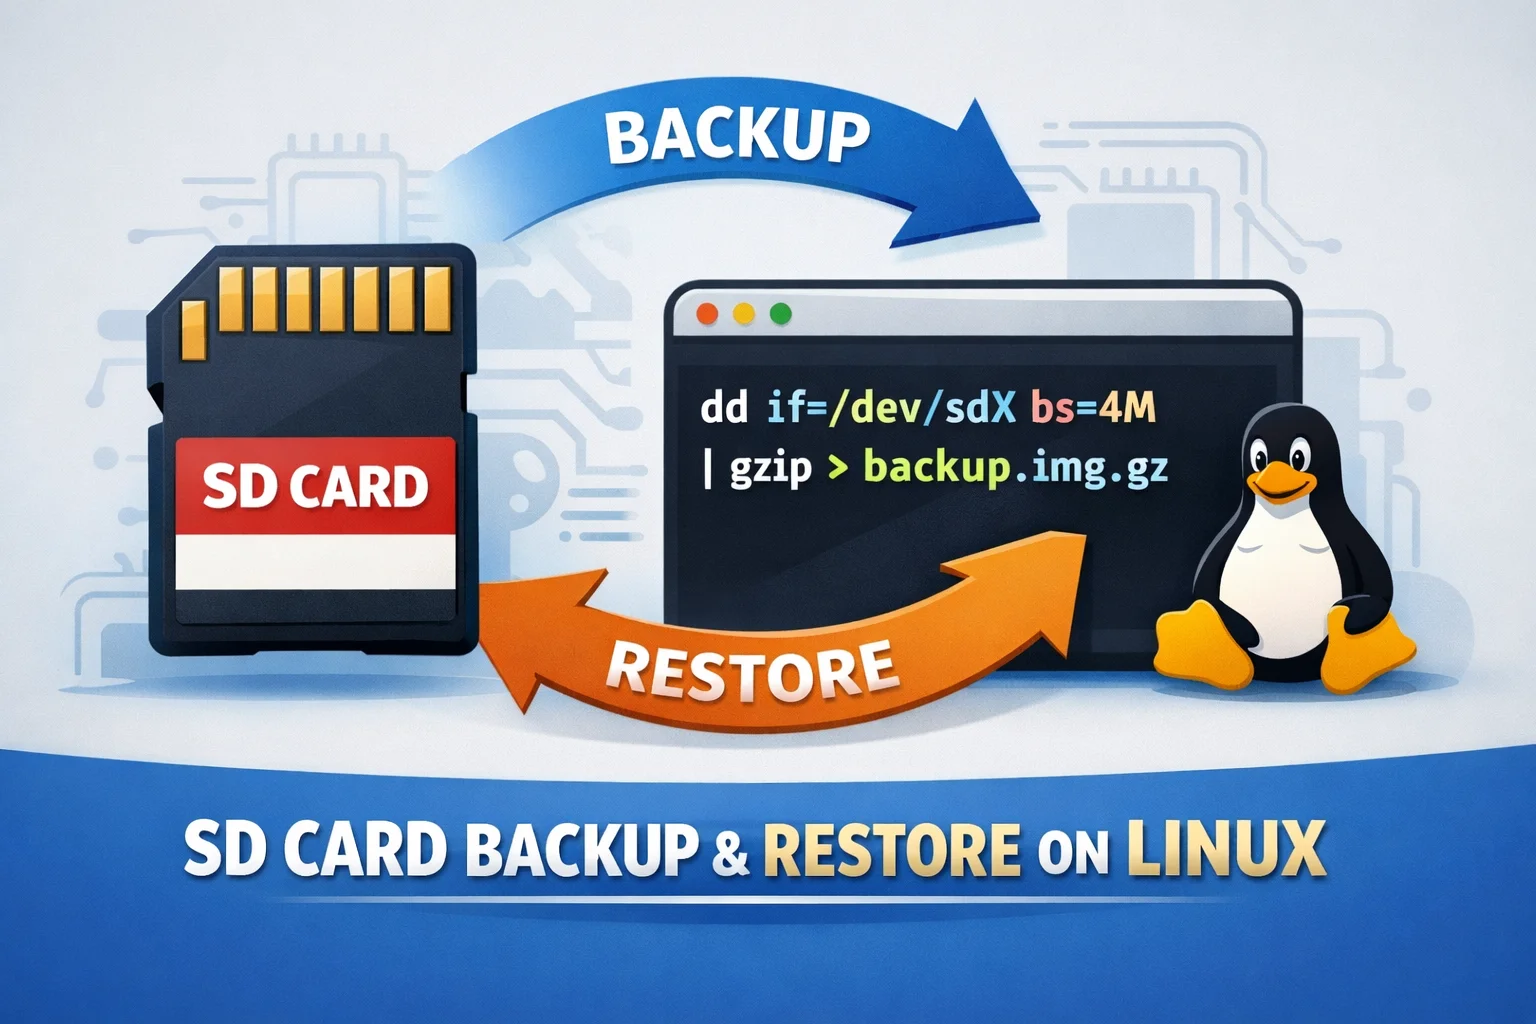
How to Back Up an SD Card (Full OS Image) to an IMG File Using Linux Command Line
Written by
Table of Contents
- What You’ll Get
- Requirements
- Creating OS Backup from SD Card
- Step 0: Safely Power Off and Remove the SD Card
- Step 1: Identify the SD Card Device
- Step 2: Unmount Any Auto-Mounted Partitions
- Step 3: Create the Backup Image
- Option A (Recommended): Create a Compressed Image (.img.gz)
- Option B: Create an Uncompressed Image (.img)
- Restore the Backup Image to an SD Card
- Restore a compressed image (.img.gz)
- Restore an uncompressed image (.img)
- FAQs and Common Gotchas
- Can I back up an SD card while it’s still running in the device?
- What if I restore to a bigger SD card?
- What if I restore to a smaller SD card?
- Quick Command Summary
If your OS is installed on an SD card (common with SBCs, embedded devices, and lab/test rigs), you should keep a full backup image so you can recover quickly if the card gets corrupted. This guide shows how to create a SD card backup as an .img (or compressed .img.gz) using only Linux command line tools—then how to restore it later.
What You’ll Get
By the end you’ll have:
- A complete SD card backup that includes all partitions (boot + root filesystem + anything else)
- A restore method to flash the image to an SD card so the system boots exactly as before (OS + apps + configuration)
Requirements
- A Linux PC (or laptop)
- SD card reader (USB or built-in)
- Enough free disk space:
- Uncompressed image ≈ size of SD card (e.g., 64GB card → ~64GB image)
- Compressed image is usually much smaller (depends on used space)
- Tools (usually preinstalled):
lsblk,dd,gzip,sha256sum
Creating OS Backup from SD Card
Step 0: Safely Power Off and Remove the SD Card
- Shut down the device cleanly (recommended):
sudo shutdown -h now - Remove the SD card once the device is fully off.
- Insert the SD card into your Linux PC.
Step 1: Identify the SD Card Device
Run:
lsblk -o NAME,SIZE,TYPE,MODEL,MOUNTPOINTS
Look for the disk matching your SD card size.
Common device names:
/dev/sdX(USB SD card readers; e.g.,/dev/sdb)/dev/mmcblkX(built-in SD readers; e.g.,/dev/mmcblk0)
✅ You want the whole disk device (example: /dev/sdb), not a partition (example: /dev/sdb1).
⚠️ Important: Choosing the wrong device can overwrite your PC’s drive. Double-check size and model.
Step 2: Unmount Any Auto-Mounted Partitions
If Linux auto-mounted partitions (like /dev/sdb1, /dev/sdb2), unmount them.
Example for /dev/sdb:
sudo umount /dev/sdb* 2>/dev/null || true
Example for /dev/mmcblk0:
sudo umount /dev/mmcblk0p* 2>/dev/null || true
Step 3: Create the Backup Image
You have two options:
Option A (Recommended): Create a Compressed Image (.img.gz)
This saves space and is ideal for most backups.
sudo dd if=/dev/sdX bs=4M status=progress conv=fsync | gzip -1 > sdcard_backup.img.gz
Replace /dev/sdX with your SD card device (e.g., /dev/sdb or /dev/mmcblk0).
What this does
- Reads the entire SD card byte-for-byte (all partitions)
- Shows progress
- Compresses output to save storage
Option B: Create an Uncompressed Image (.img)
This uses more storage but can be faster to restore.
sudo dd if=/dev/sdX of=sdcard_backup.img bs=4M status=progress conv=fsync
Restore the Backup Image to an SD Card
When you need to recover, restore the image to an SD card.
⚠️ Warning: Restoring will overwrite the entire target SD card. Verify the device name carefully.
Restore a compressed image (.img.gz)
gzip -dc sdcard_backup.img.gz | sudo dd of=/dev/sdX bs=4M status=progress conv=fsync
Restore an uncompressed image (.img)
sudo dd if=sdcard_backup.img of=/dev/sdX bs=4M status=progress conv=fsync
(Optional) Refresh partition info:
sudo partprobe /dev/sdX || true
Eject the card safely.
sudo eject /dev/sdX
Then insert it into your device, and boot. It should come up exactly as it was.
FAQs and Common Gotchas
Can I back up an SD card while it’s still running in the device?
You can, but it’s not ideal because data may change during imaging. The safest approach is always: shutdown → remove card → image externally.
What if I restore to a bigger SD card?
It will work, but the extra space may remain unused until you expand partitions/filesystems.
What if I restore to a smaller SD card?
It usually won’t work. A full-disk image expects the target card to be the same size or larger.
Quick Command Summary
Replace /dev/sdX with your SD card device.
Find device:
lsblk -o NAME,SIZE,TYPE,MODEL,MOUNTPOINTS
Backup (compressed, recommended):
sudo dd if=/dev/sdX bs=4M status=progress conv=fsync | gzip -1 > sdcard_backup.img.gz
Restore (compressed):
gzip -dc sdcard_backup.img.gz | sudo dd of=/dev/sdX bs=4M status=progress conv=fsync
sync