
How to Build a Smart Home Dashboard for Home Assistant with Elecrow ESP32-P4 and ESPHome LVGL
Written by

Featured Video
Table of Contents
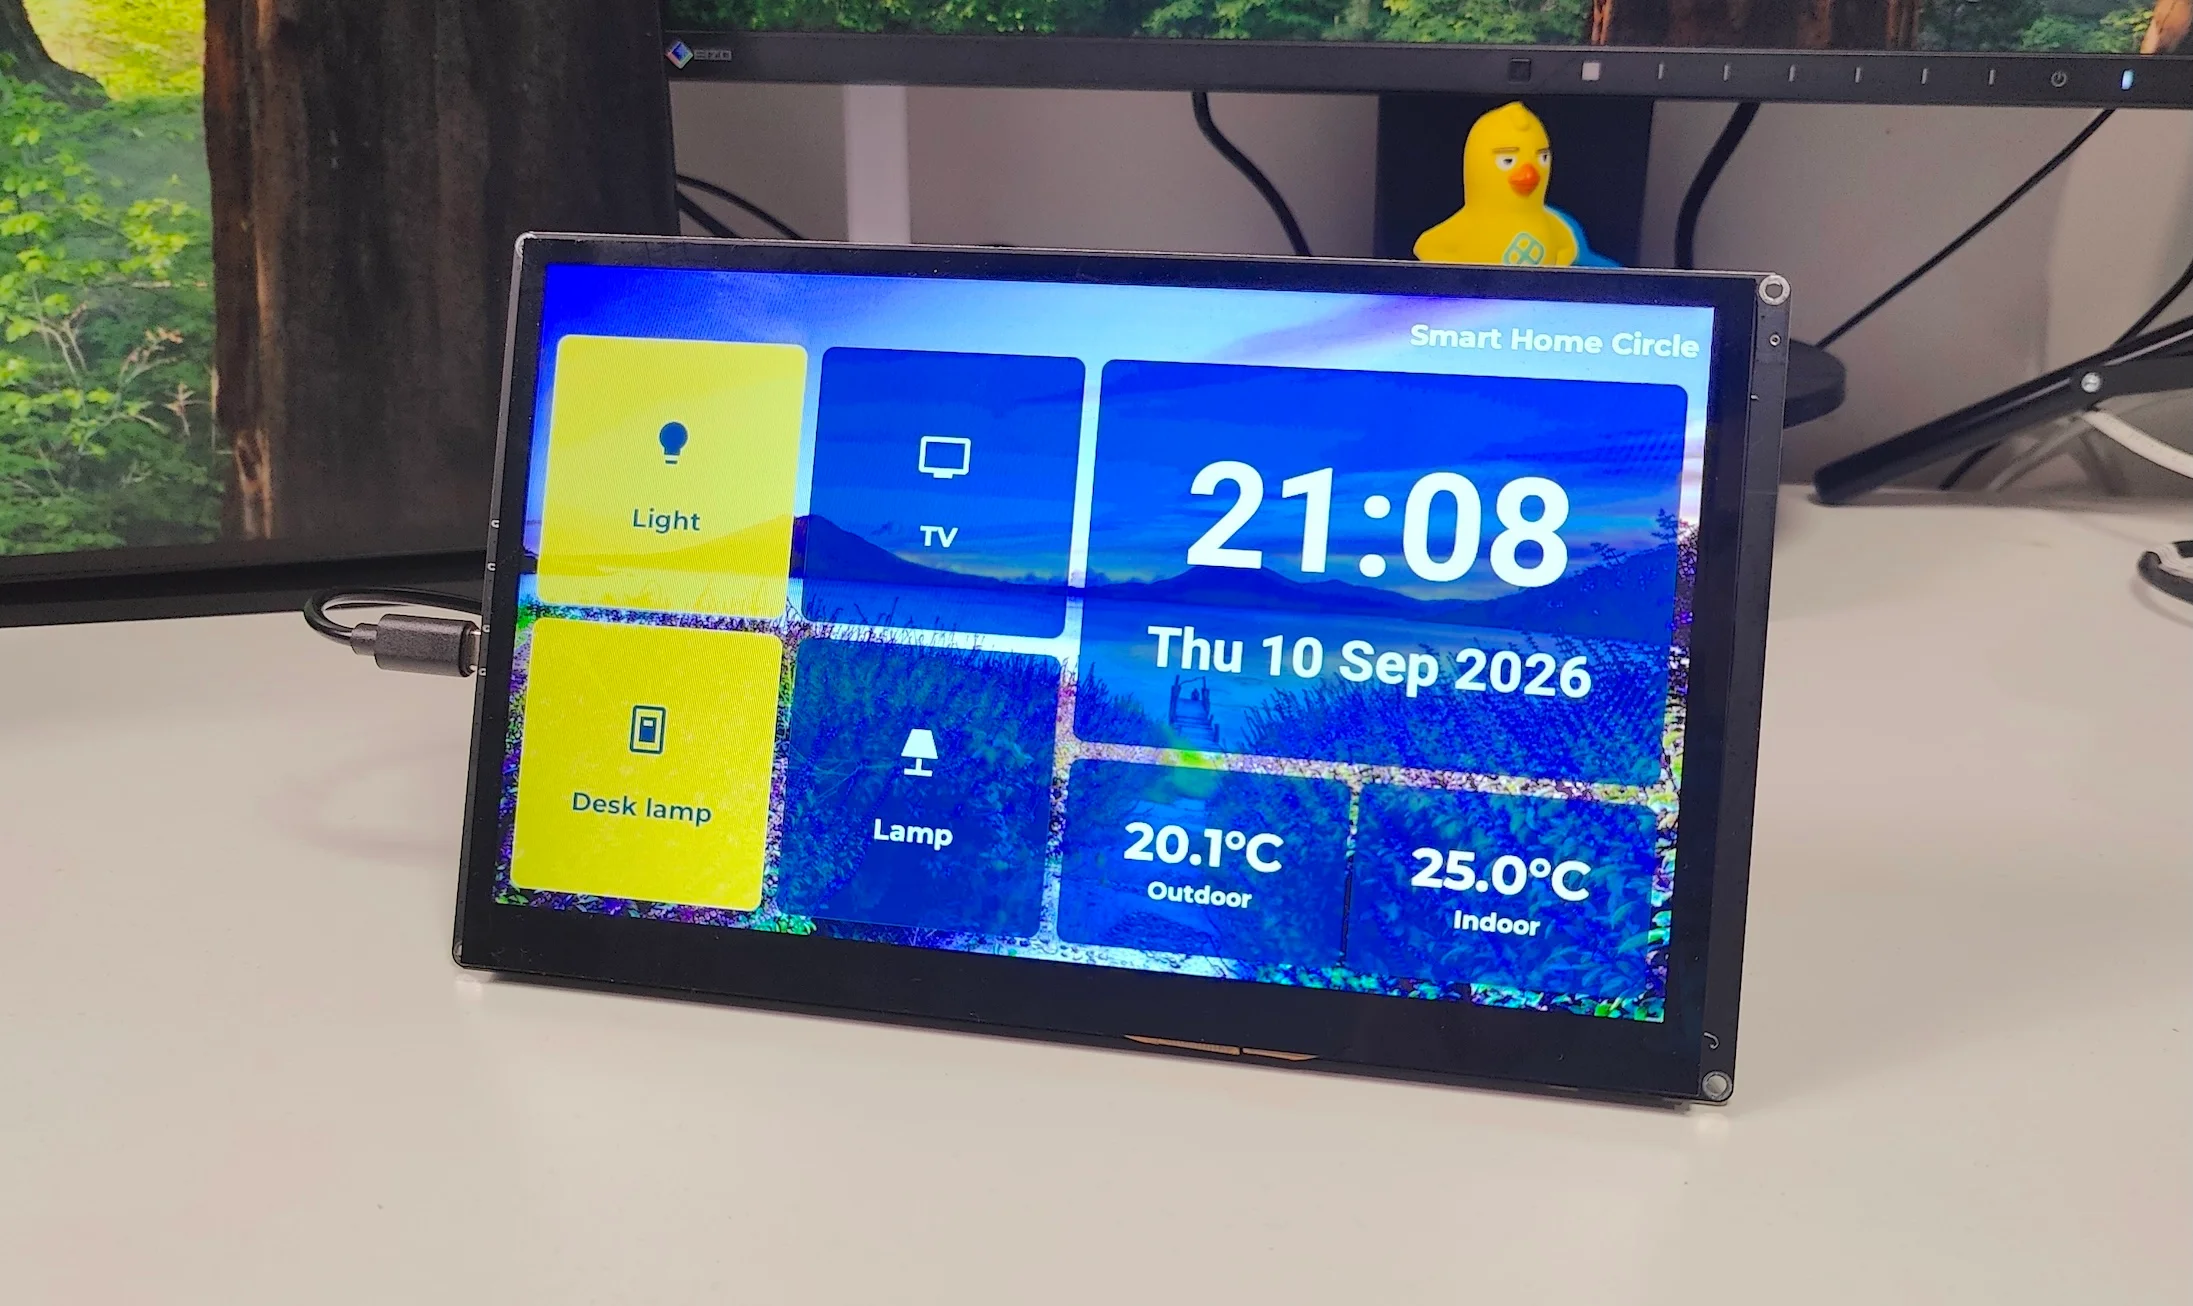
Transforming a bare touchscreen into an interactive smart home dashboard is easier than ever using ESPHome and LVGL (Light and Versatile Graphics Library). The new Elecrow 10-inch Touchscreen Display packs high-end performance into an sleek form factor, making it ideal for real-time control.
Buy Elecrow ESP32 P4 Display:
Hardware Specs and Board Overview
-
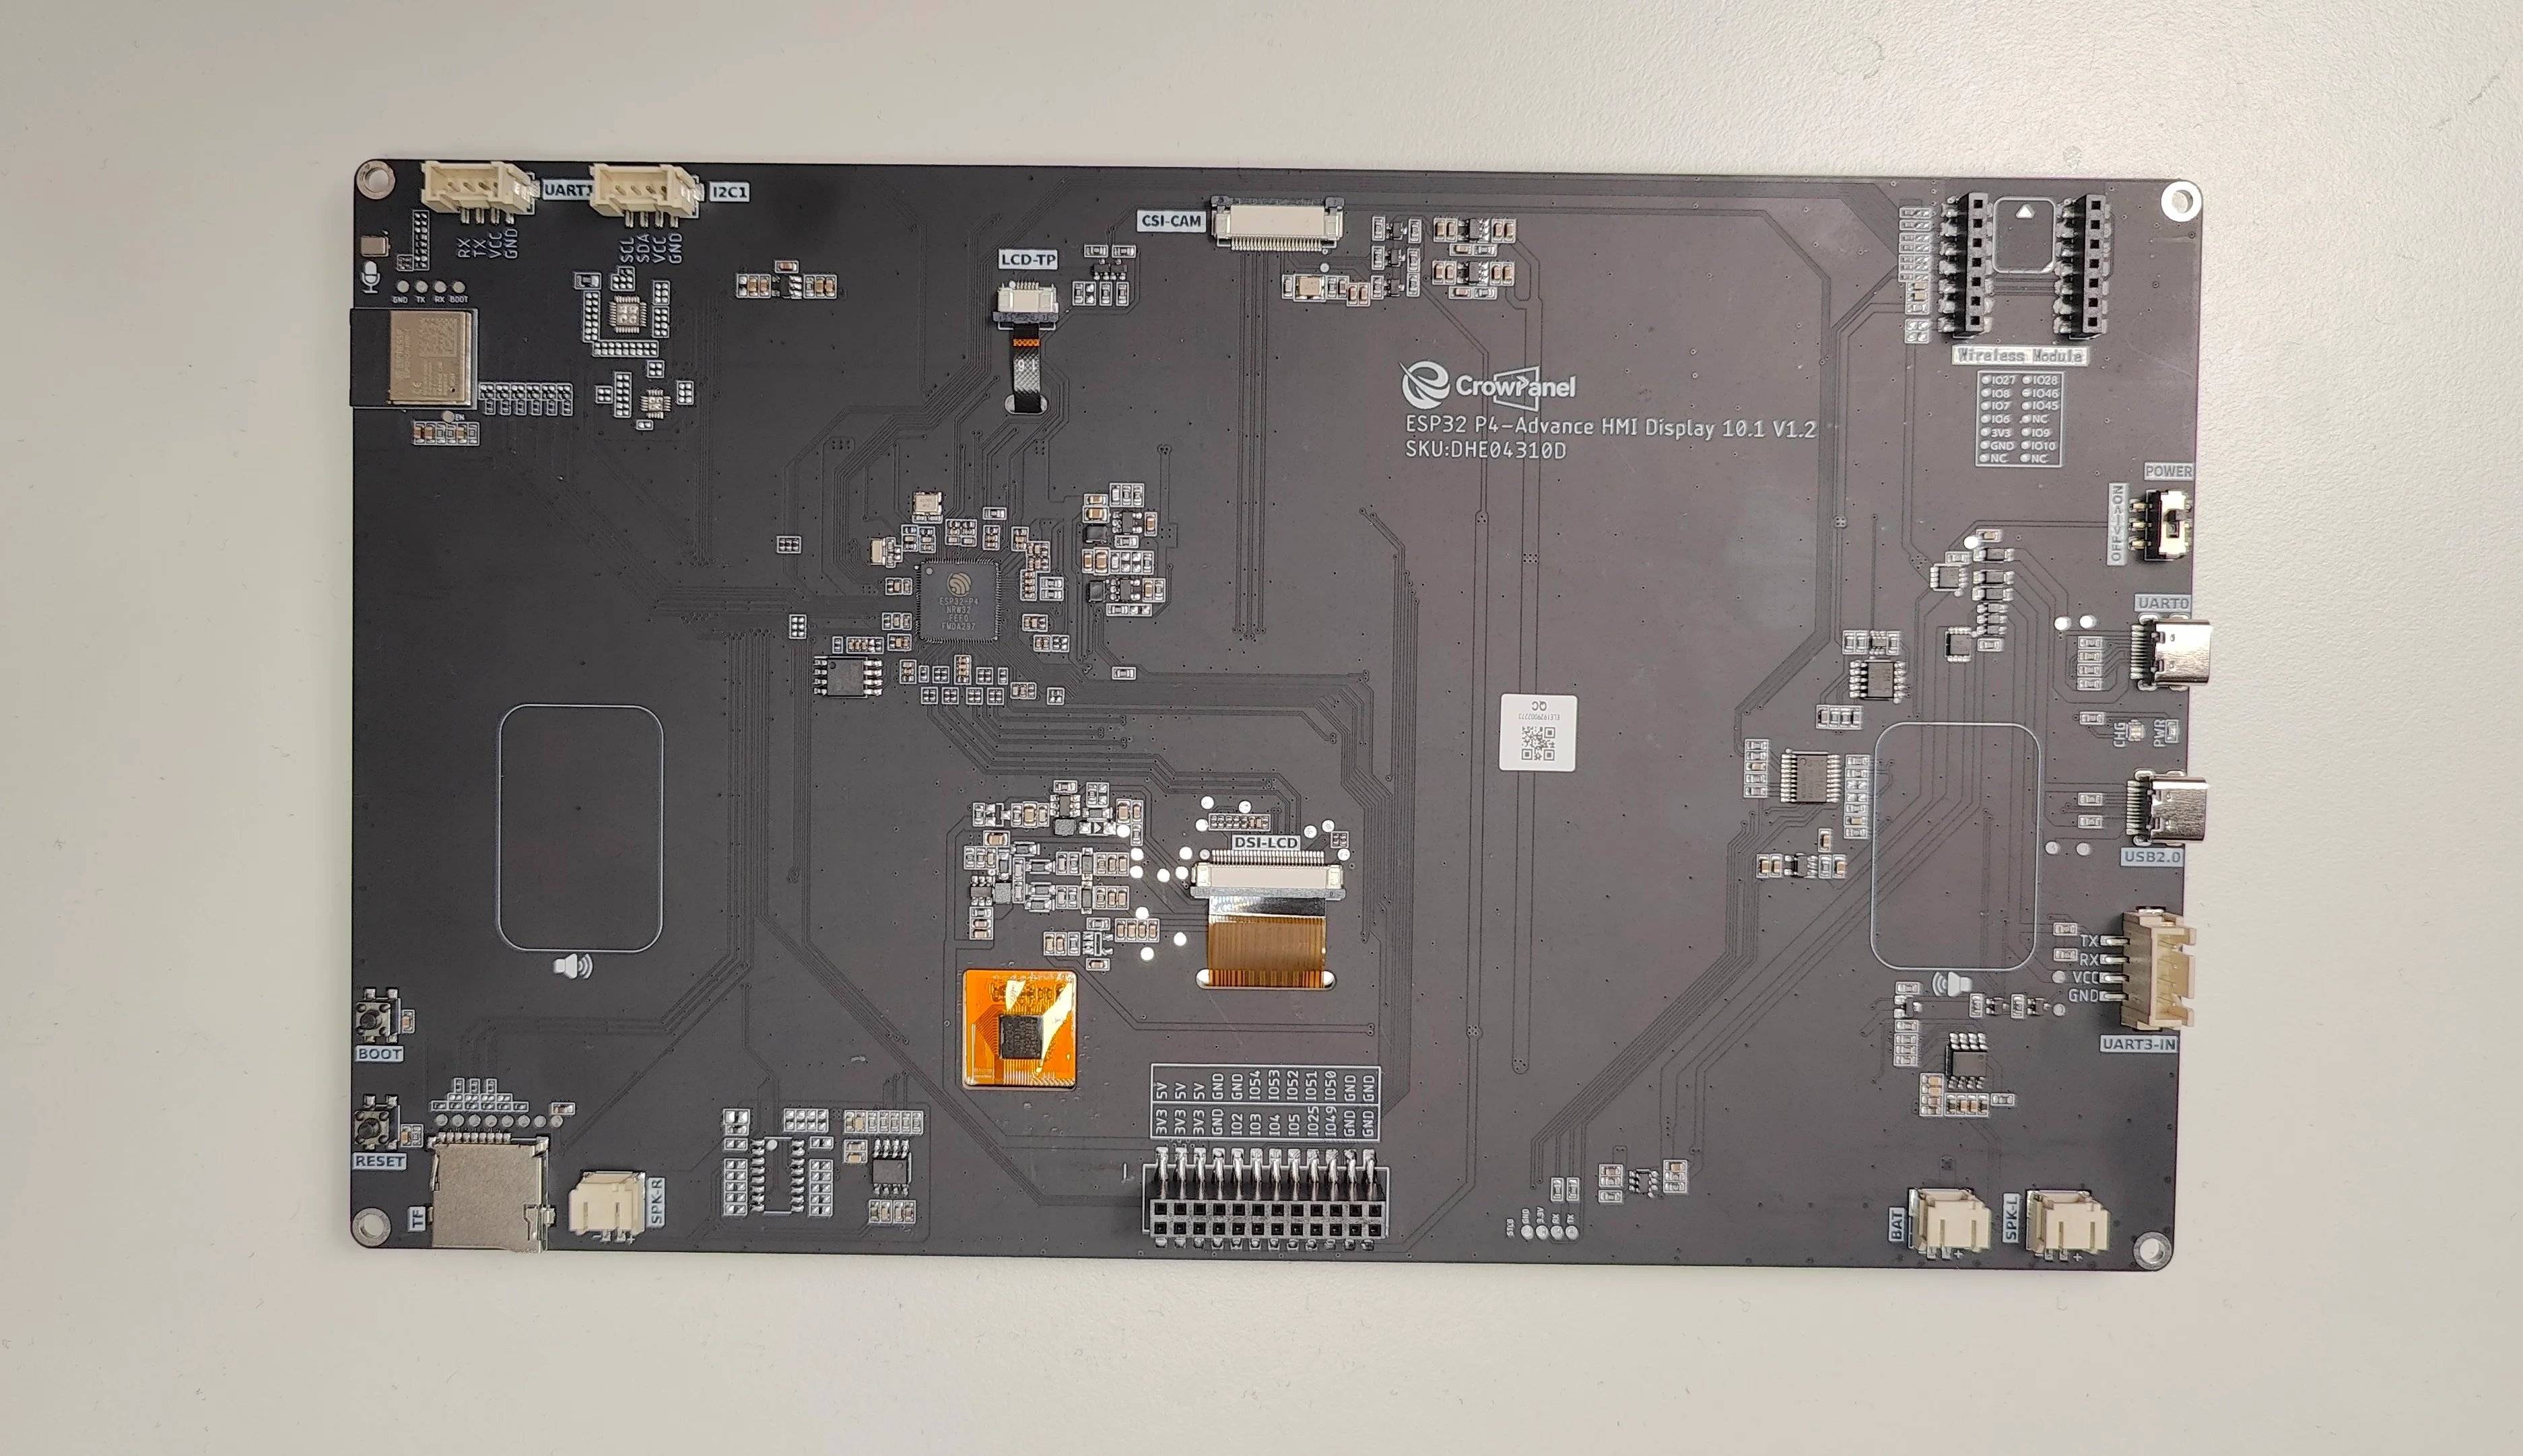
Main Processor: Dual-core ESP32-P4 RISC-V CPU running up to 400 MHz with 16 MB Flash and 32 MB PSRAM.
-
Wireless Connectivity: Dedicated onboard ESP32-C6 chip providing Wi-Fi 6 and Bluetooth 5.3.
-
Vision & Audio Support: Integrated CSI camera connector, 2x speaker ports, and dedicated AI vision processing capabilities.
-
Expansion I/O: Easy accessibility to I2C bus, UART interfaces, battery connector, and wireless module expansion ports.
Part 1: Initial ESPHome Setup and LVGL Flashing
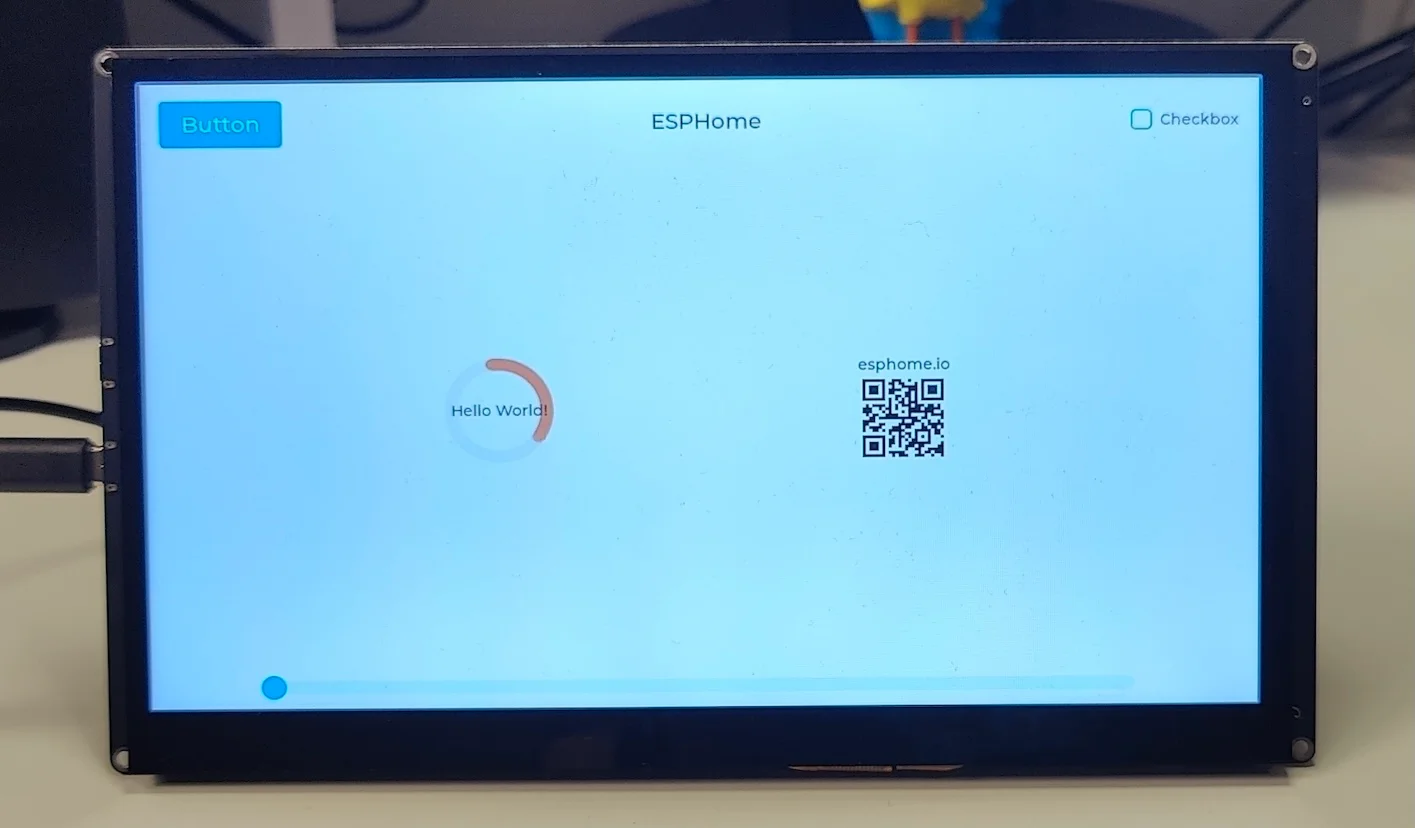
Setting up the display requires establishing a baseline firmware build with board pinouts, touchscreen drivers, and initial LVGL support.
-
Open your ESPHome Dashboard and create a new project.
-
Select ESP32-P4 as your target board architecture.
-
Paste the core hardware configuration file containing pinouts for display, backlight LED, and touch interface.
-
Add the basic LVGL YAML section for initial layout generation.
-
Connect the display via USB-C to your host machine.
-
Click Install, launch the USB Flasher, and flash the compiled firmware directly to the board.
# Board: Generic ESP32-P4 Board (pre-rev3) (Generic)
# Definition: definitions/boards/generic-esp32p4/manifest.yaml

esphome:
  name: 10-inch-step-1
  friendly_name: 10-inch-step-1
  min_version: 2026.5.0
  on_boot:
    priority: 800
    then:
      - output.turn_on: backlight_pwm
      - delay: 200ms
      - output.turn_off: power_light
      - delay: 500ms
      - light.turn_on:
          id: back_light
          brightness: 100%
esp32:
  variant: esp32p4
  # CrowPanel boards are often pre-rev3 silicon. Set false only if yours is production rev3+.
  engineering_sample: true
  cpu_frequency: 360MHz   # ES chips cannot use 400MHz
  flash_size: 16MB
  framework:
    type: esp-idf
    advanced:
      execute_from_psram: true
      enable_idf_experimental_features: true
psram:
  speed: 200MHz
# MIPI DSI on P4 requires LDO channels 3 and 4
esp_ldo:
  - channel: 3
    voltage: 2.5V
  - channel: 4
    voltage: 2.5V
logger:
api:
ota:
  - platform: esphome
    #password: "f6bb6e424ef6857086c1000e705e8c77"
esp32_hosted:
  type: sdio
  variant: ESP32C6
  active_high: true
  reset_pin: GPIO32
  cmd_pin: GPIO19
  clk_pin: GPIO18
  d0_pin: GPIO17
  d1_pin: GPIO16
  d2_pin: GPIO15
  d3_pin: GPIO14
wifi:
  ssid: !secret wifi_ssid
  password: !secret wifi_password
  ap:
    ssid: "10-Inch-Display Fallback Hotspot"
  manual_ip:
    gateway: 192.168.0.1
    static_ip: 192.168.0.55
    subnet: 255.255.255.0

captive_portal:

i2c:
  - id: bus_a
    sda: GPIO45
    scl: GPIO46
    frequency: 400kHz
touchscreen:
  - platform: gt911
    id: my_touchscreen
    display: my_display
    i2c_id: bus_a
    reset_pin: GPIO40
    interrupt_pin: GPIO42
    update_interval: 50ms
output:
  - platform: ledc
    pin: GPIO31
    id: backlight_pwm
  - platform: gpio
    id: power_light
    pin: GPIO29
    inverted: true
light:
  - platform: monochromatic
    id: back_light
    name: Backlight
    output: backlight_pwm
    restore_mode: ALWAYS_ON
display:
  - platform: mipi_dsi
    id: my_display
    # There is no Elecrow model in 2026.5; this 1024x600 Waveshare panel is the usual match.
    model: WAVESHARE-ESP32-P4-WIFI6-TOUCH-LCD-7B
    reset_pin: GPIO41
    update_interval: never
    auto_clear_enabled: false
    dimensions: 1024x600
    color_order: RGB
    color_depth: 16
    pclk_frequency: 48MHz


#Actual changes here


lvgl:
  displays:
    - my_display
  touchscreens:
    - my_touchscreen
  buffer_size: 25%
  color_depth: 16
Part 2: Rendering a Custom Background Image
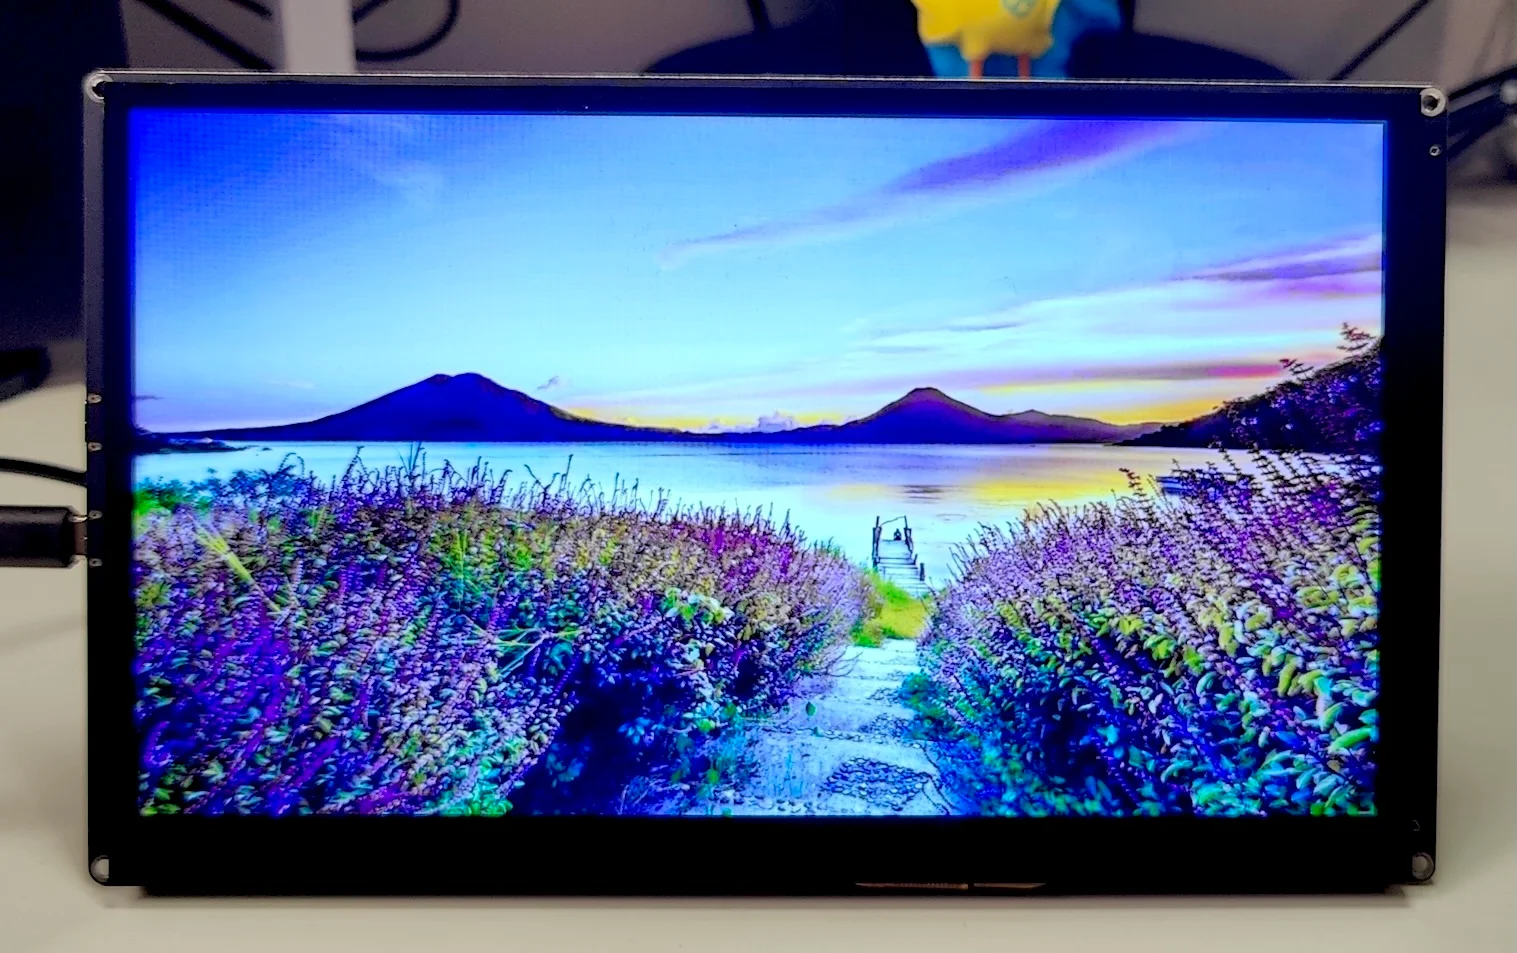
An attractive background image elevates the dashboard look from basic to polished.
-
Upload your desired background image file into the ESPHome
configdirectory. -
Add an
image:component definition in your configuration, specifying precise resize parameters. -
Reference the image source inside the LVGL bottom layer configuration.
-
Deploy the firmware update Over-The-Air (OTA) since the display is now on your local Wi-Fi network.
...

#Actual changes here

image:
  - file: background-1024-600.jpg
    id: img_background
    resize: 1024x600
    type: RGB565
    byte_order: little_endian

lvgl:
  displays:
    - my_display
  touchscreens:
    - my_touchscreen
  buffer_size: 25%
  color_depth: 16
  bottom_layer:
    widgets:
      - image:
          src: img_background
          align: CENTER

  pages:
    - id: main_page
      bg_opa: TRANSP
      scrollbar_mode: "OFF"
Part 3: Building a 2x2 Interactive Grid Layout
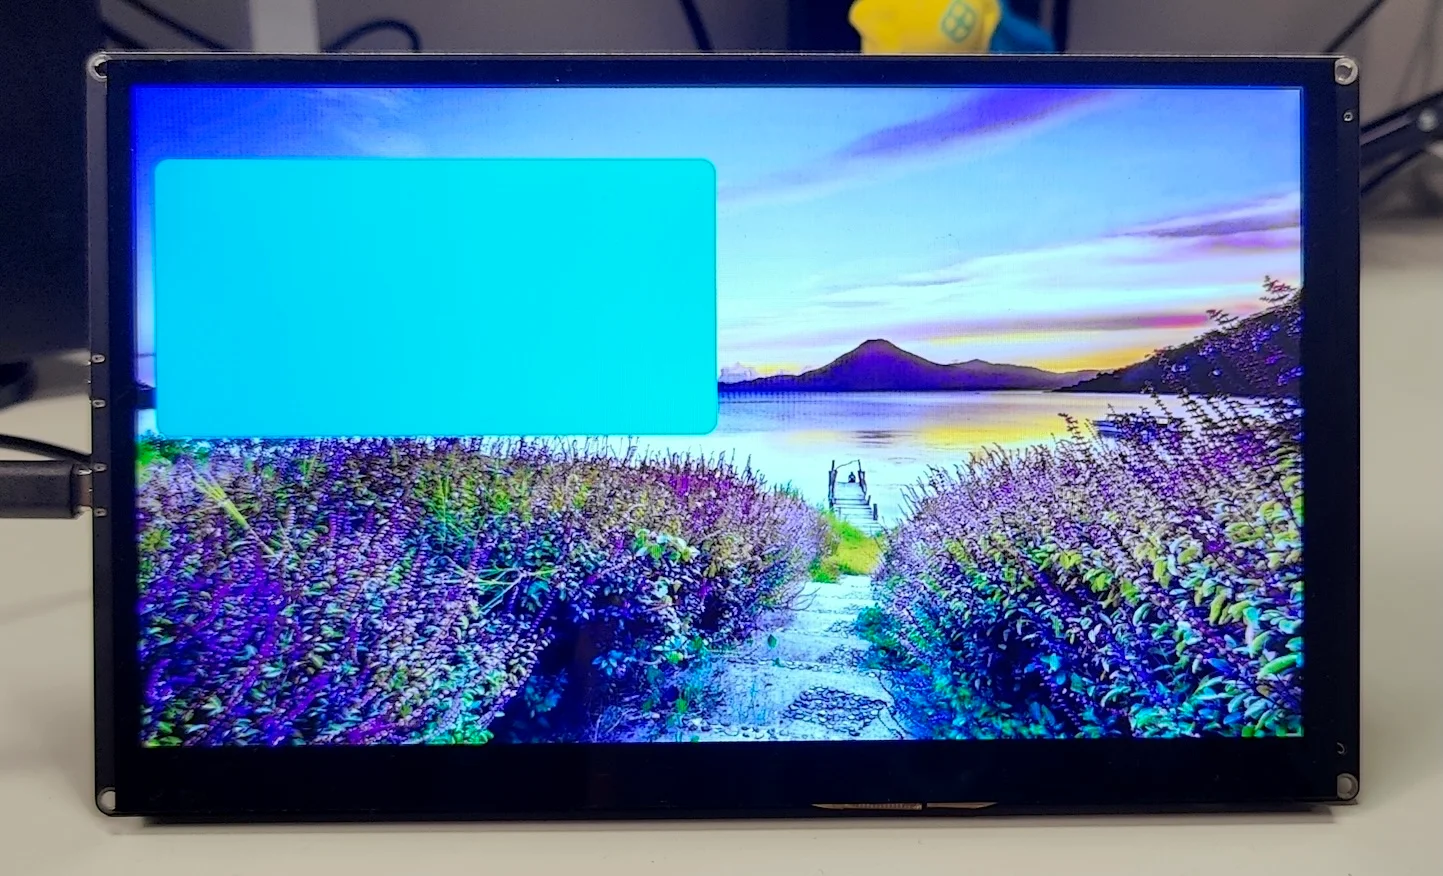
Grid layouts allow effortless placement of UI control elements like toggle switches and scene triggers.
-
Define a 2x2 grid container in your LVGL structure to hold up to four interactive widgets.
-
Add a button widget locked to cell index
(0, 0). -
Configure an
on_clickaction trigger inside the button YAML to target your Home Assistant entity (e.g., a smart plug). -
Crucial Step: Navigate to Home Assistant Settings -> Devices -> ESPHome -> 10-inch Display Settings and check "Allow device to perform Home Assistant actions".
...
#Actual changes here
image:
  - file: background-1024-600.jpg
    id: img_background
    resize: 1024x600
    type: RGB565
    byte_order: little_endian

lvgl:
  displays:
    - my_display
  touchscreens:
    - my_touchscreen
  buffer_size: 25%
  color_depth: 16
  # Wallpaper behind every page
  bottom_layer:
    widgets:
      - image:
          src: img_background
          align: CENTER
  pages:
    - id: main_page
      bg_opa: TRANSP
      scrollbar_mode: "OFF"
      widgets:

        - obj:
            id: grid_panel
            align: BOTTOM_MID
            y: -10
            width: 1004
            height: 530
            bg_opa: TRANSP
            border_width: 0
            scrollbar_mode: "OFF"
            pad_all: 6
            layout:
              type: GRID
              grid_rows: [FR(1), FR(1)]
              grid_columns: [FR(1), FR(1)]
              pad_row: 14
              pad_column: 14
            widgets:
              # ---------- 2 x 2 (boxes 1-4) ----------
              - button:
                  id: btn_1
                  checkable: false
                  grid_cell_row_pos: 0
                  grid_cell_column_pos: 0
                  grid_cell_x_align: STRETCH
                  grid_cell_y_align: STRETCH

                  on_click:
                    then:
                      - homeassistant.action:
                          action: switch.toggle
                          data:
                            entity_id: switch.third_reality_e3
Part 4: Implementing Two-Way Sync with Home Assistant
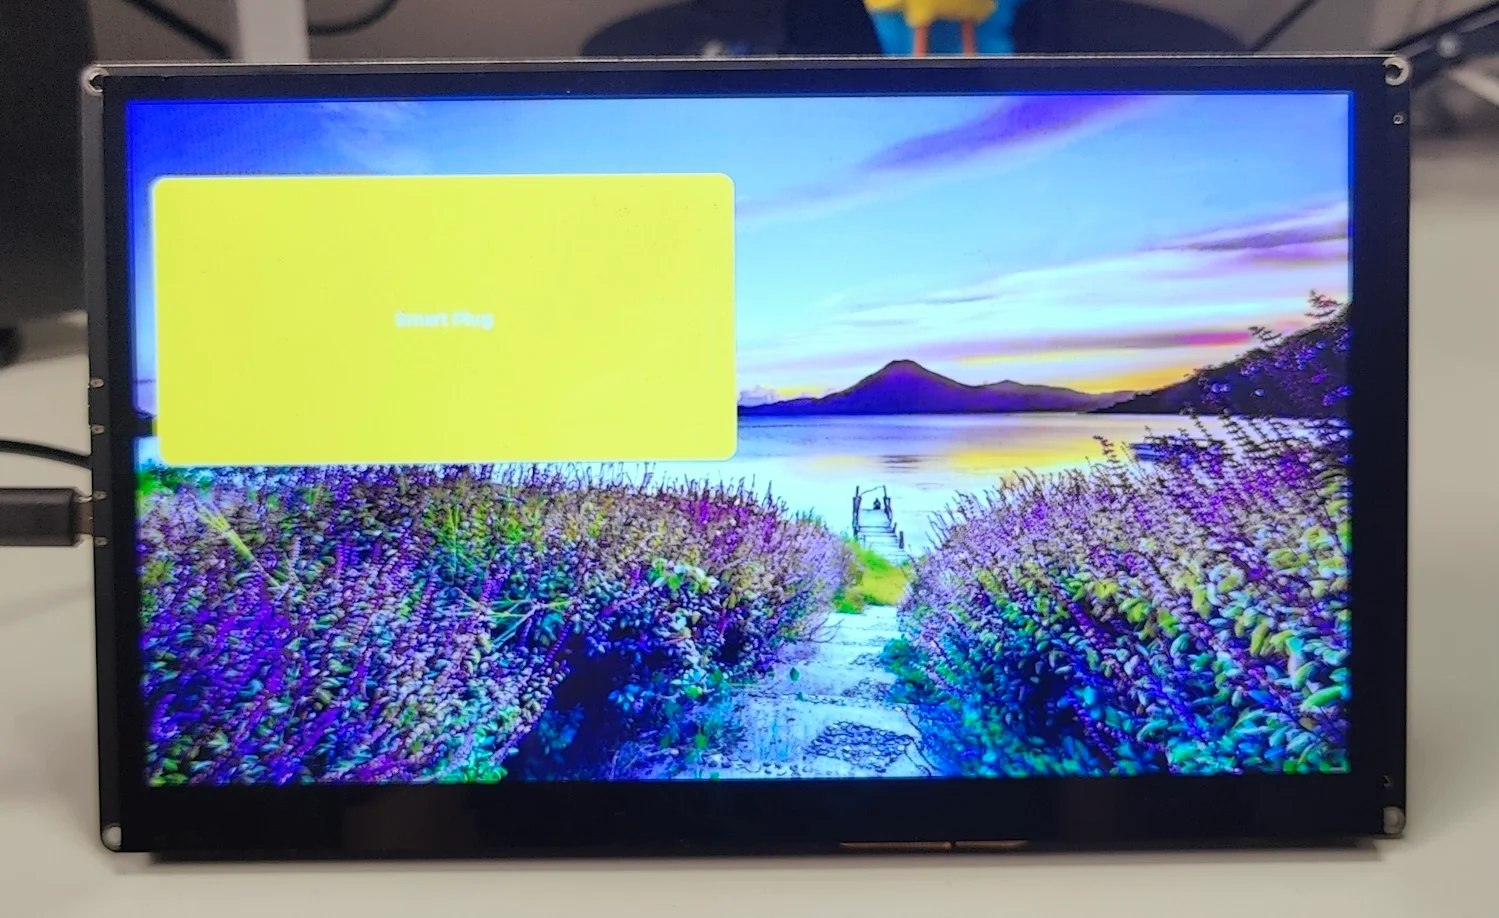
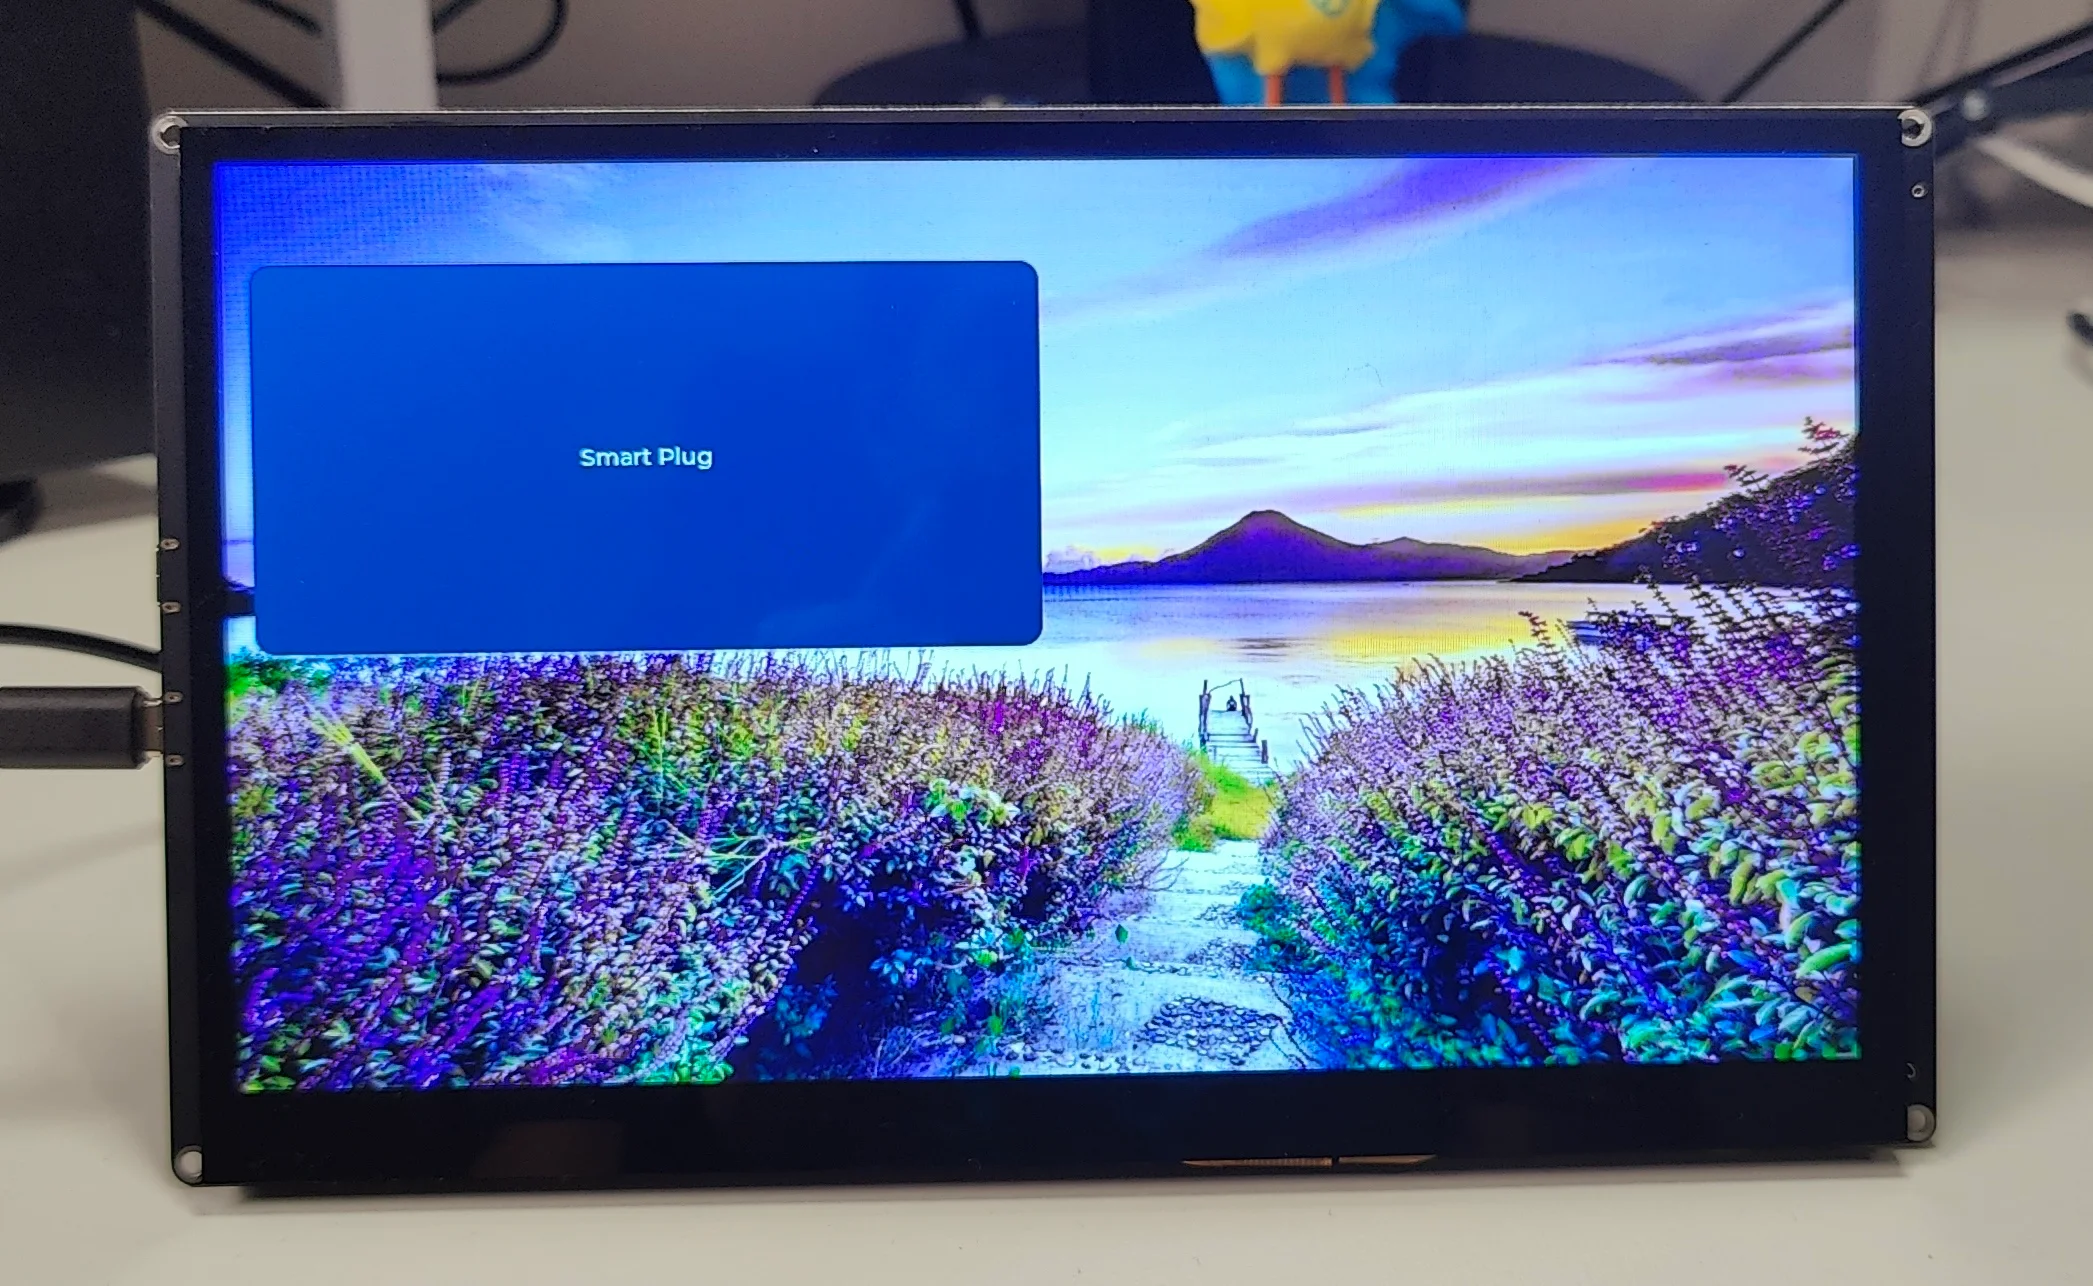
To prevent state mismatch between your physical dashboard and Home Assistant, the display must listen for live entity updates.
-
Add a
binary_sensorcomponent in ESPHome tracking the Home Assistant entity ID. -
Set the LVGL button property
checkable: falseto allow manual color control via code scripts. -
Use the
on_statetrigger inside the binary sensor to modify button background colors dynamically based on entity state (ONvsOFF). -
Add a text label widget inside the button structure for clean visual identification.
#Actual changes here
image:
  - file: background-1024-600.jpg
    id: img_background
    resize: 1024x600
    type: RGB565
    byte_order: little_endian


binary_sensor:
  - platform: homeassistant
    id: ha_btn_1
    entity_id: switch.third_reality_e3
    trigger_on_initial_state: true
    on_state:
      then:
        - if:
            condition:
              lambda: 'return x;'
            then:
              - lvgl.widget.update:
                  id: btn_1
                  bg_color: 0xFFD400

            else:
              - lvgl.widget.update:
                  id: btn_1
                  bg_color: 0x1E293B

lvgl:
  displays:
    - my_display
  touchscreens:
    - my_touchscreen
  buffer_size: 25%
  color_depth: 16
  # Wallpaper behind every page
  bottom_layer:
    widgets:
      - image:
          src: img_background
          align: CENTER
  pages:
    - id: main_page
      bg_opa: TRANSP
      scrollbar_mode: "OFF"
      widgets:

        - obj:
            id: grid_panel
            align: BOTTOM_MID
            y: -10
            width: 1004
            height: 530
            bg_opa: TRANSP
            border_width: 0
            scrollbar_mode: "OFF"
            pad_all: 6
            layout:
              type: GRID
              grid_rows: [FR(1), FR(1)]
              grid_columns: [FR(1), FR(1)]
              pad_row: 14
              pad_column: 14
            widgets:
              # ---------- 2 x 2 (boxes 1-4) ----------
              - button:
                  id: btn_1
                  checkable: false
                  grid_cell_row_pos: 0
                  grid_cell_column_pos: 0
                  grid_cell_x_align: STRETCH
                  grid_cell_y_align: STRETCH
                  widgets:
                      - label:
                          id: btn_1_text
                          align: CENTER
                          text: "Smart Plug"
                  on_click:
                    then:
                      - homeassistant.action:
                          action: switch.toggle
                          data:
                            entity_id: switch.third_reality_e3
Complete Custom Dashboard YAML Configuration
Combine all elements—sensors, live clocks, temperature readings, dynamic color changes, and multi-button grid layouts—into one cohesive configuration script.
Buy Elecrow ESP32 P4 Display: