Written by
Featured Video
Table of Contents
- What these two devices do (in practice)
- At‑a‑glance details
- Setup: what I did and what to expect
- 1) Add the Climate Panel in the app
- 2) Mount and add the TRV
- 3) Link the TRV to the Climate Panel (for local control)
- Placement tips that helped
- The setting that changed comfort the most
- Using it with Google Home, Apple Home, Home Assistant, or Alexa (via Matter)
- Daily use: The feel of it
- Cost
- Final thoughts
What these two devices do (in practice)
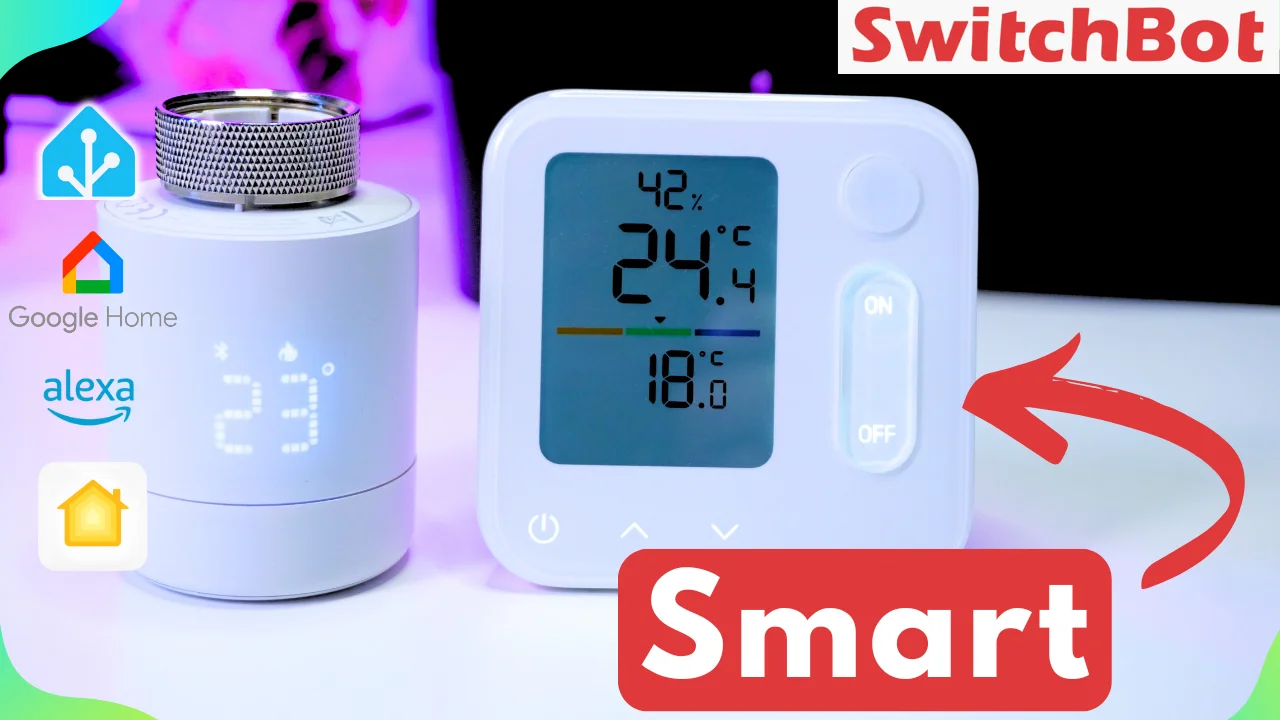
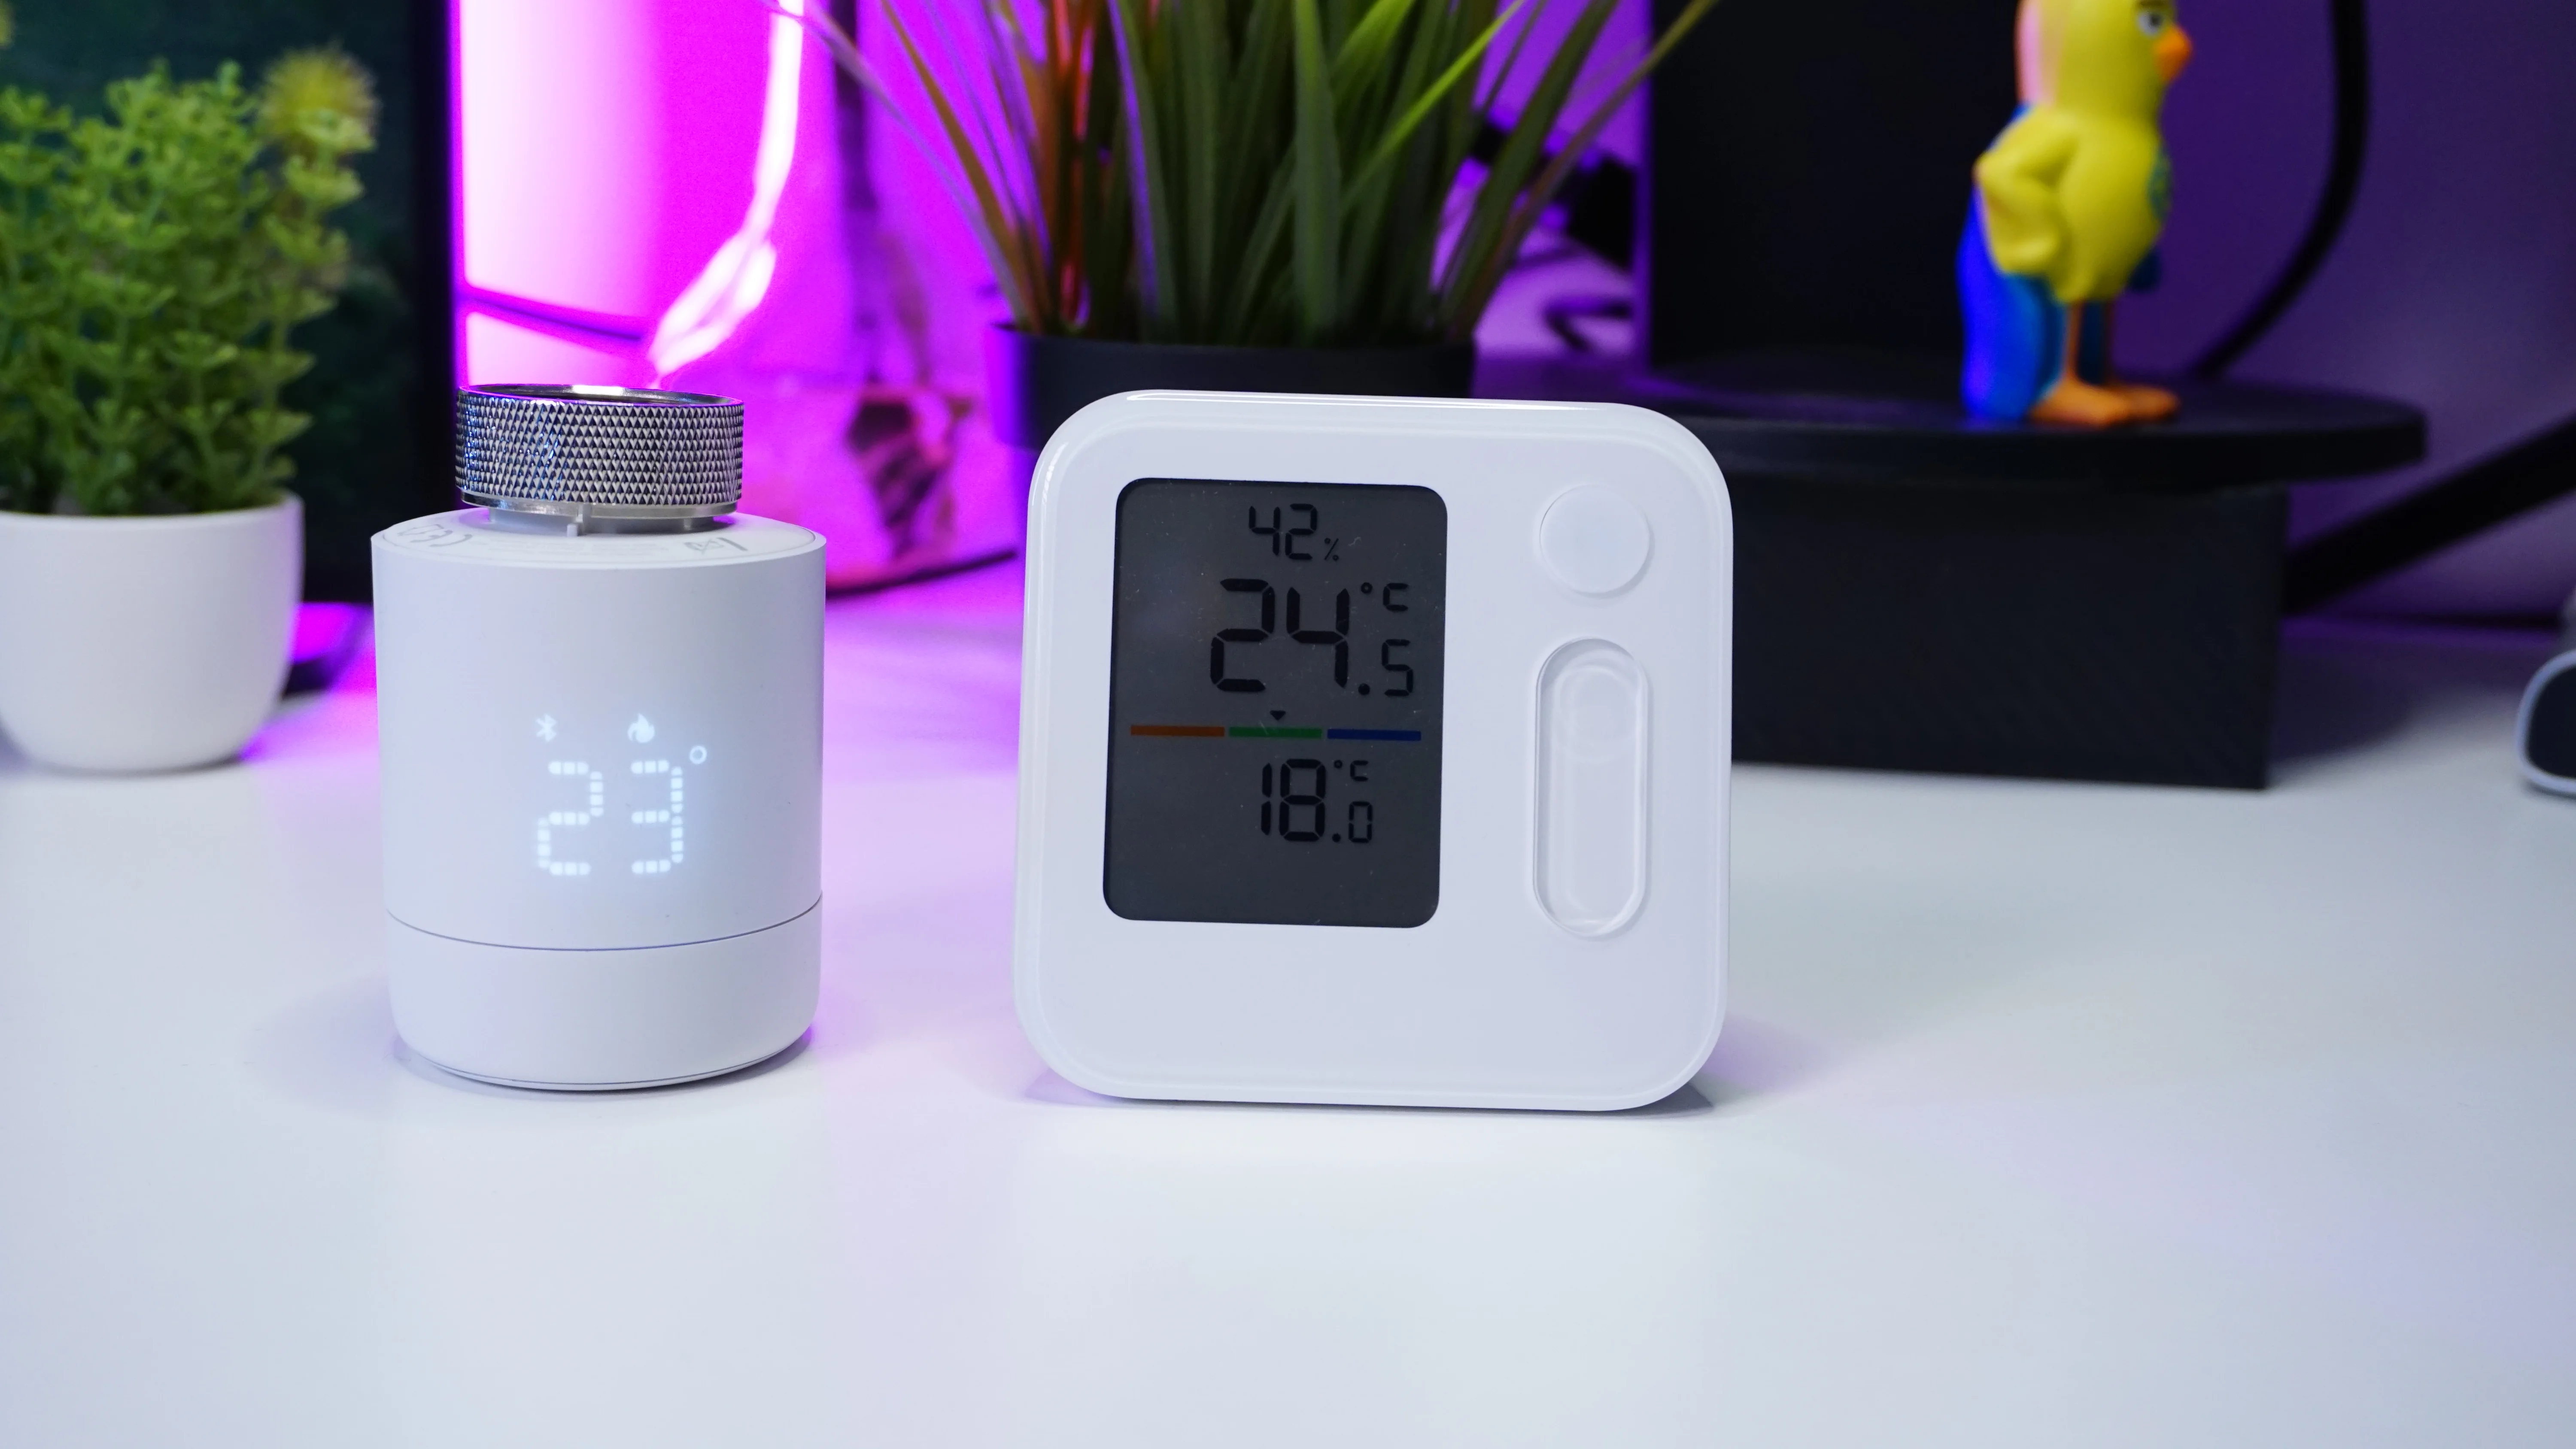
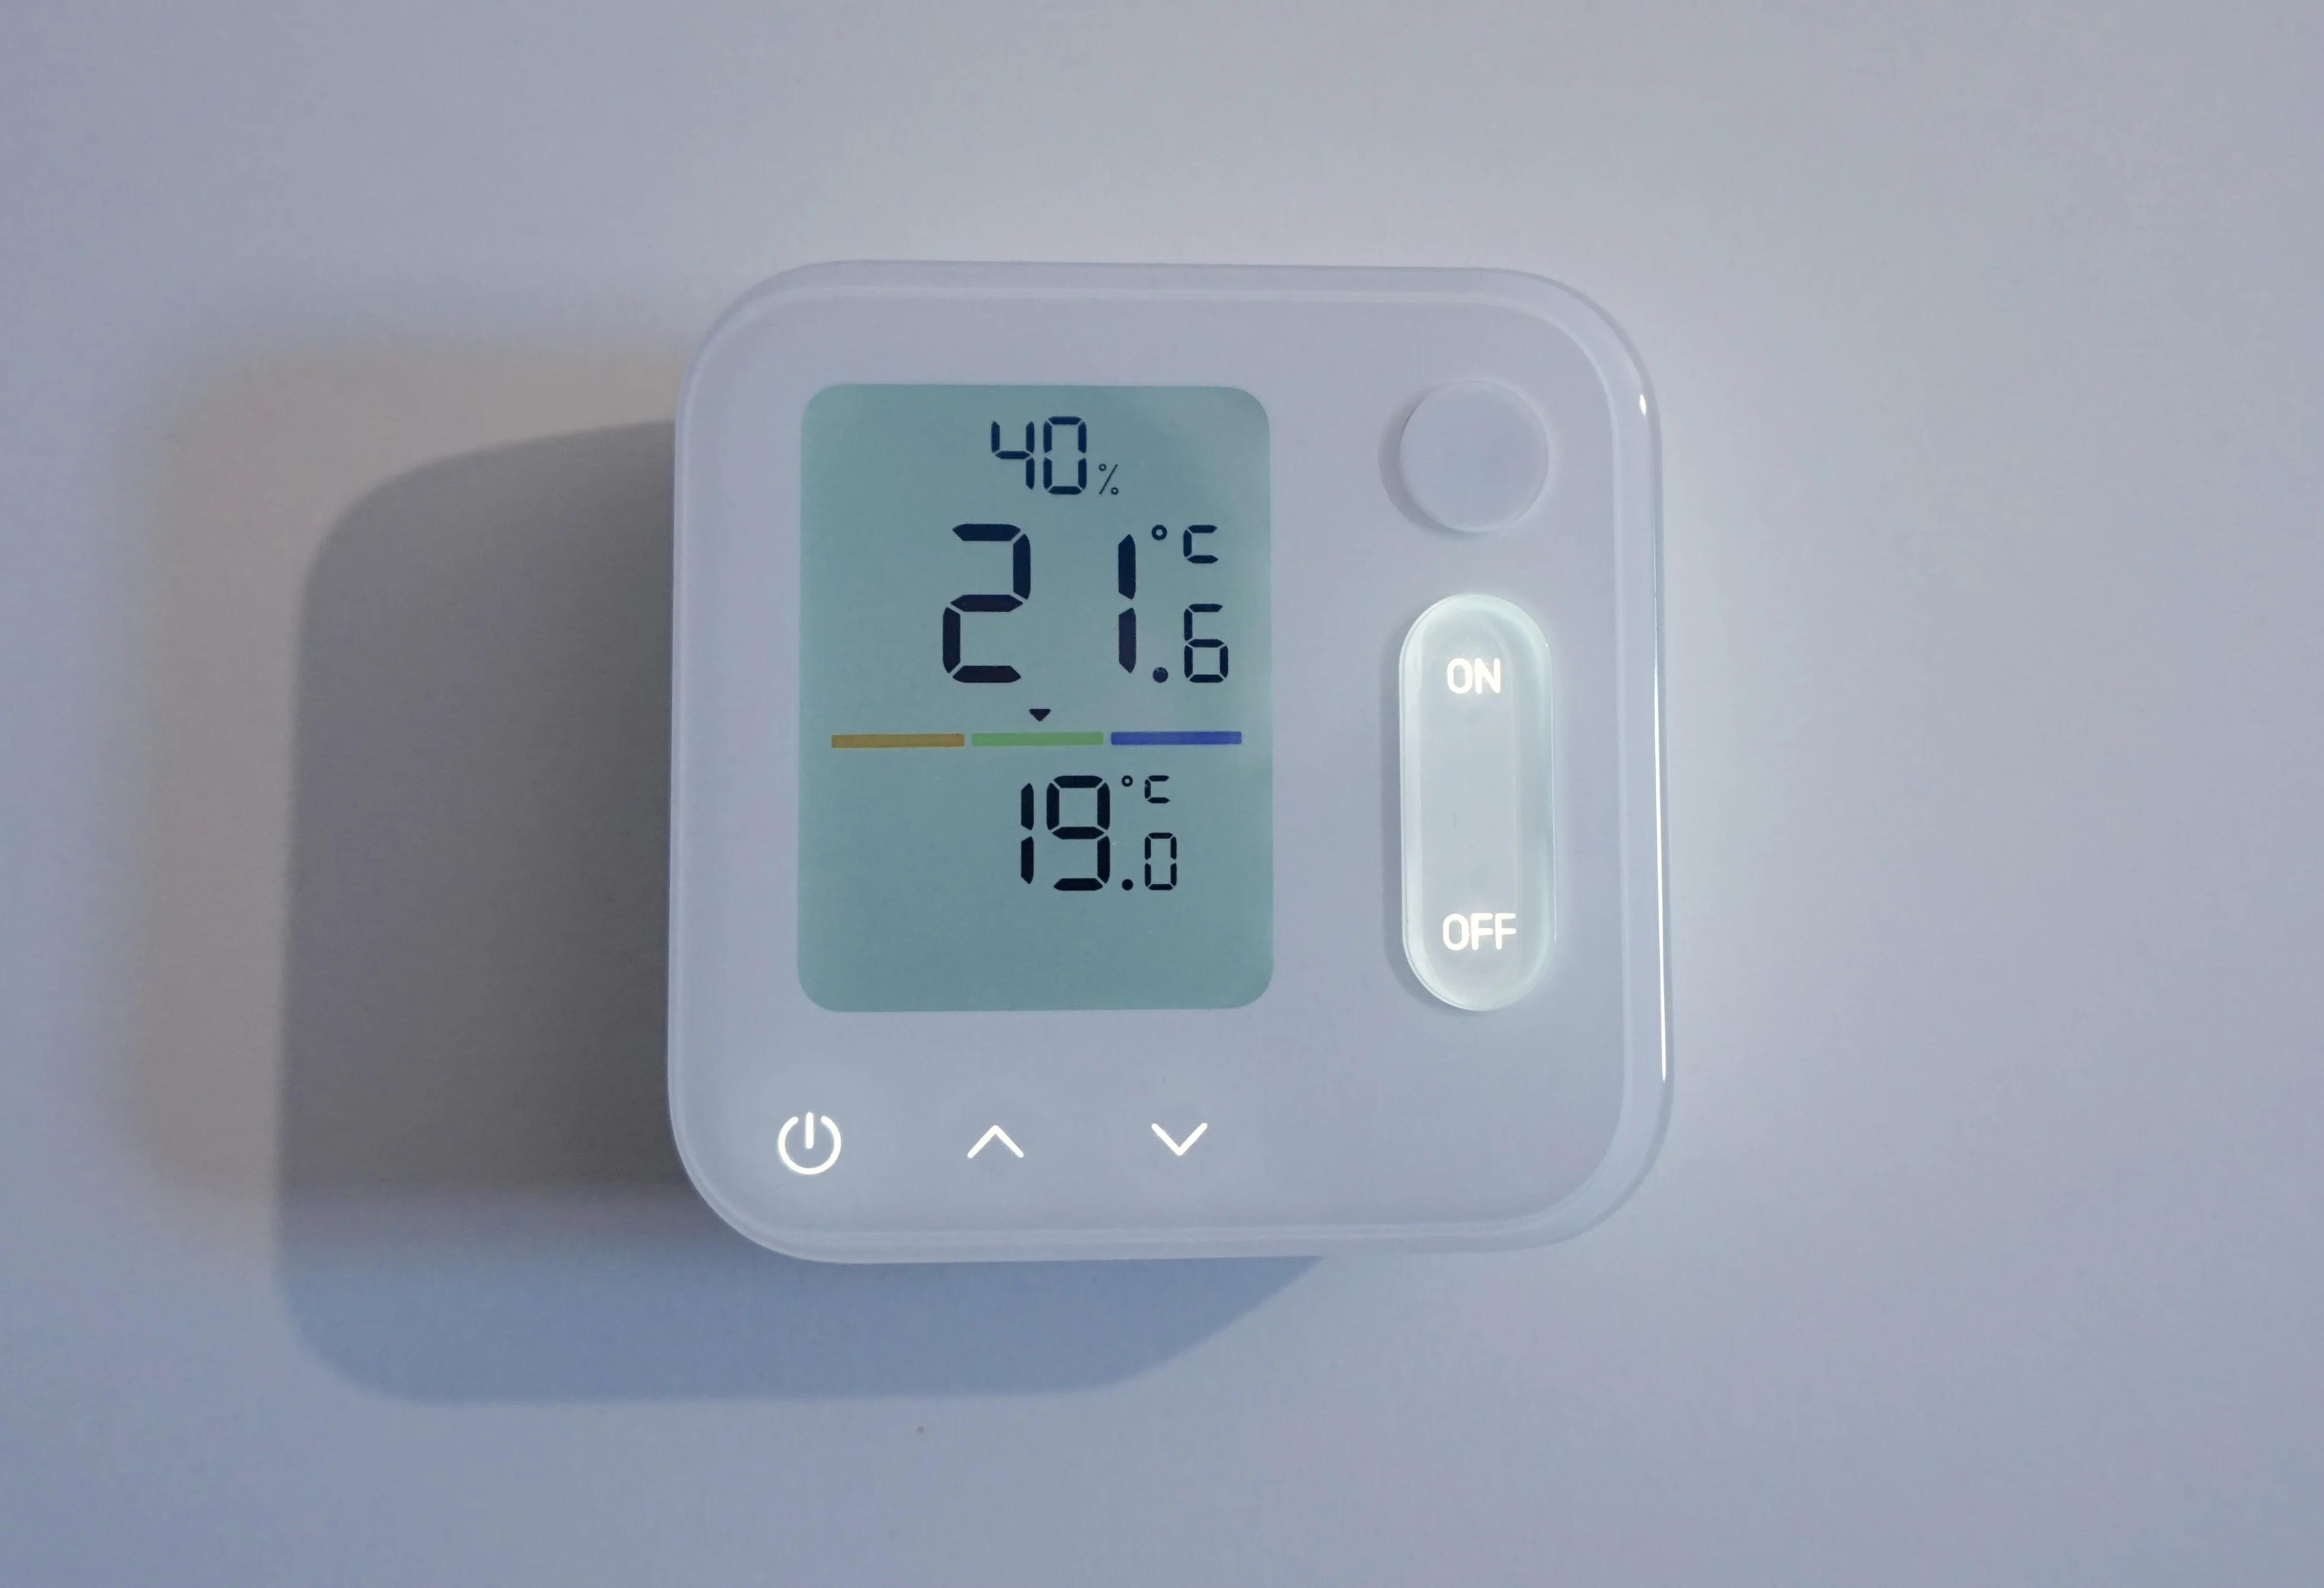
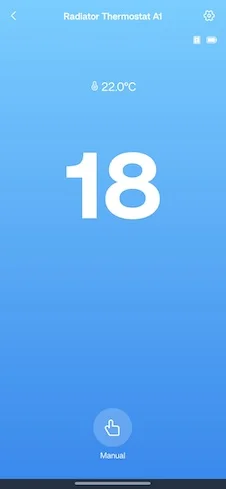
- Climate Panel: Wall unit with a clear LCD and built‑in temperature + humidity sensor. I treat it as the “face” of the room—quick glance, quick tap, done.
- TRV (Thermostat Radiator Valve): Replaces the manual radiator knob, adds Bluetooth control, and quietly moves the valve to hit your setpoint.
A few things I noticed quickly:
- The TRV movement is near‑silent for me—no midnight clicking.
- The panel and TRV can talk directly over Bluetooth; I can adjust the setpoint on the panel, and the radiator responds without any cloud service dependency.
At‑a‑glance details
| Device | Power | Claimed battery life | Extra Features |
|---|---|---|---|
| Climate Panel | 4×AA | ~2 years | Two programmable buttons for scenes |
| TRV | 2×AA | ~10 months | Child lock, frost protection, open‑window detection, built‑in temp sensor |
Setup: what I did and what to expect
1) Add the Climate Panel in the app
- Open the SwitchBot app → Add Device → Climate Panel.
- Press and hold the two buttons on the panel (the app shows which) to enter pairing.
- Finish the on‑screen flow.
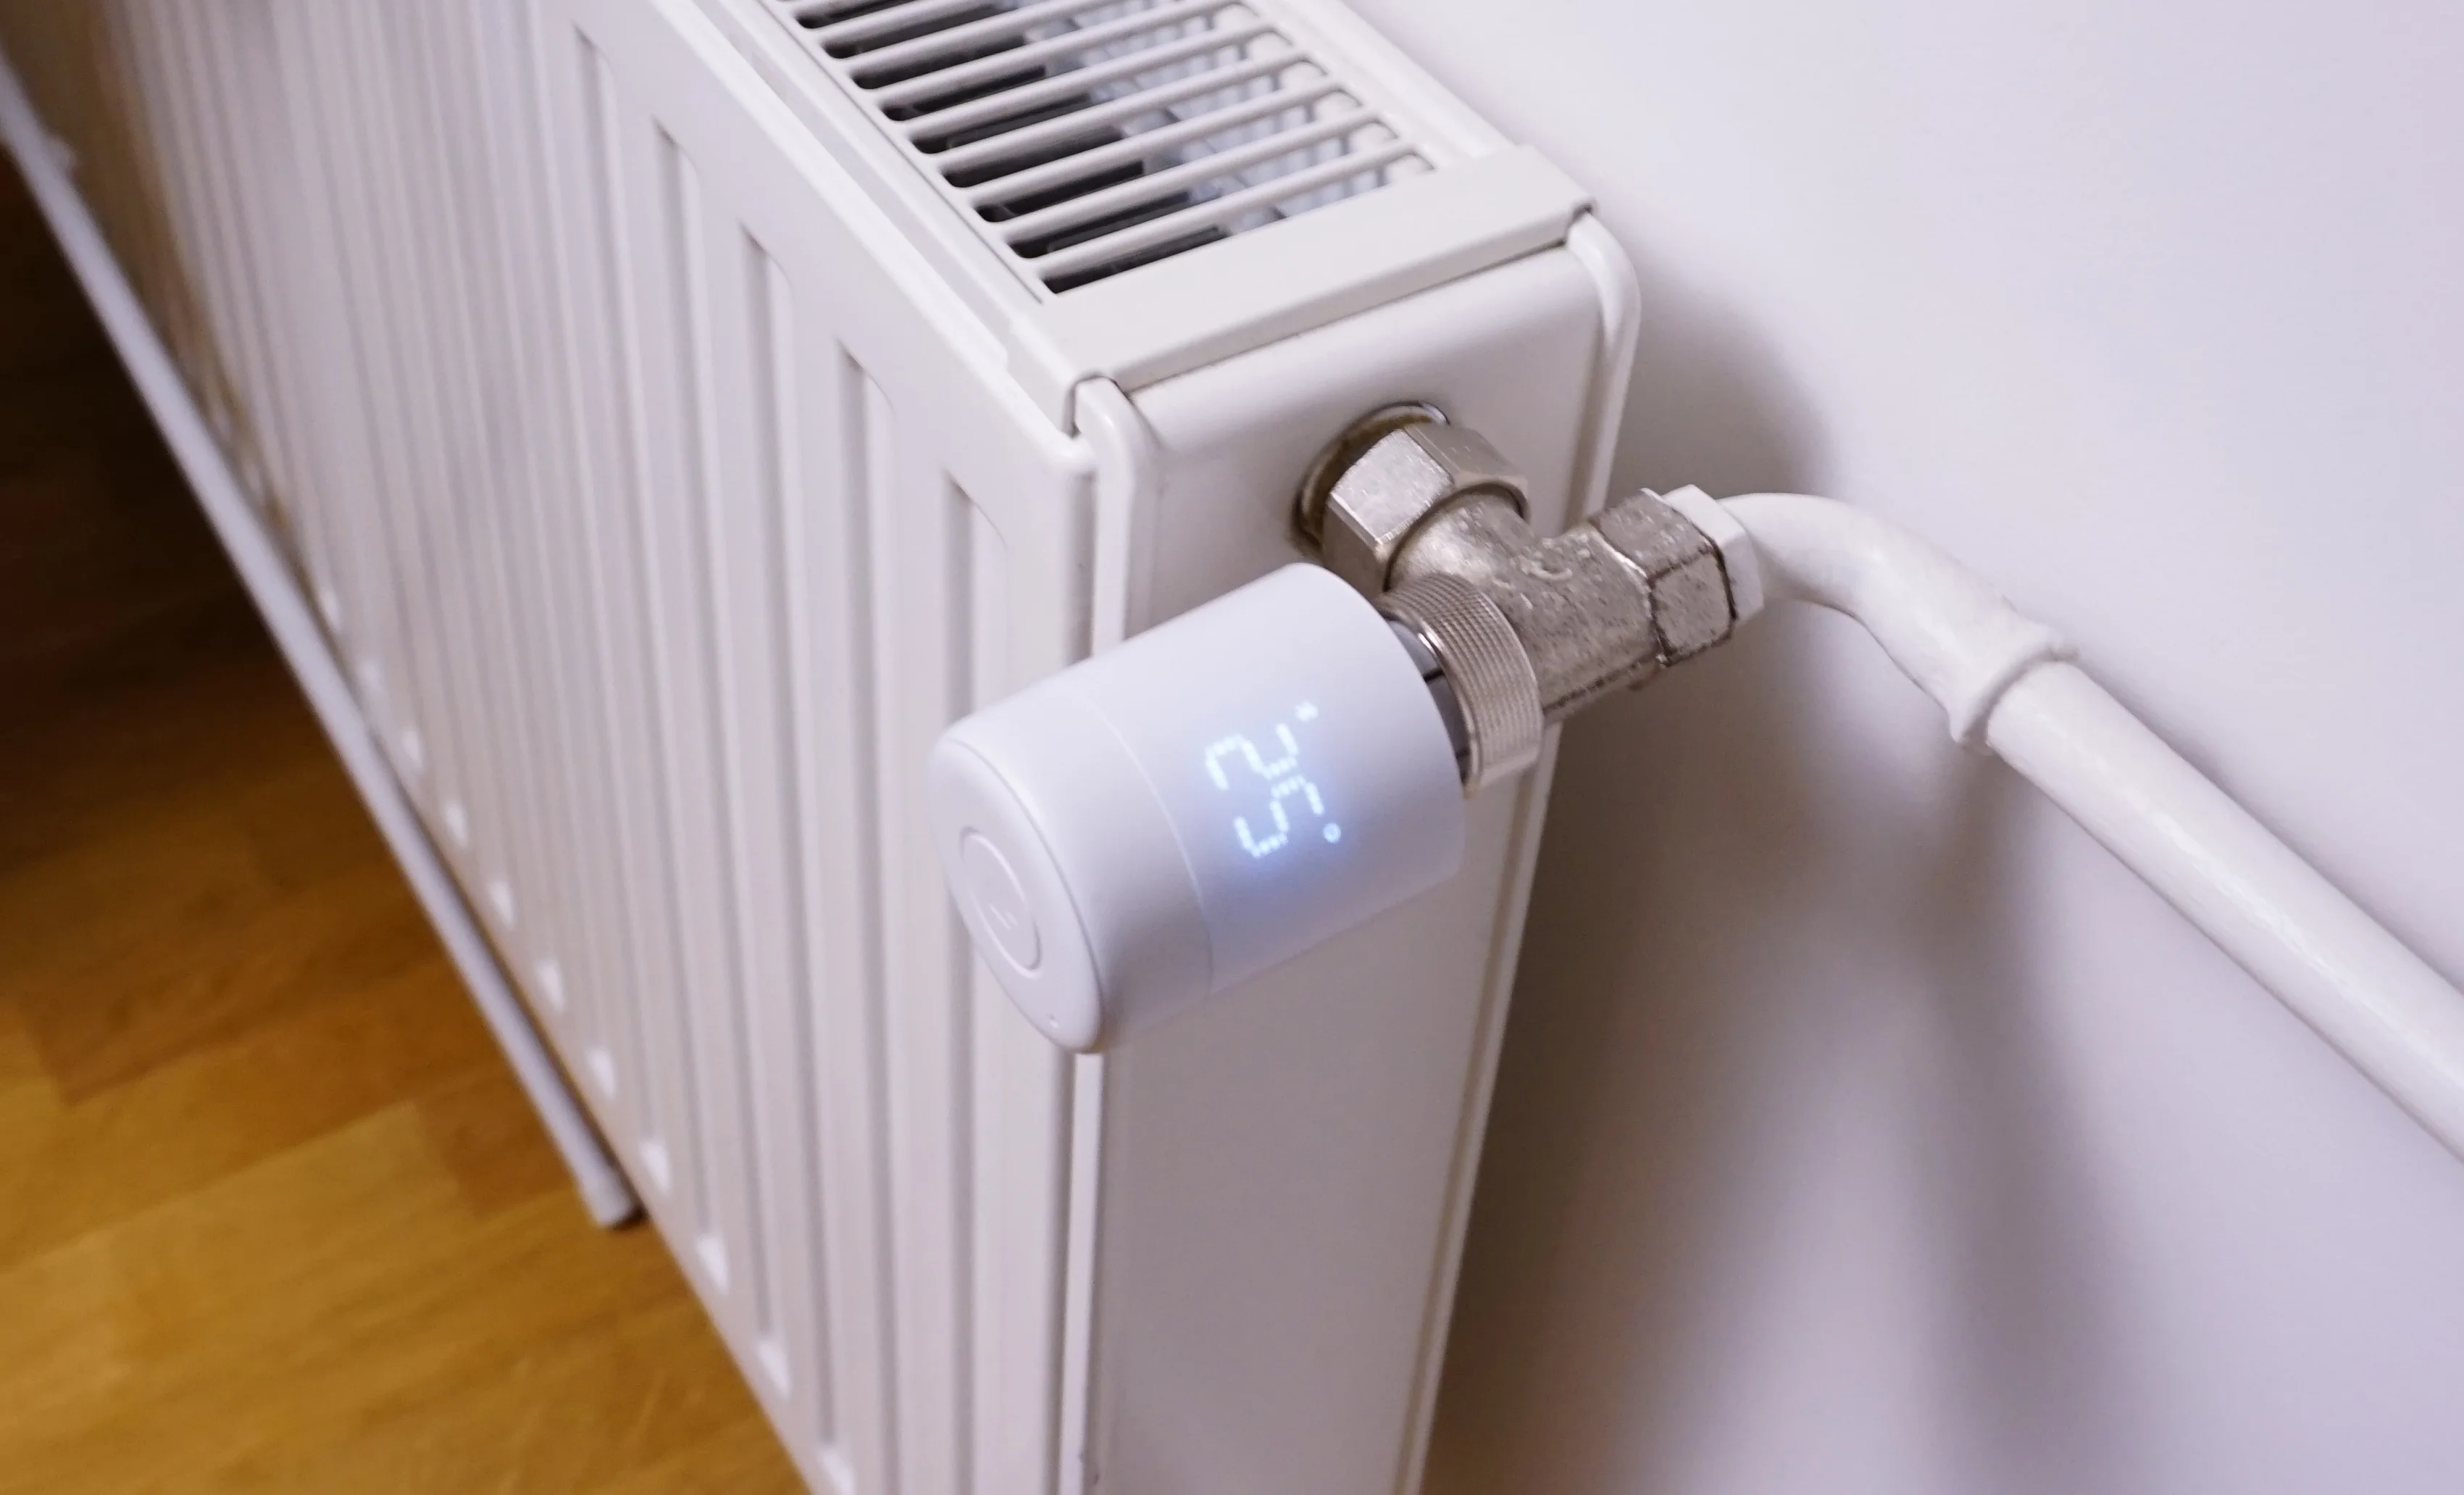
2) Mount and add the TRV
- App → Add Device → TRV (Radiator Valve).
- When the app shows the “attach” symbol, physically mount the TRV on the radiator.
- Tap Connect Device, then run Calibrate.
Calibration took a minute and then the app displayed valve position and current temperature.
3) Link the TRV to the Climate Panel (for local control)
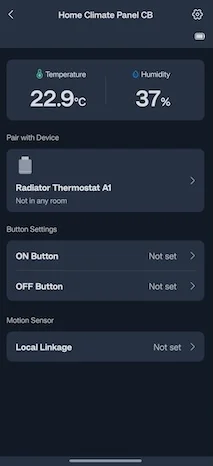
- In the app, open the Climate Panel.
- Choose Radiator Thermostat as the device to control.
- The panel’s buttons light up—after that I just tap the panel to nudge the temperature and the TRV follows.
Small but satisfying: I don’t have to reach for my phone to tweak the heat.
Placement tips that helped
- Panel height: Mount where you naturally glance (eye‑level in that room).
- Avoid heat traps: Don’t place the panel right above a radiator or in direct sunlight; it should “feel” the room, not the heater.
- TRV clearance: Make sure curtains or furniture don’t press against the valve; it needs room to move and measure.
The setting that changed comfort the most
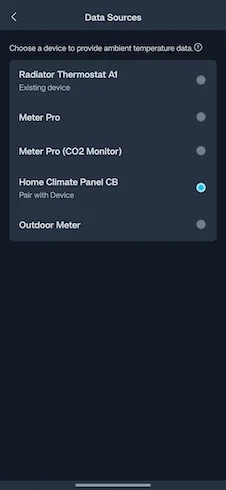
The TRV has its own temperature sensor, but it sits right on the radiator—so it can read warmer than the room. Switching the sensor source improved things:
- In the TRV settings, I changed the Temperature Source to the Climate Panel.
- That gave me a reading that feels like the actual room temperature, not “radiator temperature.”
I also keep open‑window detection enabled so the valve backs off if the temperature suddenly drops.
Using it with Google Home, Apple Home, Home Assistant, or Alexa (via Matter)
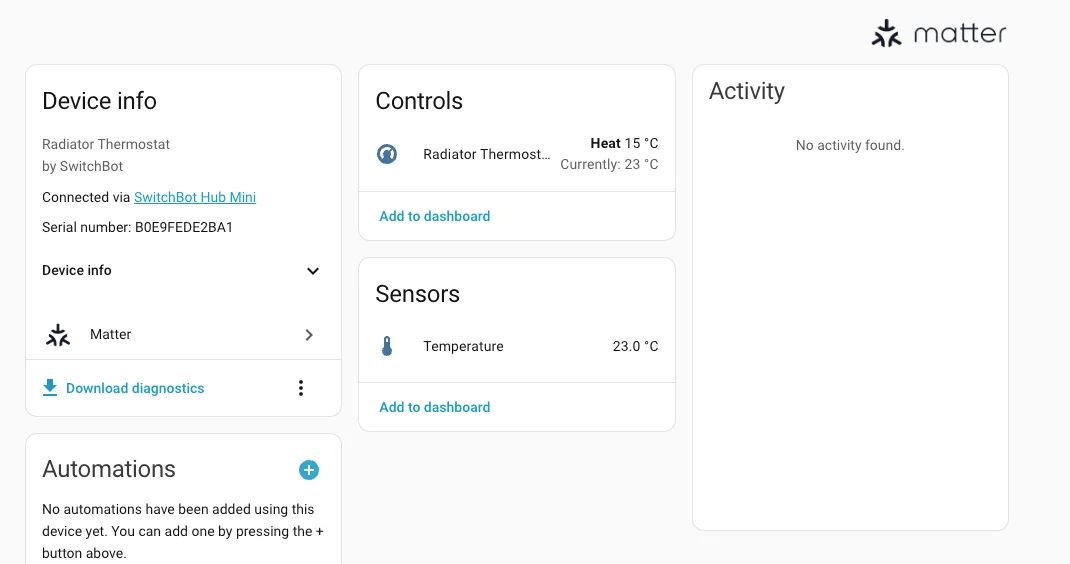
Out of the box, the panel and TRV work fine over Bluetooth. If you want them in other ecosystems, add the SwitchBot Matter Hub Mini and share devices via Matter. Here’s the flow I followed:
- App → Add Device → put the Matter Hub Mini in pairing mode (press ~3s).
- After adding, open the hub’s Settings → Matter and you’ll see a QR code.
- Press and hold the hub button ~15s to enable Matter pairing mode.
- In Home Assistant, Google Home, etc., scan that QR to add the hub.
- Back in the hub’s Matter settings, add the TRV as a secondary device so it appears in those platforms.
After that, the TRV showed up in Home Assistant and Google Home and I could change setpoints from either app.
Daily use: The feel of it
- Responsiveness: Panel‑to‑TRV control is snappy; tapping the panel feels “instant enough” for radiator control.
- Noise: The TRV’s motor is effectively silent in my space; no audible buzz when it adjusts.
- Battery expectations: I’ll need months to confirm, but the projected lifetimes are generous (panel ~2 years, TRV ~10 months).
- Independence: Nice to have local control first, with the option to add Matter integrations later.
Cost
- TRV: ~€40
- TRV + Climate Panel: ~€89
- TRV + Climate Panel + Matter Hub Mini: ~€109
- There’s mention of a 20% discount code—if you have one, apply it at checkout.
Final thoughts
What stood out for me is the low‑friction control: walk up to the wall, tap the panel, and the room heads toward the temperature I actually want—quietly. The flexibility to run locally over Bluetooth and later add Matter is a nice trajectory: start simple, then expand.