Written by
Featured Video
Table of Contents
If you are a home lab enthusiast, a developer, or someone who manages multiple devices, you know the struggle of juggling monitors, keyboards, and mice. GL.iNet has been making waves with their KVM-over-IP solutions, and their latest, the Comet Q (GL-RMQ1), changes the game entirely.
Introducing the Comet Q
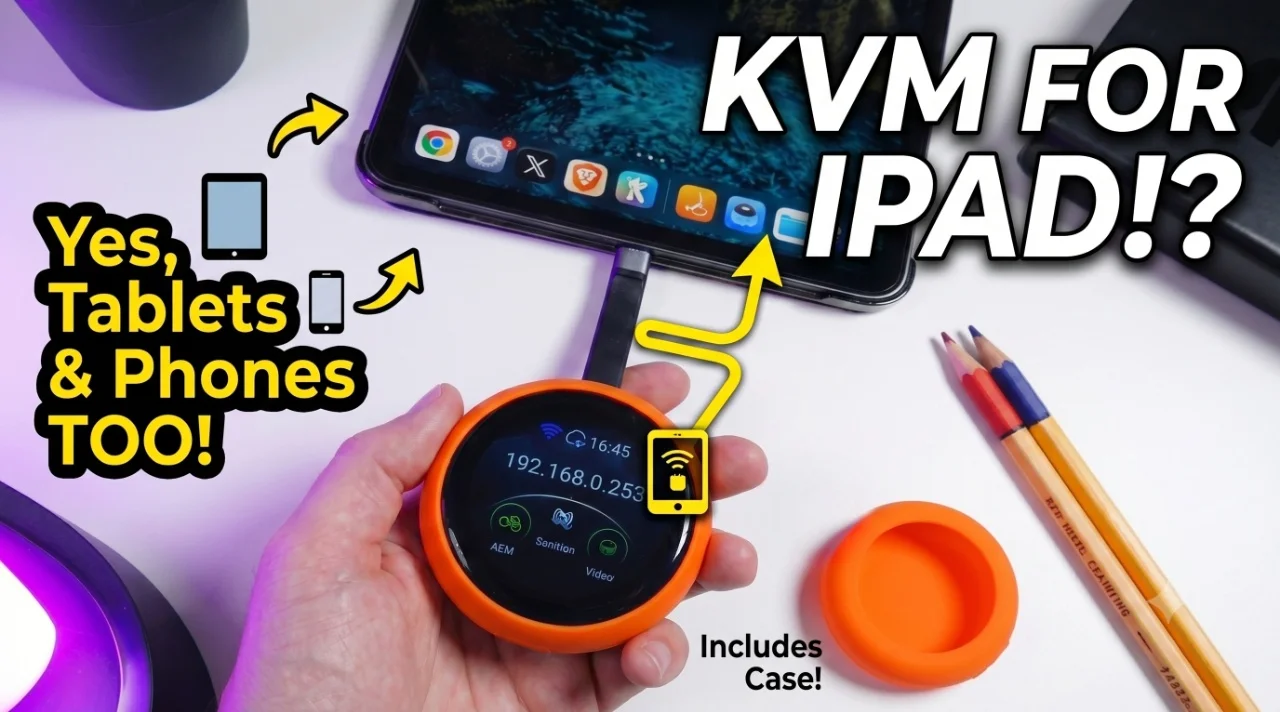
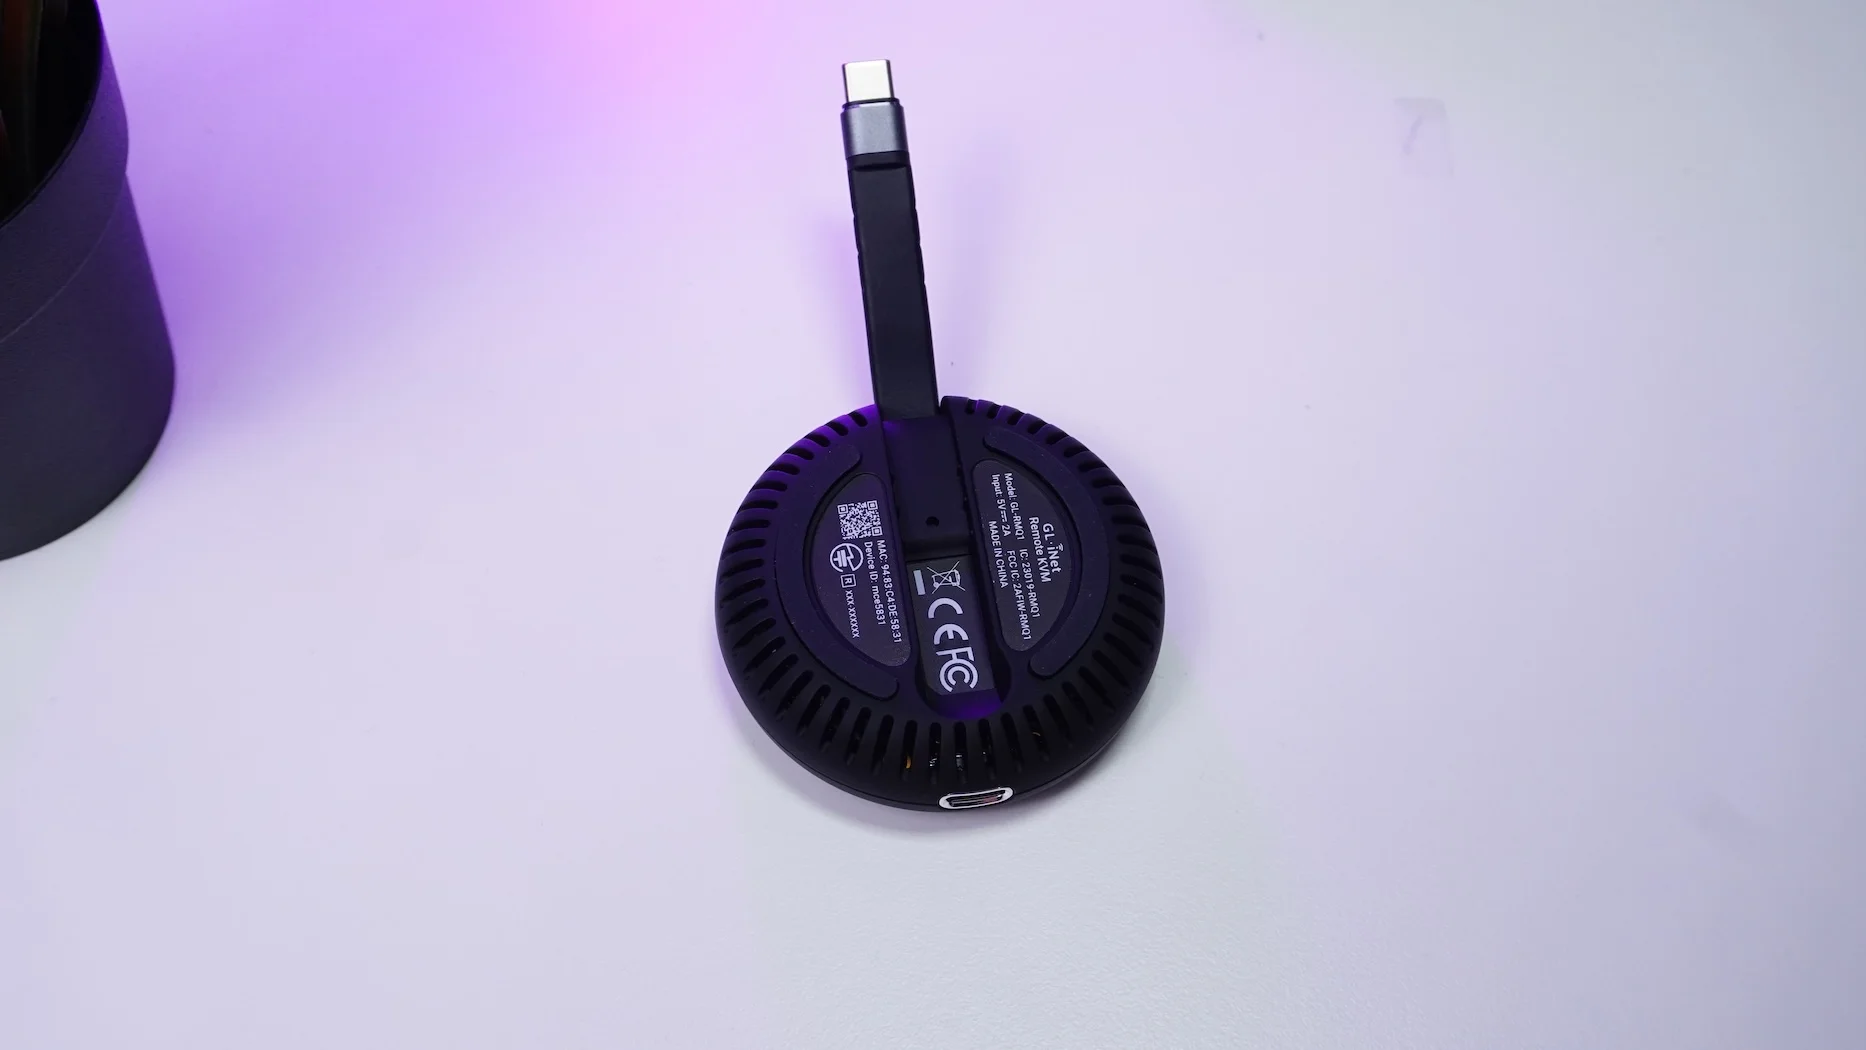
The Comet Q is an all-in-one USB-C Remote KVM that does what others can't: it doesn't just control servers or laptops—it controls mobile phones, tablets, and even iPads. It is a true "plug-and-play" device.
Key Features
-
Universal Compatibility: Works with any device supporting USB-C DisplayPort Alt Mode (iPhones, Androids, MacBooks, Mini PCs).
-
One-Cable Solution: Uses a single USB-C cable for video input, USB connections, and power for the target device.
-
Wireless Convenience: No LAN cables required; it connects directly to your network via Wi-Fi.
-
Compact & Portable: It fits in the palm of your hand, making it perfect for traveling.
-
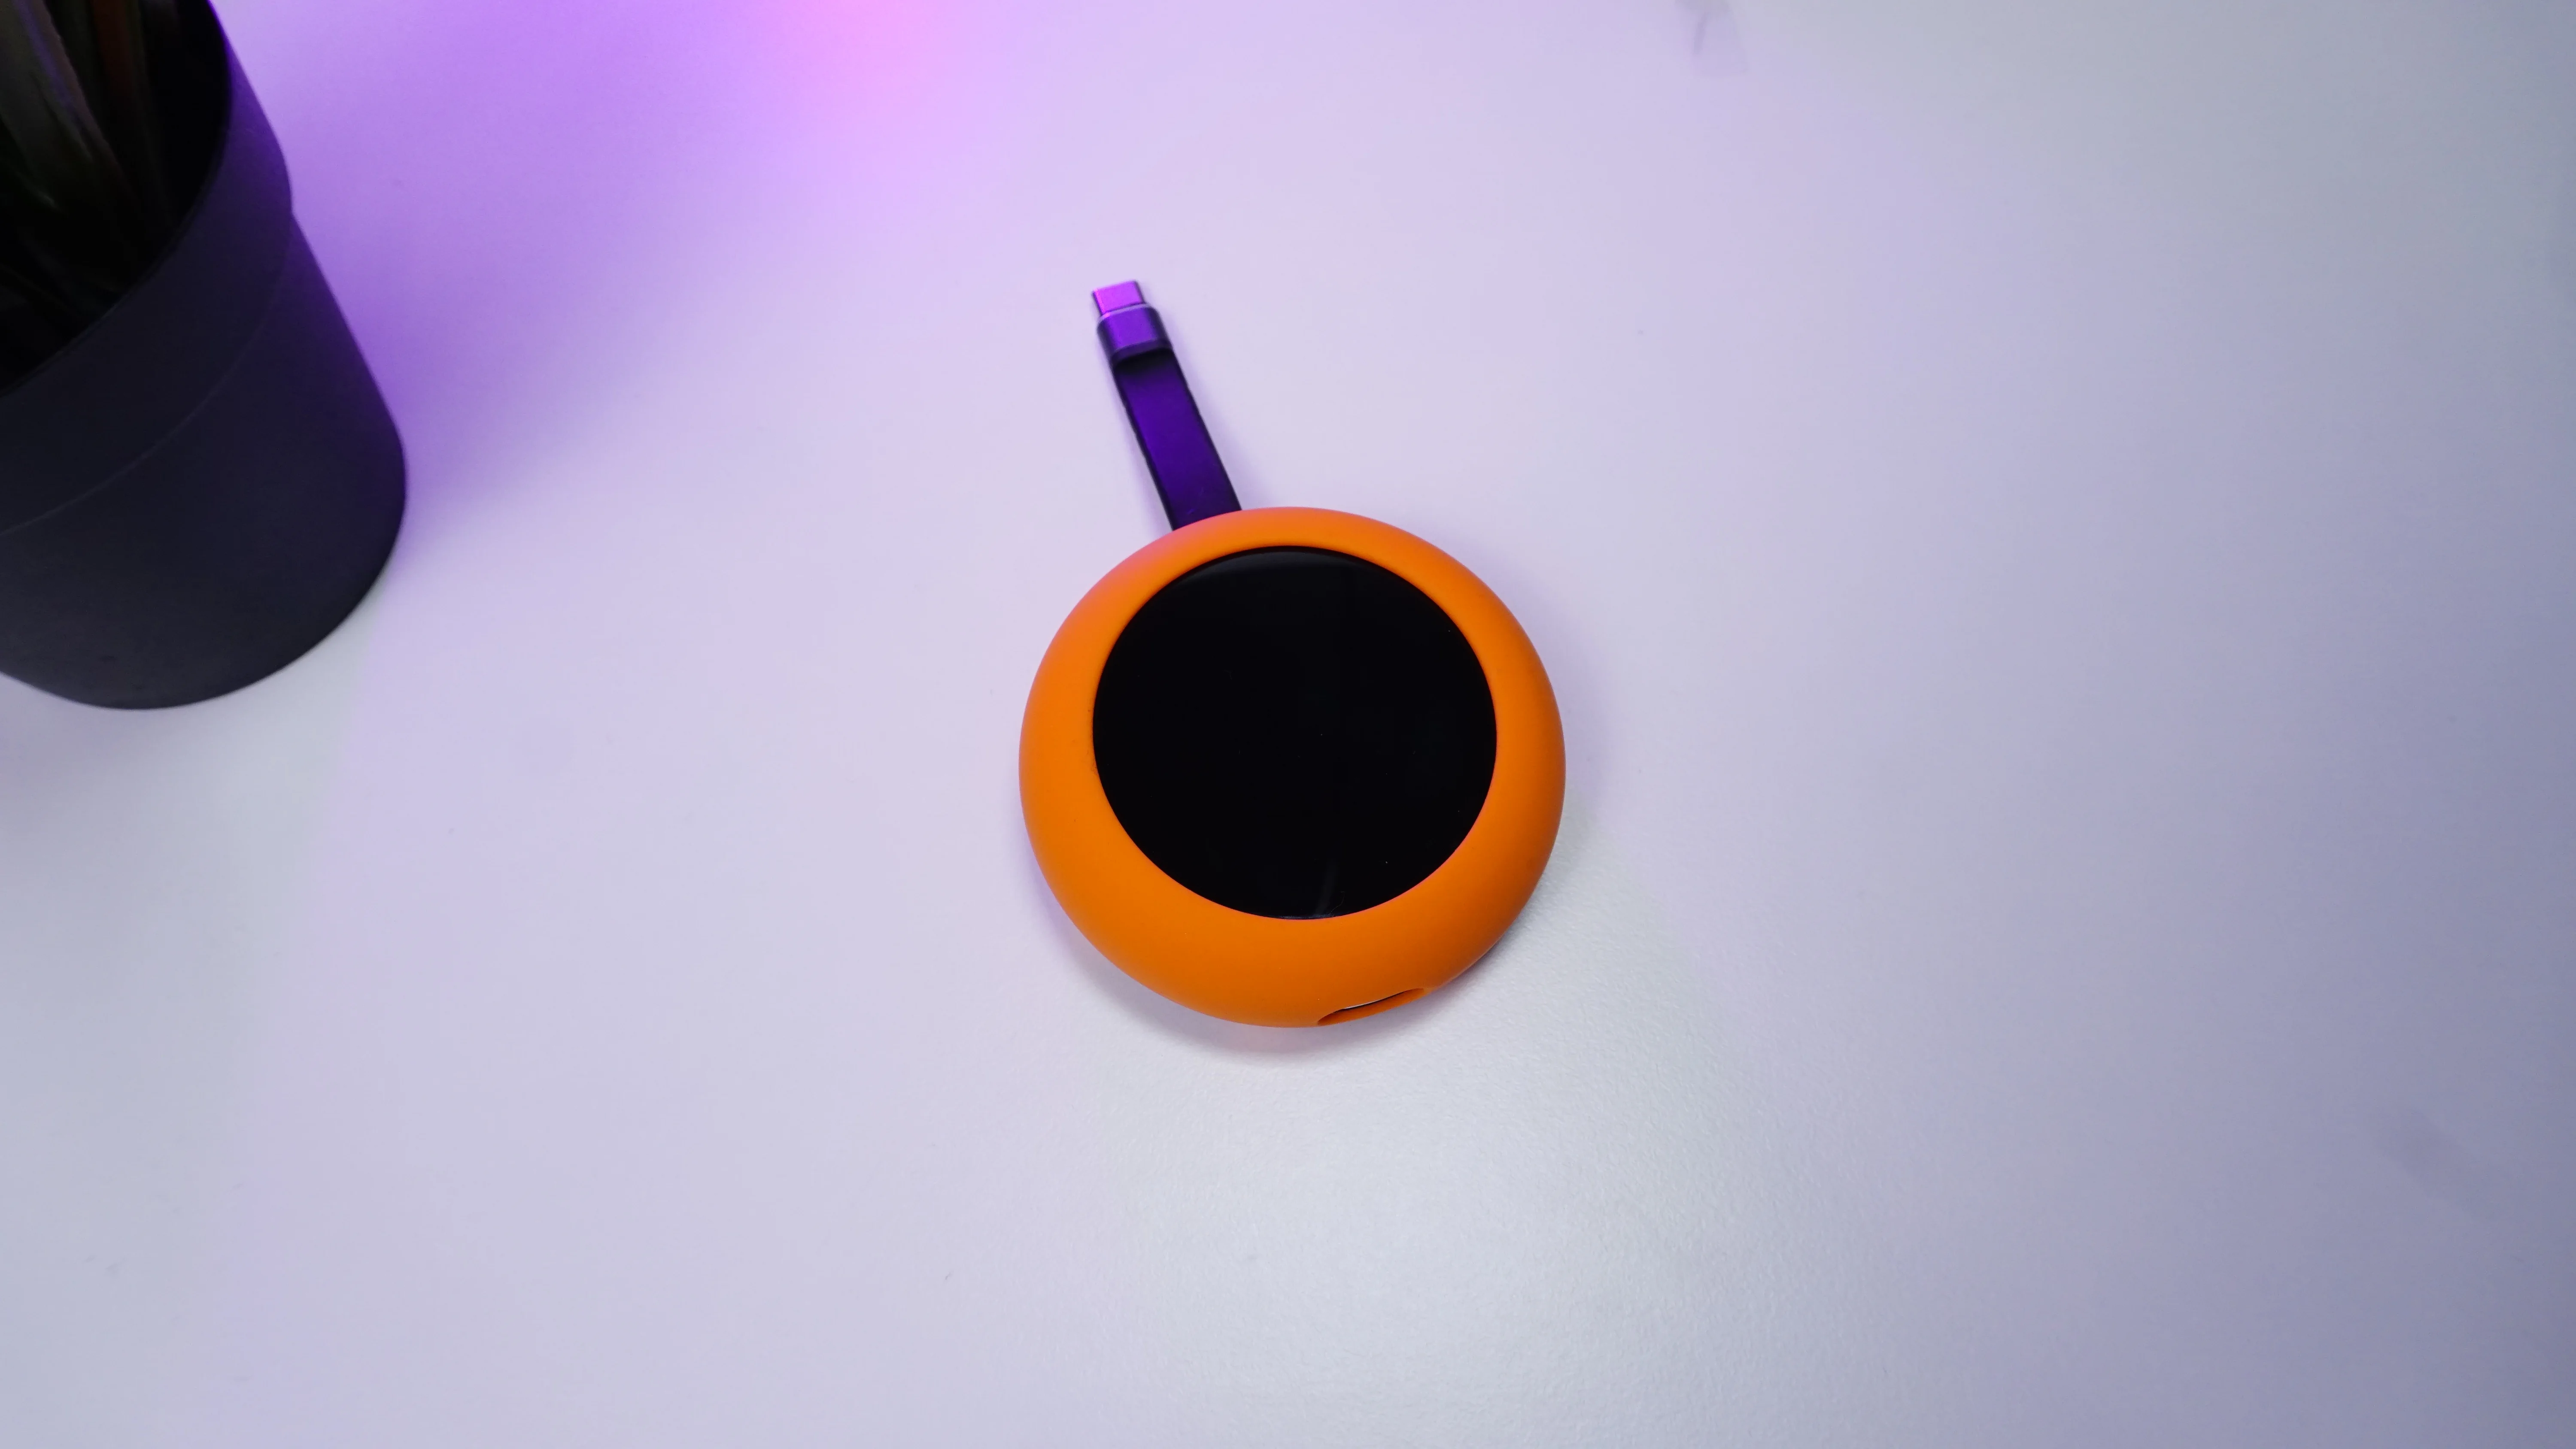
Built-in Protection: Comes with a soft protective rubber case to survive the accidental drops of daily use.
Technical Specifications at a Glance
For the tech-savvy, here is what’s packed under the hood:
-
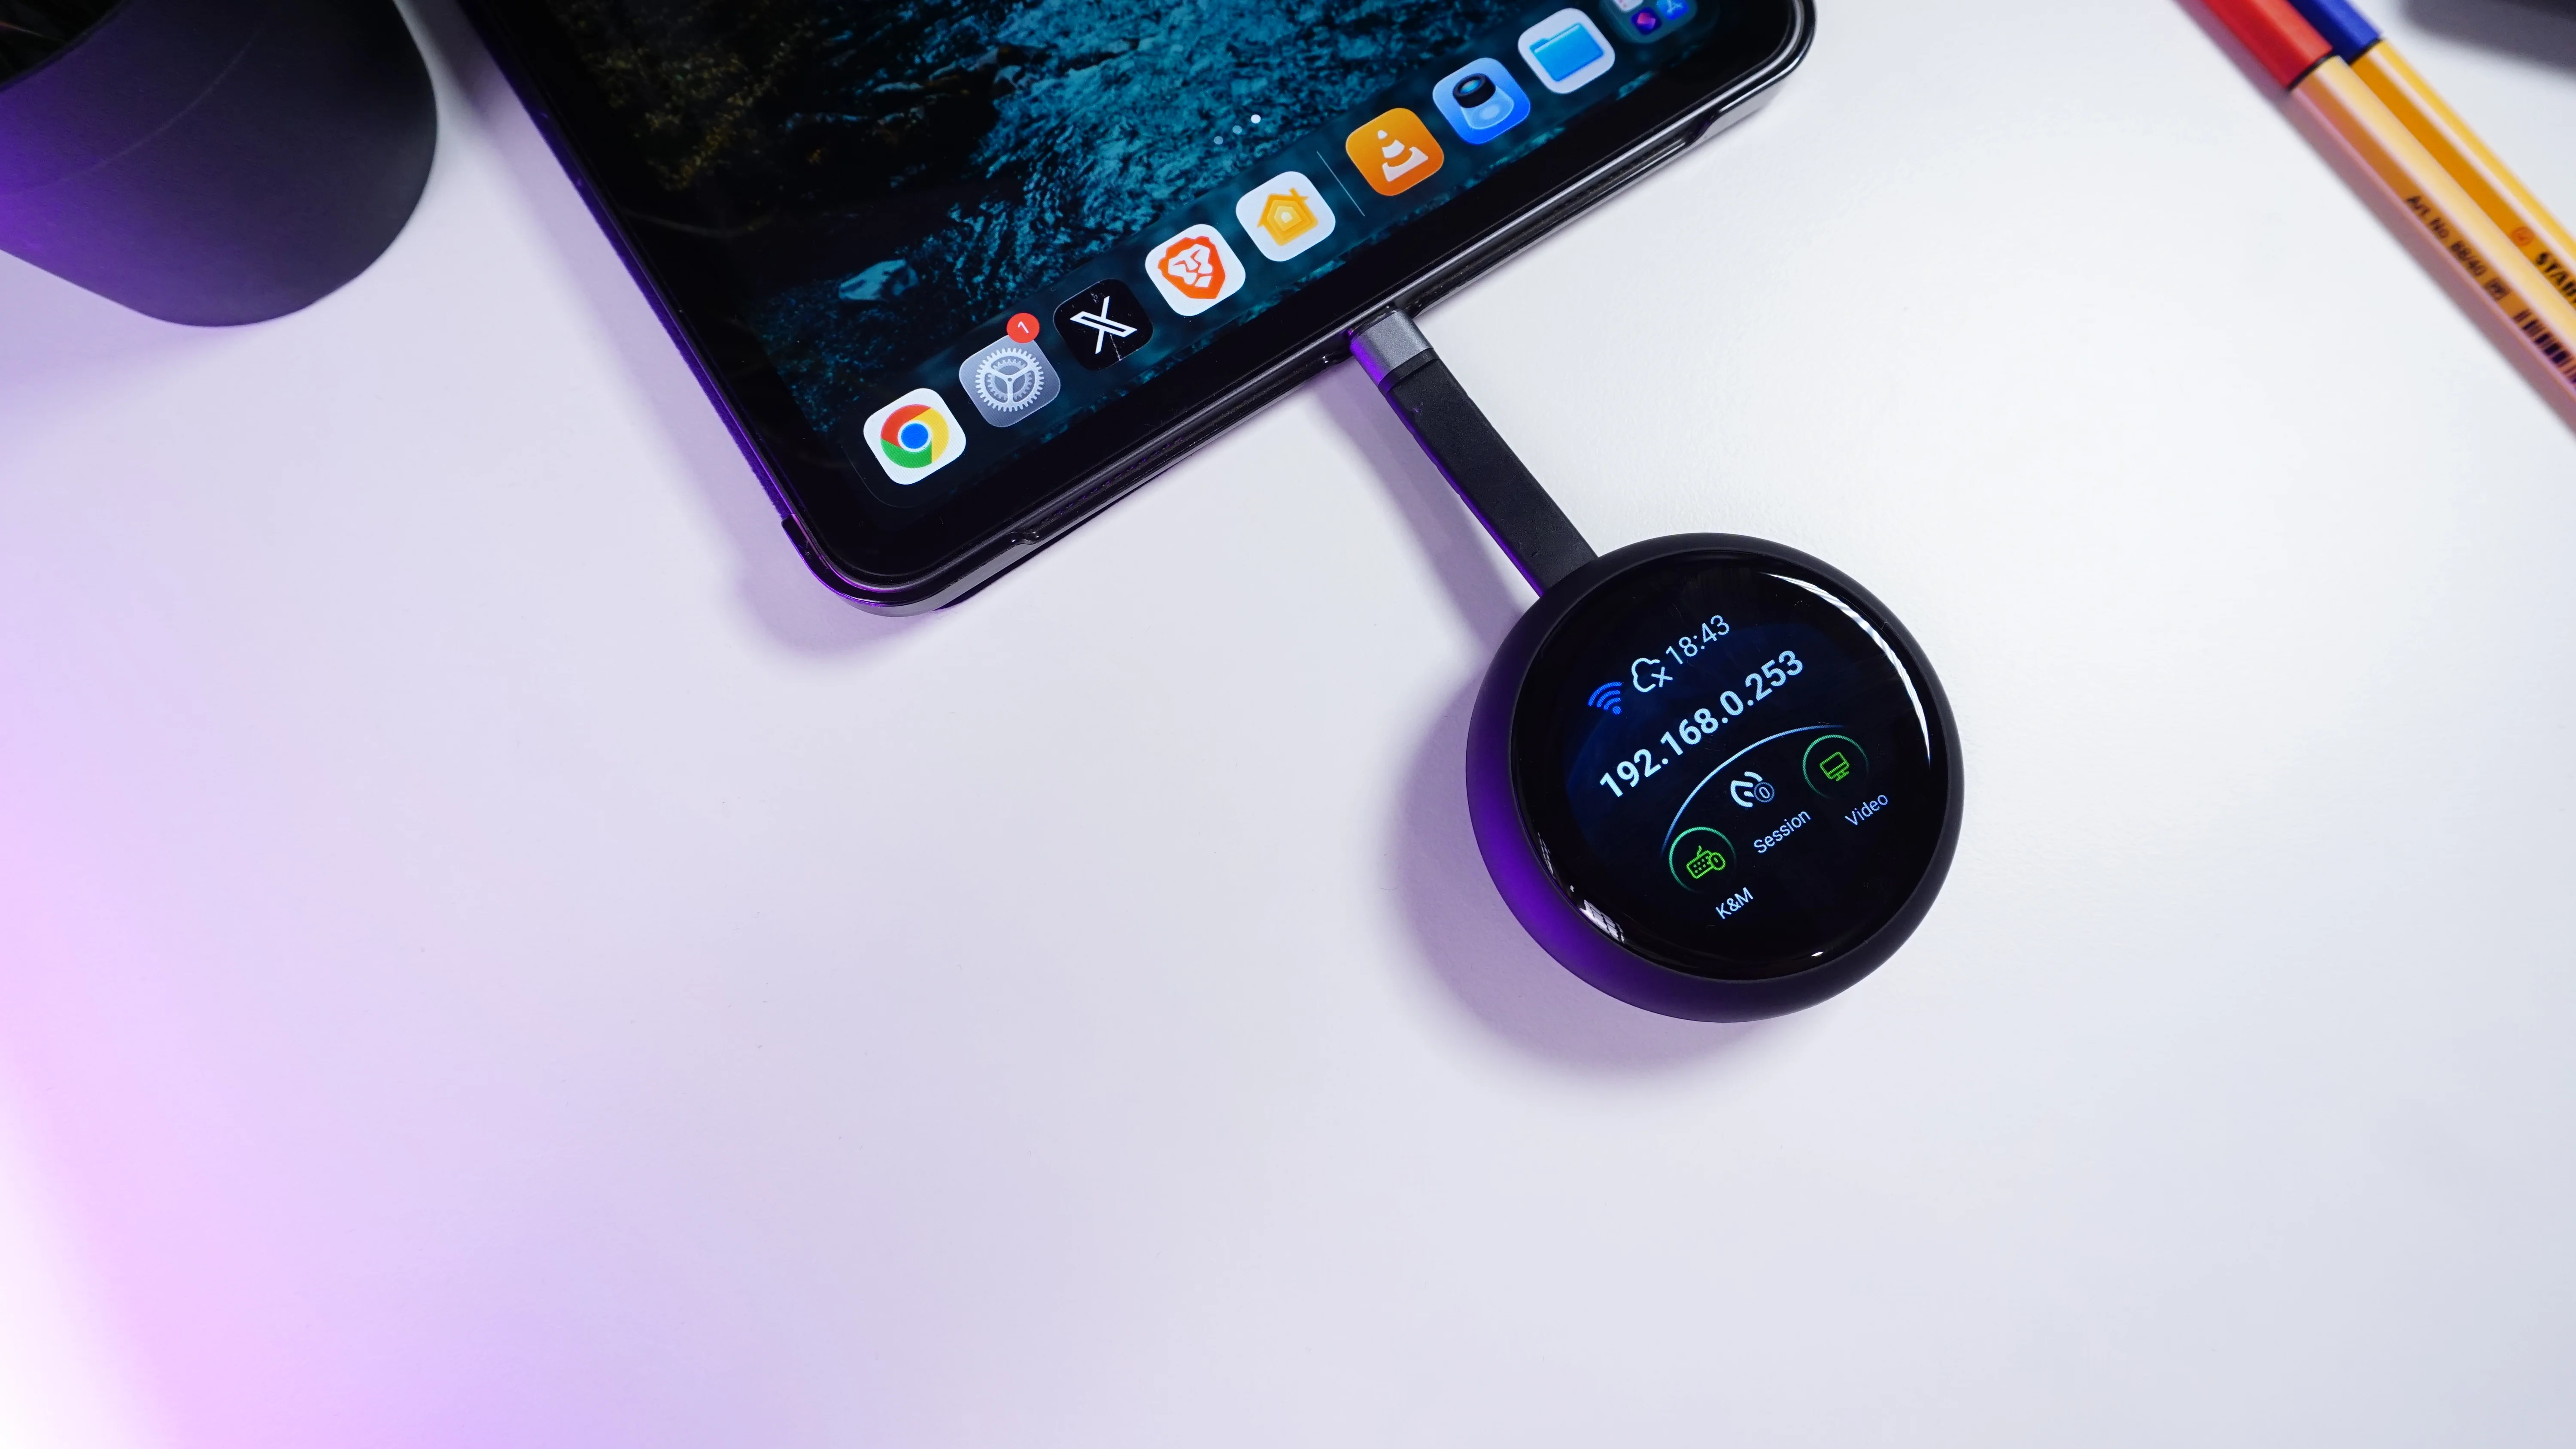
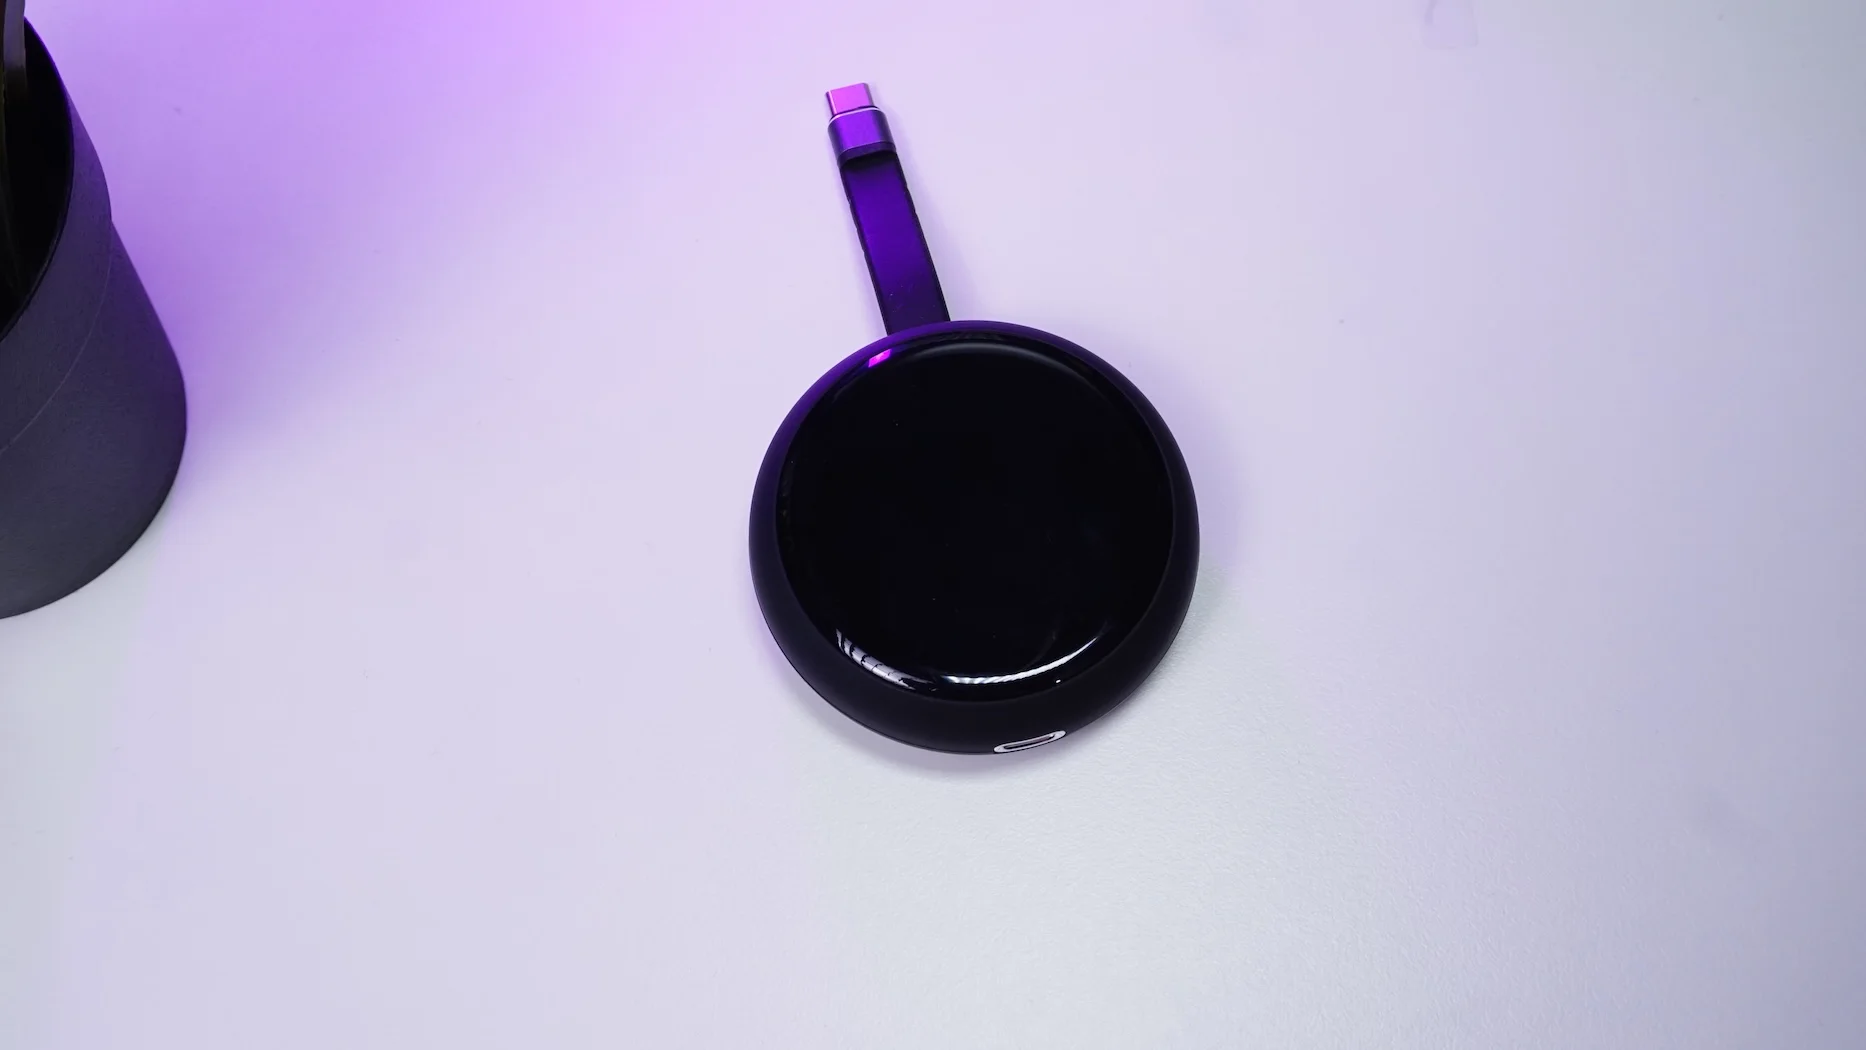
Display: 1.8-inch touchscreen for easy setup and status monitoring.
-
Processor: Dual-core ARM Cortex-A53.
-
Memory: 512 MB LPDDR4 RAM / NAND 512 MB.
-
Connectivity: Wi-Fi 6 (802.11 ax) support for both 2.4 GHz and 5 GHz frequencies.
-
Power: USB-C PD power pass-through to keep your target device charged.
Getting Started: Setup in Minutes
Setting up the Comet Q is incredibly straightforward.
-
Connect: Plug the device into the machine you want to control via the built-in USB-C cable.
-
Configure: Use the 1.8-inch touchscreen to follow the prompts and connect to your Wi-Fi network.
-
Control: Once connected, the screen displays an IP address. Enter that into your browser on another device, set your admin password, and you are ready to go.
Interface Tips
-
Swipe Down: Access rotation, reboot, and screen lock.
-
Swipe Right: Configure Wi-Fi and display settings (brightness, orientation, screen off time).
-
Swipe Bottom: View essential KVM status information.
Why You Need This in Your Home Lab
The Comet Q is perfect for remote troubleshooting or managing headless devices. Whether you are an iOS developer testing apps on a real iPhone from your Windows desk, or a sysadmin managing a remote server, this device provides hardware-level access without the need for additional software installations.
You can currently grab the Comet Q via its Kickstarter campaign with early-bird pricing.